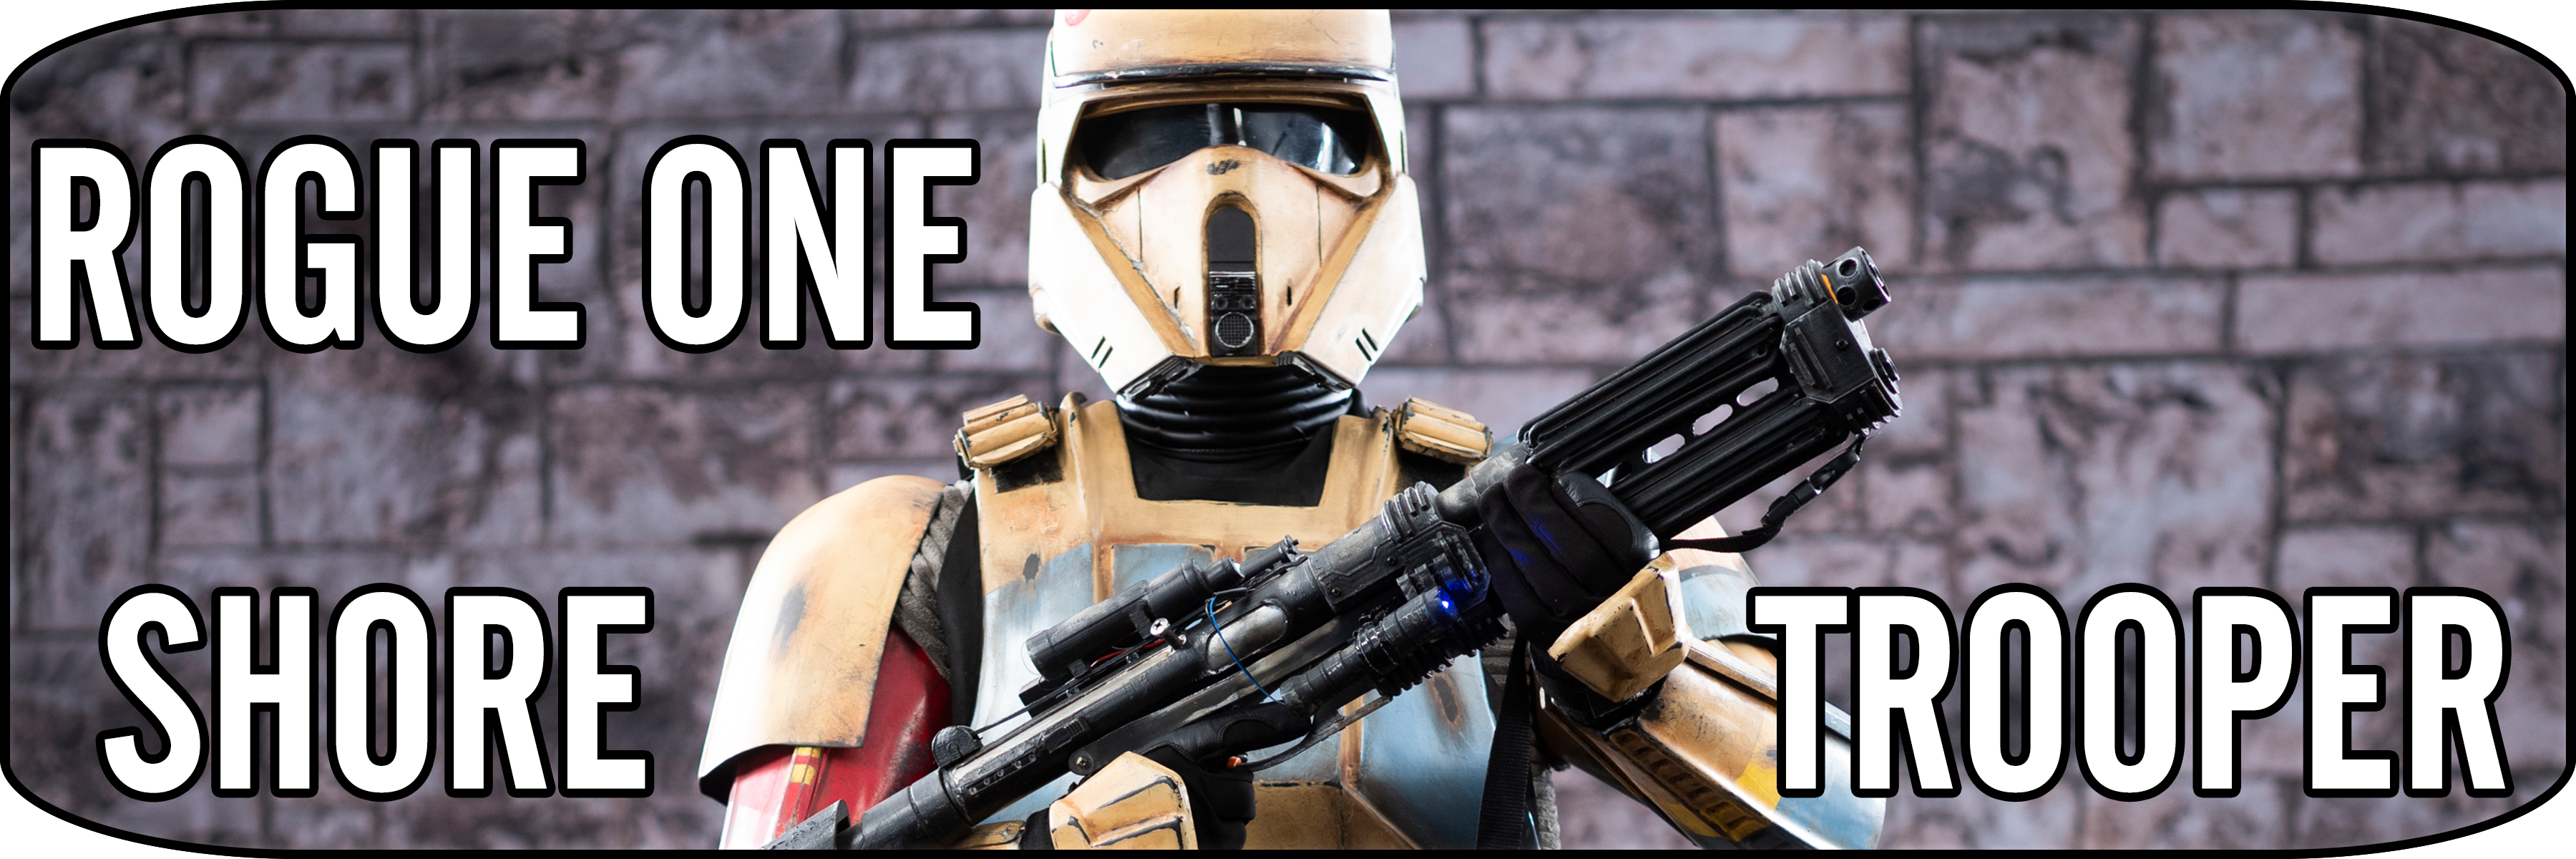
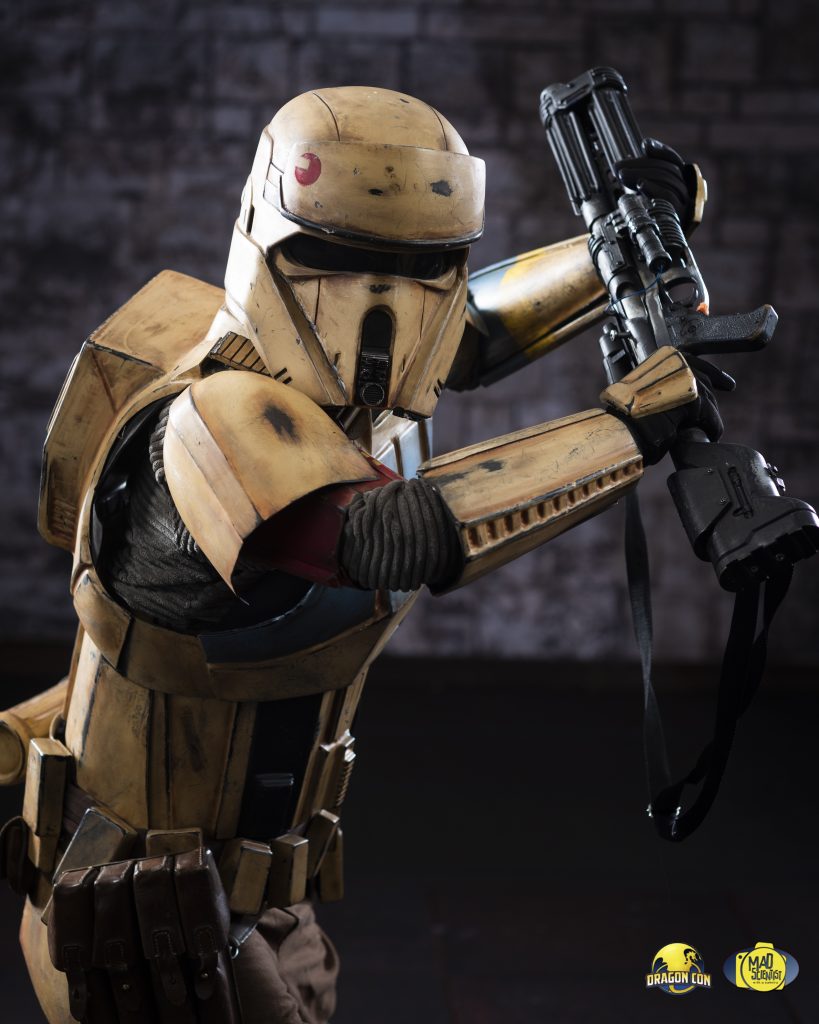
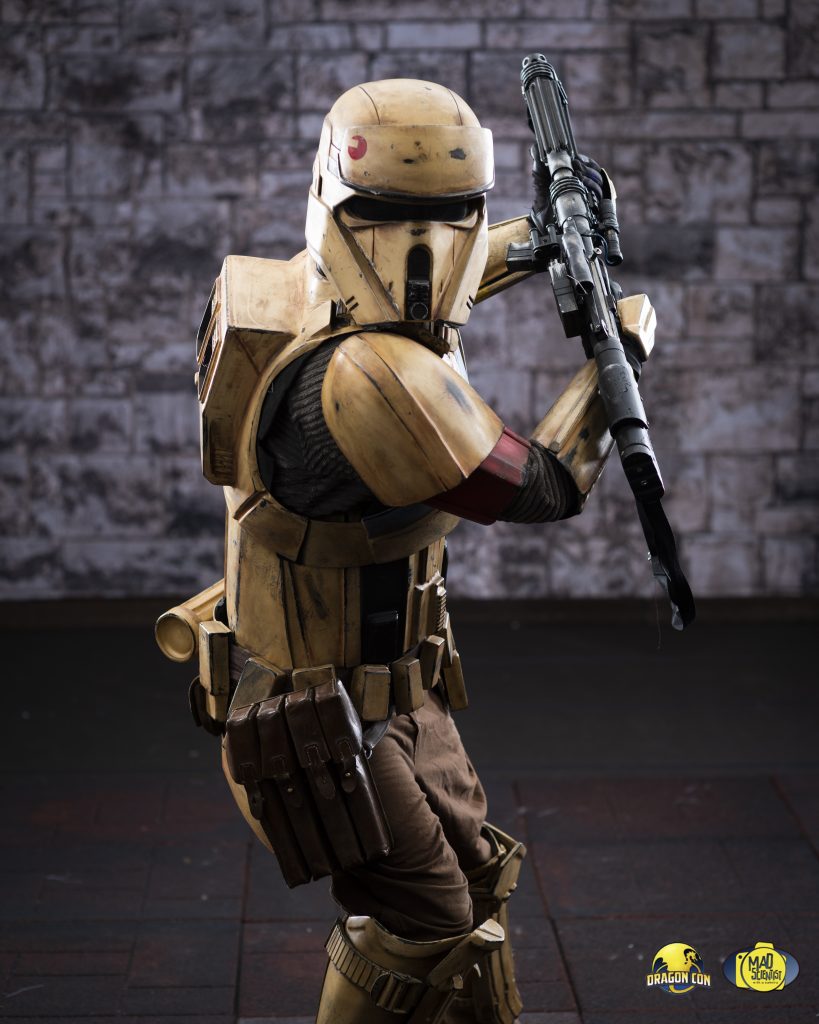
My Rogue One Shoretrooper (Captain) was a costume I did not expect to make, but glad I did. I have fallen in love with it and the look. For many who know me, it is well know I really enjoy a costume or prop with character and weathering. This was a costume I really got to embrace that with. Something to note, when compared to other stormtrooper costumes, is even though there is not a lot of leg armor this is a bit of a tough one to sit down in because of the plastic side pieces. I need to at some point revisit and adjust how I assembled some of the costume, but this will at least describe my first pass. Its not a best way to do it, just how I did it.
The base Armor itself is from 850 armor works and I would personally recommend it. Its not the best armor for someone who wants to build their very first armor costume, (I might recommend a biker scout or classic Storm trooper) but it could be done with limited experience. I had to do some body work to adjust and have fit / look how I wanted. The helmet its a bit heavy being solid resin bout otherwise it is a very solid kit and you can check them out here: https://850armorworks.com/
Below is just a high level review of how I assembled the costume and things I did. It is not meant to be a full step by step but hopefully you will find it useful.
References
- 501st guide (Just parts listing and what is needed if you wanted to apply for 501st approval)
- Wookieepedia
- starwars.com
CONTENTS
HELMET
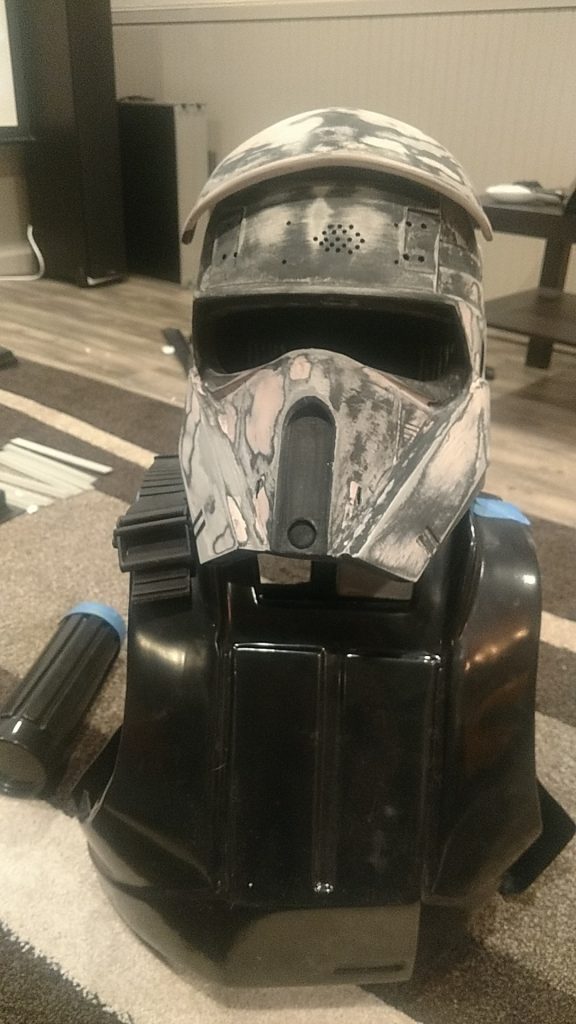
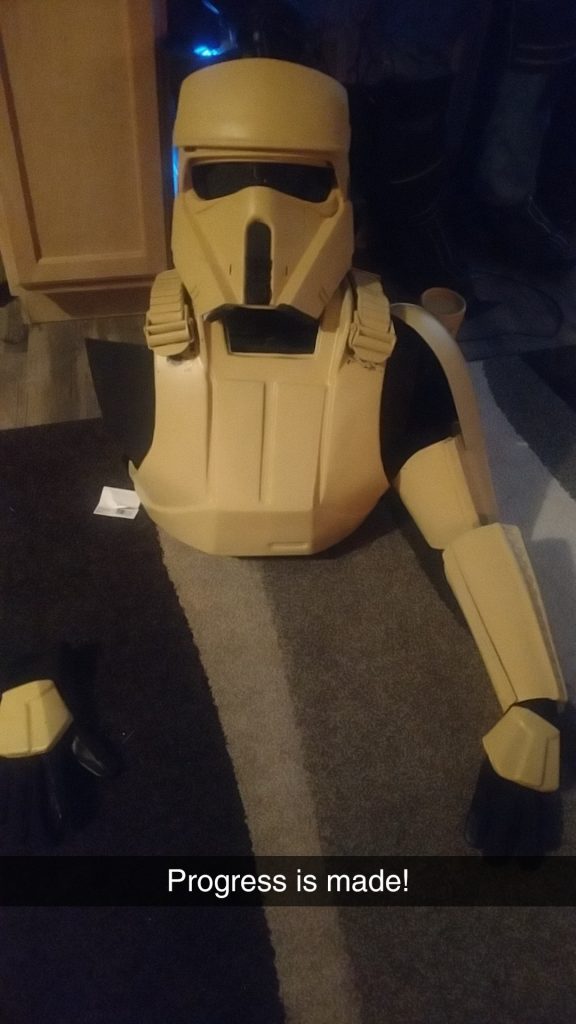
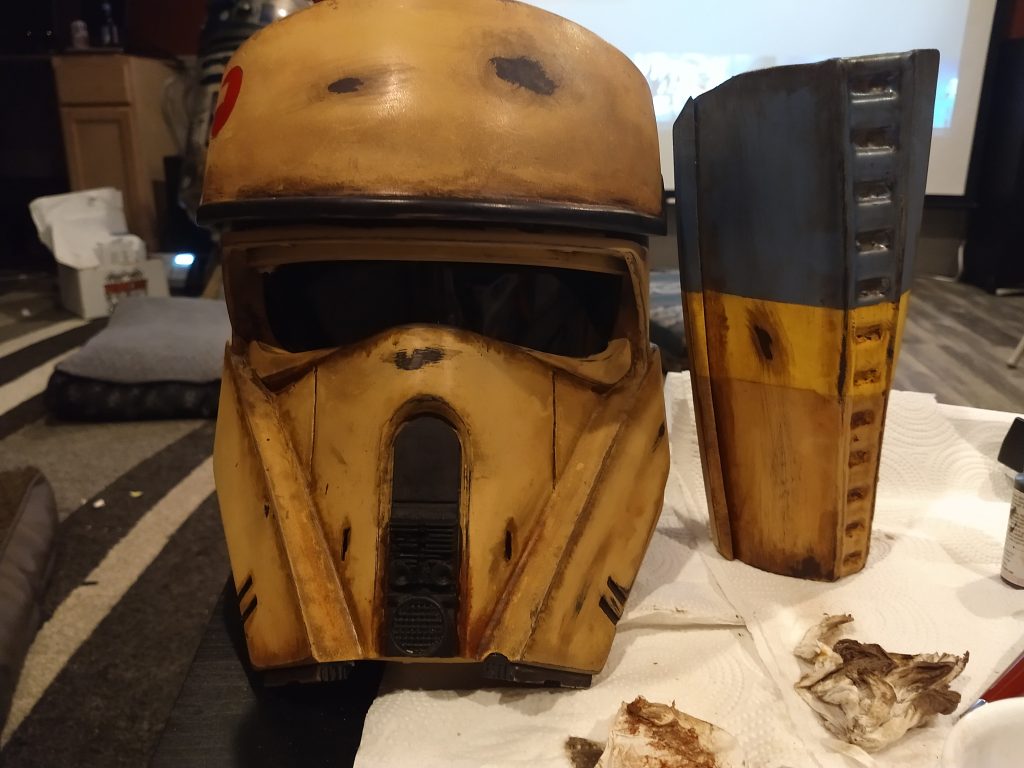
Unfortunately I seemed to have lost a lot of the build progress photos for this one. Starting with the Helmet was the key as it is with most costumes. The helmet was all resin and pretty heavy. If I was to redo anything on this costume it might be the helmet. Maybe print one out of a lighter material, as currently this one does hurt my forehead and nose the way it sits, regardless of how I move the padding around.
The first thing I did was mock everything up for them helmet and clean it off. After cleaning with some light soap and water I used glazing putty to clean up any imperfections. A lot of people rush this but this is the key to a good final look. Add a heavy base layer, sand it off,and then keep adding thin layers and sanding till you get a surface you are happy with. Glazing butty isn’t then best for big divots or cerevisiaes. For those use a heavier bondo filler then top with the glazing putty. I useually start with a 80 or 120 for the first coat, and then move up in grit to a 220 or higher depending on how smooth a final surface I want. If you love books on tape like I do you can really knock out a lot of this body work and enjoy a nice day in the back yard. I almost find this part meditative.
Something worth noting here, is I knew I wanted to add self contained electronics to this helmet as I had my old TK helmet. So on the forehead I drilled air holes to add the speakers for a mic system to be added later. I thought the speaker behind the forehead plate made the most sense as it moves it a little away from my microphone. The forehead plate covers these holes nicely and pretty happy with how it worked out. I’ll go over the actually electronics a little later but wanted to mention as I made these holes during the build.
I then added a couple base primer coats, lightly sanding each with a higher grit sandpaper, and this is where I wet sand. Once happy with everything I added several coats of black as my base. As I weather down the paint I want a nice black base coat under everything.
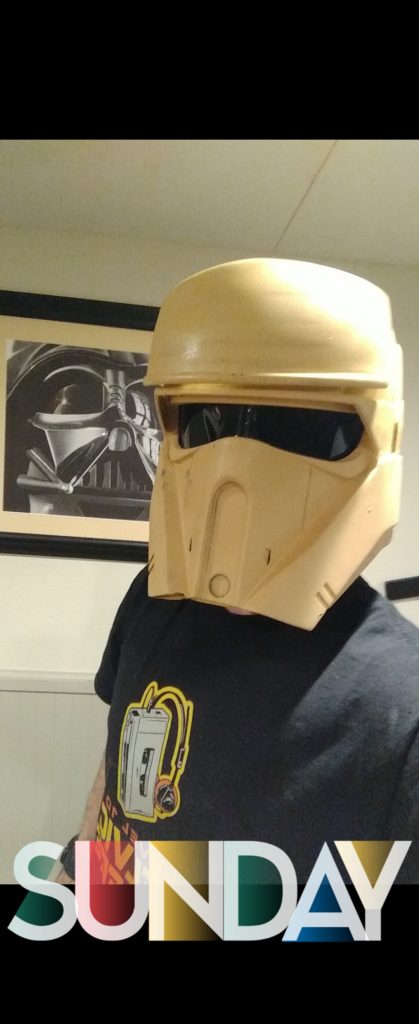
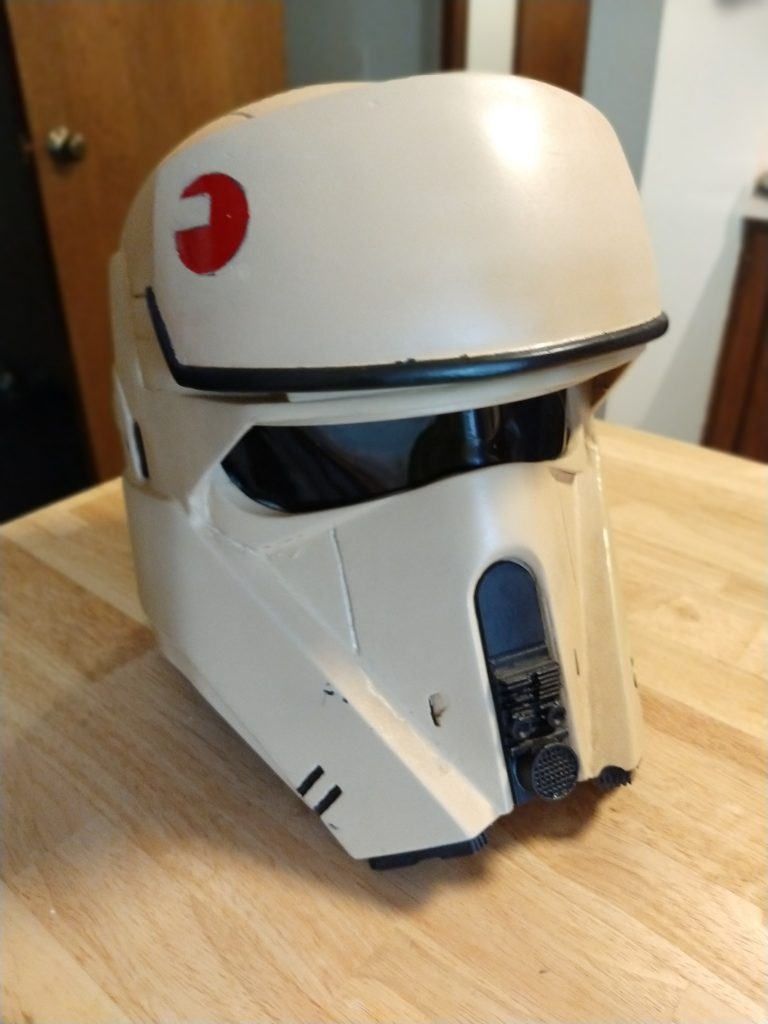
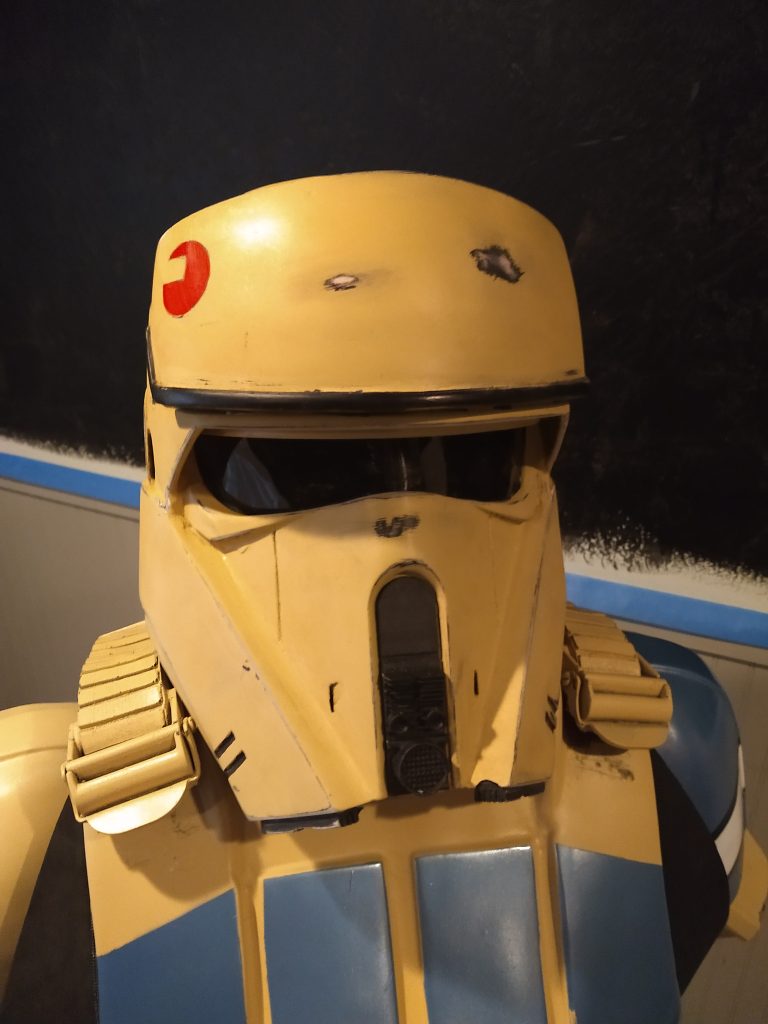
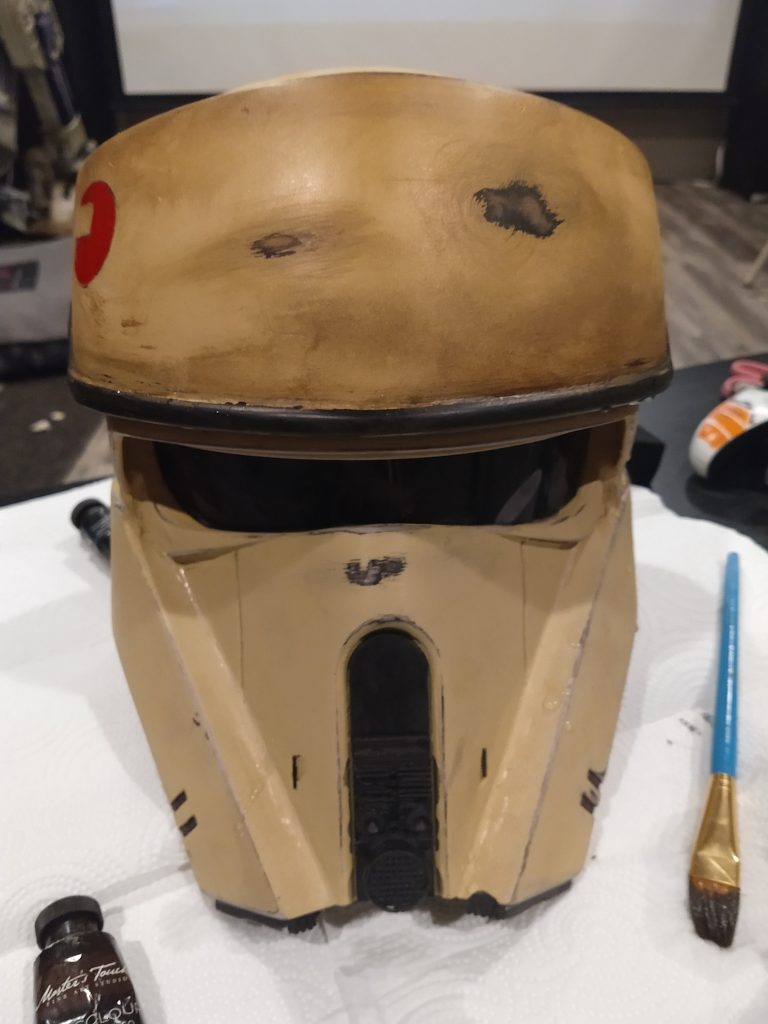
At this point I moved to painting with the Montana Gold: Sahara Beige as the base color. This is what most in the 501st use and you can see there build guide here if you are looking for 501st approval. If not then do as you please 😉 When painting this coat nice even passes of the item painting, and always start and stop you spay off of the item you are painting to produce a nice and even coat. For the Red decal on the forehead plate I made a stencil with my Silhouette decal cutter and just did a quick spray of some red spray paint I had.
Once you have the helmet all painted it is time to weather it up. I first made a pass with a heavier grit 80-120 sandpaper and tried to rub patches where I thought it would wear thin the most. This is a time to be creative and look at real world items. Focus on hard edges here. I lot of people, myself included at times, like to sand and weather deep grooves, but the reality those often weather the least as nothing can get in there. You can use toothpaste or soap on the base coat before you paint the Montana Gold: Sahara Beige base color, and chip it up after, but I like to actually wear the paint for this one with sandpaper as it feels more real.
The next part of the weathering was to add layers of acrylic paint. Same as the sanding, but actually the opposite, I try to focus on where would dirt get stuck. Where I sanded the high surfaces that would get worn rubbing on stuff or by wind, dirt gets stuck in crevasses. I try to wet the surface first with water and then paint on acrylic shades of brown, like raw umber or burnt sienna. While I may mix those colors with black to darken I never use black directly as dirt is very rarely black. The base armor was black but the dirt is not. After I brush on all this paint I then clean it off, and then start over. Each time changing the colors slightly. The process of painting on the weathering and then cleaning it off gives for a very natural looking weather. I was very happy with the end result. For reference I did the same process for the entire costume that I did for the helmet.
After everything was finished I attached the forehead plate with two screws so I could remove if ever needed, and added my visor. The visor was just a piece of dark welder mask. This link is similar to what I used but not exactly the same. Search around for something you like that is dark enough to hide your face but not too dark to see out of. To cut to shape I covered the mask in painters tape and then traced the eye hole as I held it in place. I then cut outside that line a little for mess up with my bandsaw and glued it into place with hot glue. I used hot glue to make it removable if I wanted to.
The little detail pieces I just super glued into place and then was done. One last weathering pass never hurts but pretty happy with how it looks.
HELMET INTERNALS
To Be Continued
Final Product
The final product. More details to come

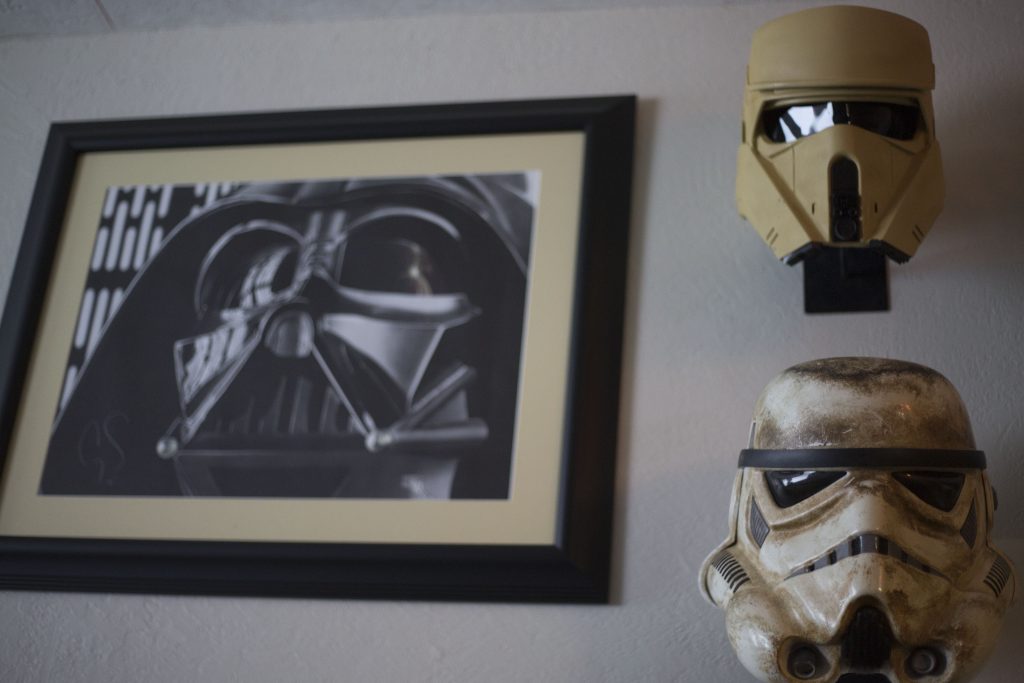
Related
Costume History This costume is from a “looter shooter” game called Destiny 2 made by Bungie. Guardians are the playable characters and Warlocks are one of the in-game Character Classes. …
My Rogue One Shoretrooper (Captain) was a costume I did not expect to make, but glad I did. I have fallen in love with it and the look. For many…
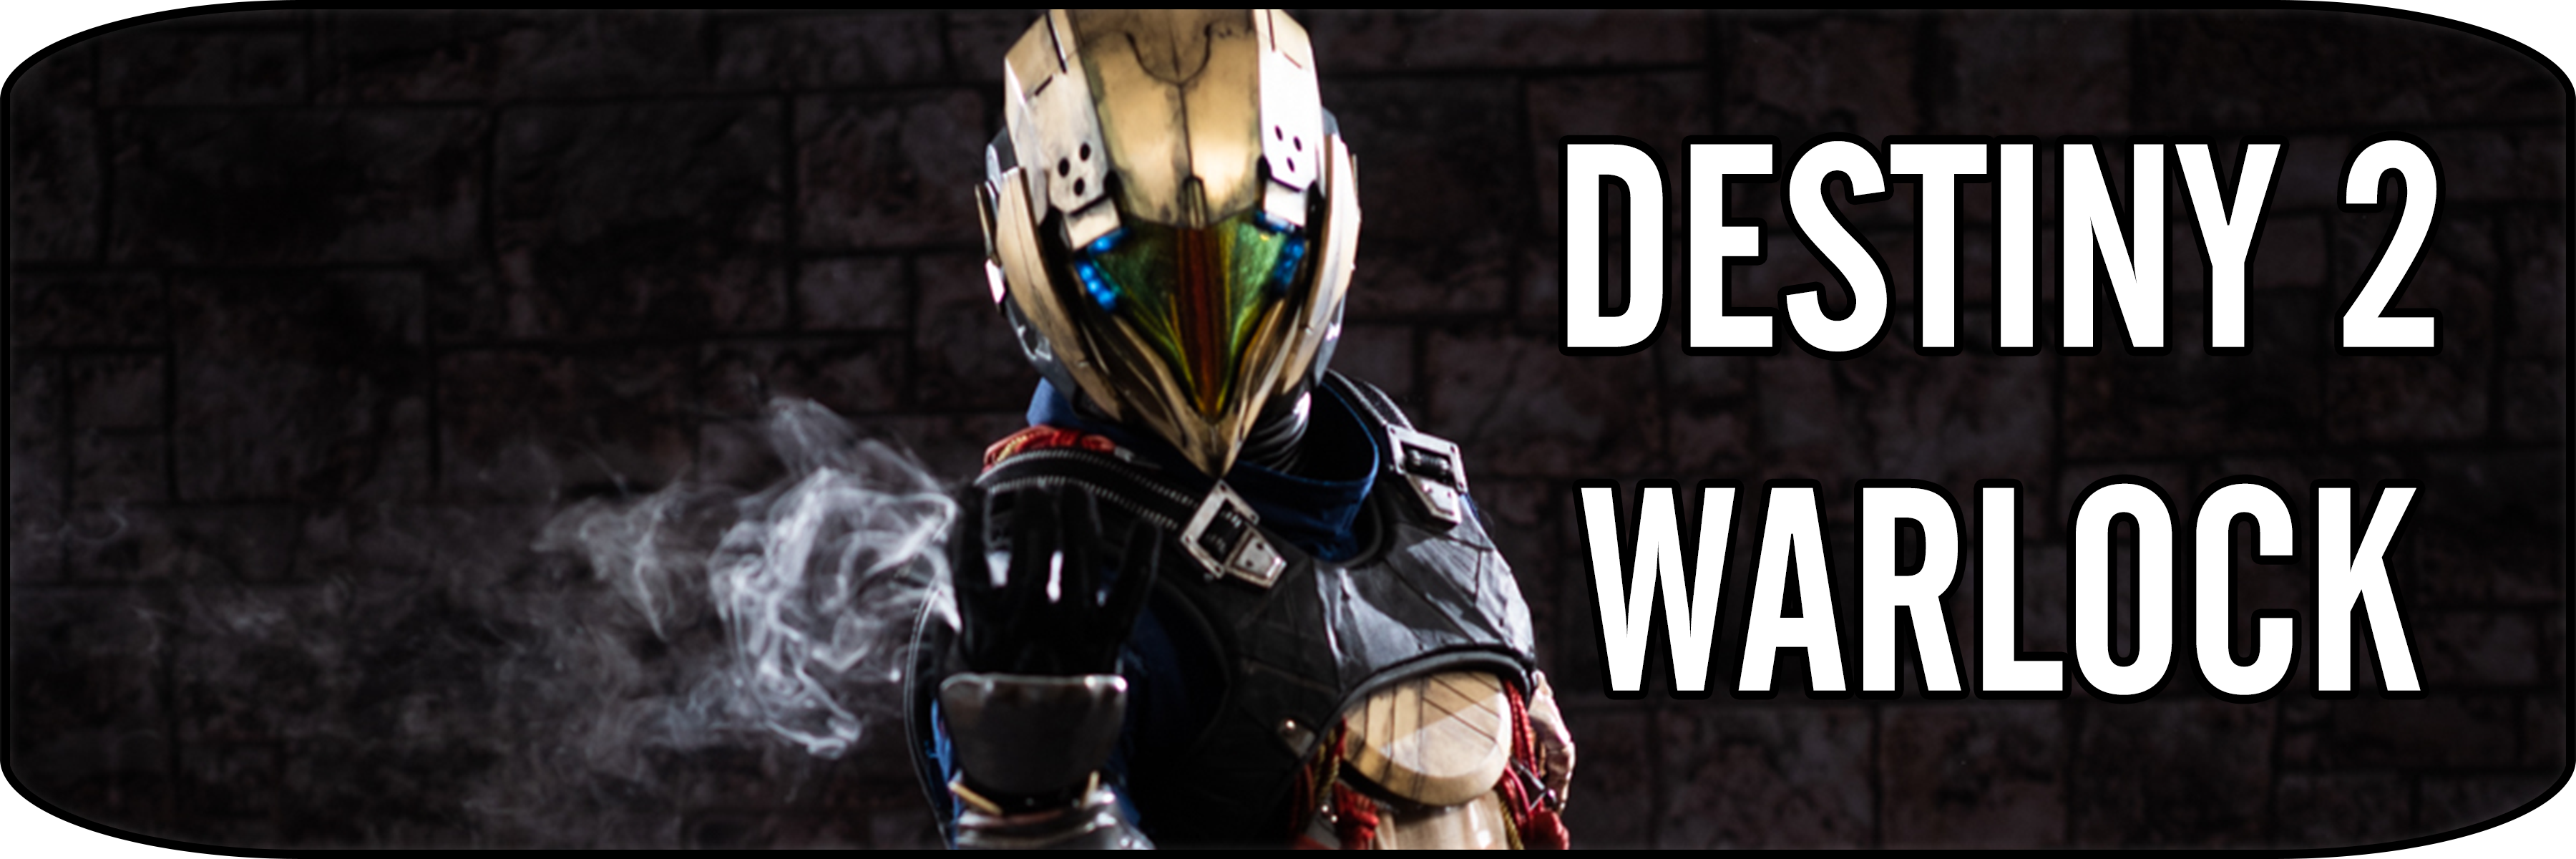
Costume History This costume is from a “looter shooter” game called Destiny 2 made by Bungie. Guardians are the playable characters of the world and Warlocks are one of the…
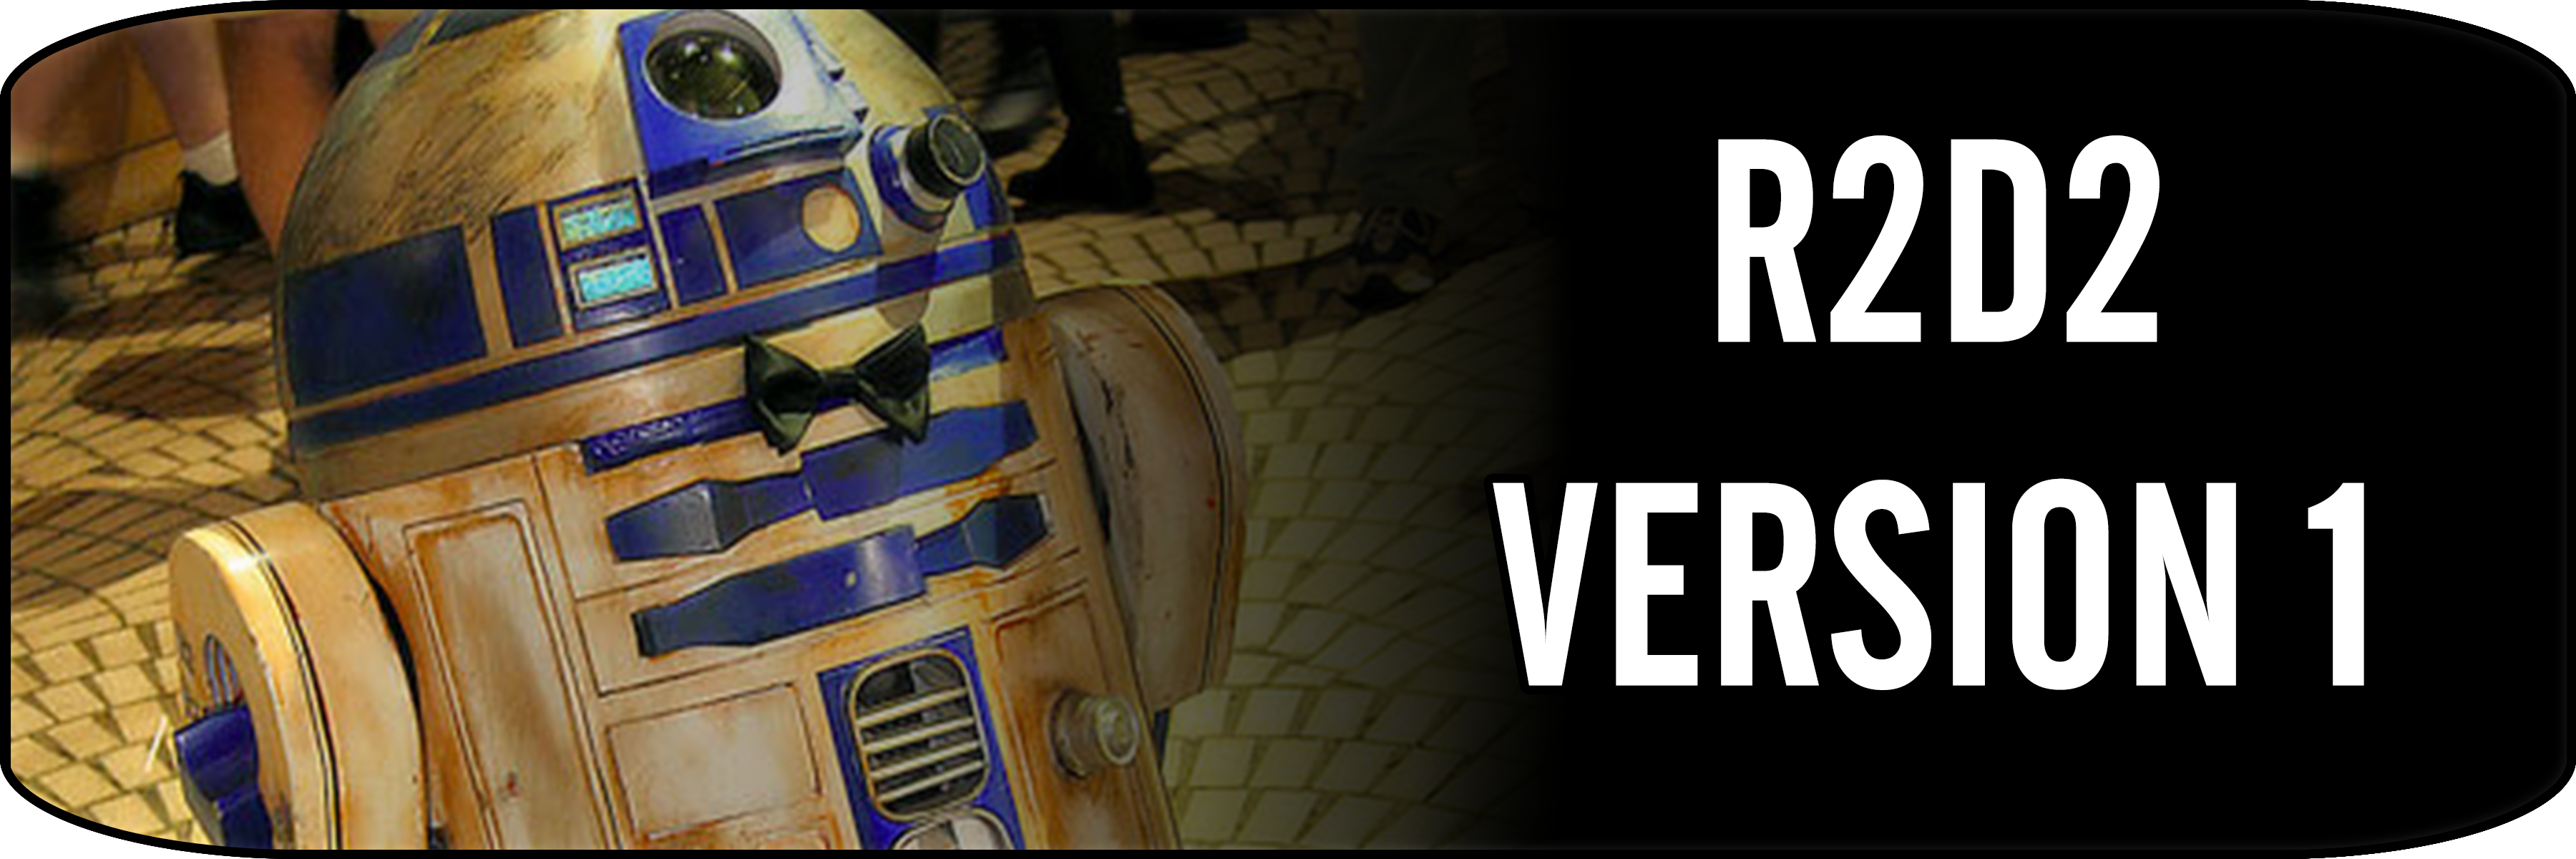
The following is a gallery for my First Ever R2 and the Build Process. At somepoint I will document the work that went into him and why I started the…
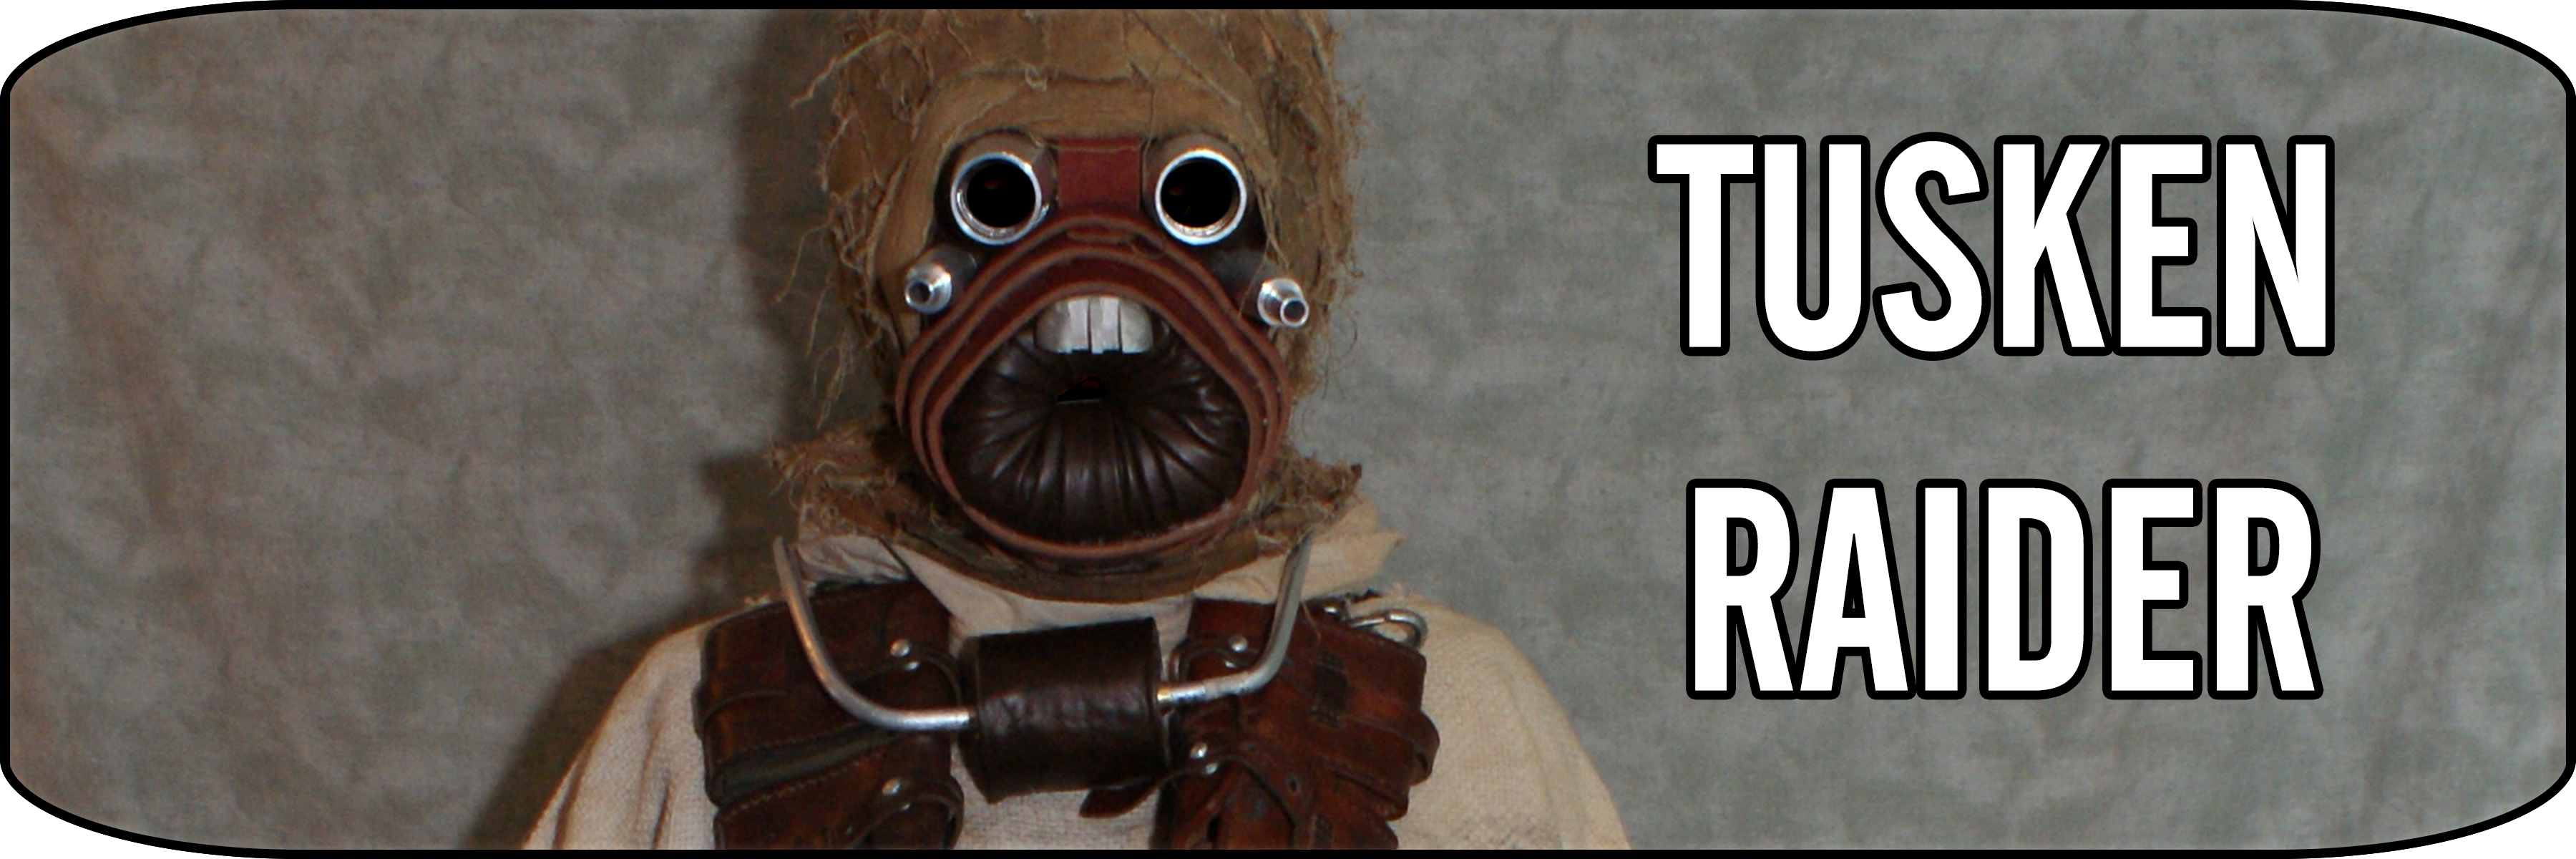
CONTENTS Tusken Raider Getting Started and the Shell Leather Pieces Fabric and Bandages Gloves and Boots Final Details Putting it all together
Coastal defender stormtroopers—more commonly known as shoretroopers[1] and also known as the coastal guard,[10] with those stationed on the planet Scarif referred to as Scarif stormtroopers[11]—were a specialized variant of the Galactic Empire‘s stormtroopers trained and equipped for combat in tropical environments.[2] Organized into the Coastal Defense Division,[9] shoretroopers operated effectively as sergeants, which allowed them to command small squads of regular stormtroopers. One of the notable aspects of coastal defender stormtroopers was that the position they served in was temporary and subject to change along with their rank. On a galactic scale, shoretroopers as a whole were scarce, as the conditions for necessitating their employment were few and far between, as few stations or garrisons were located on coastal/tropical planets.[1]