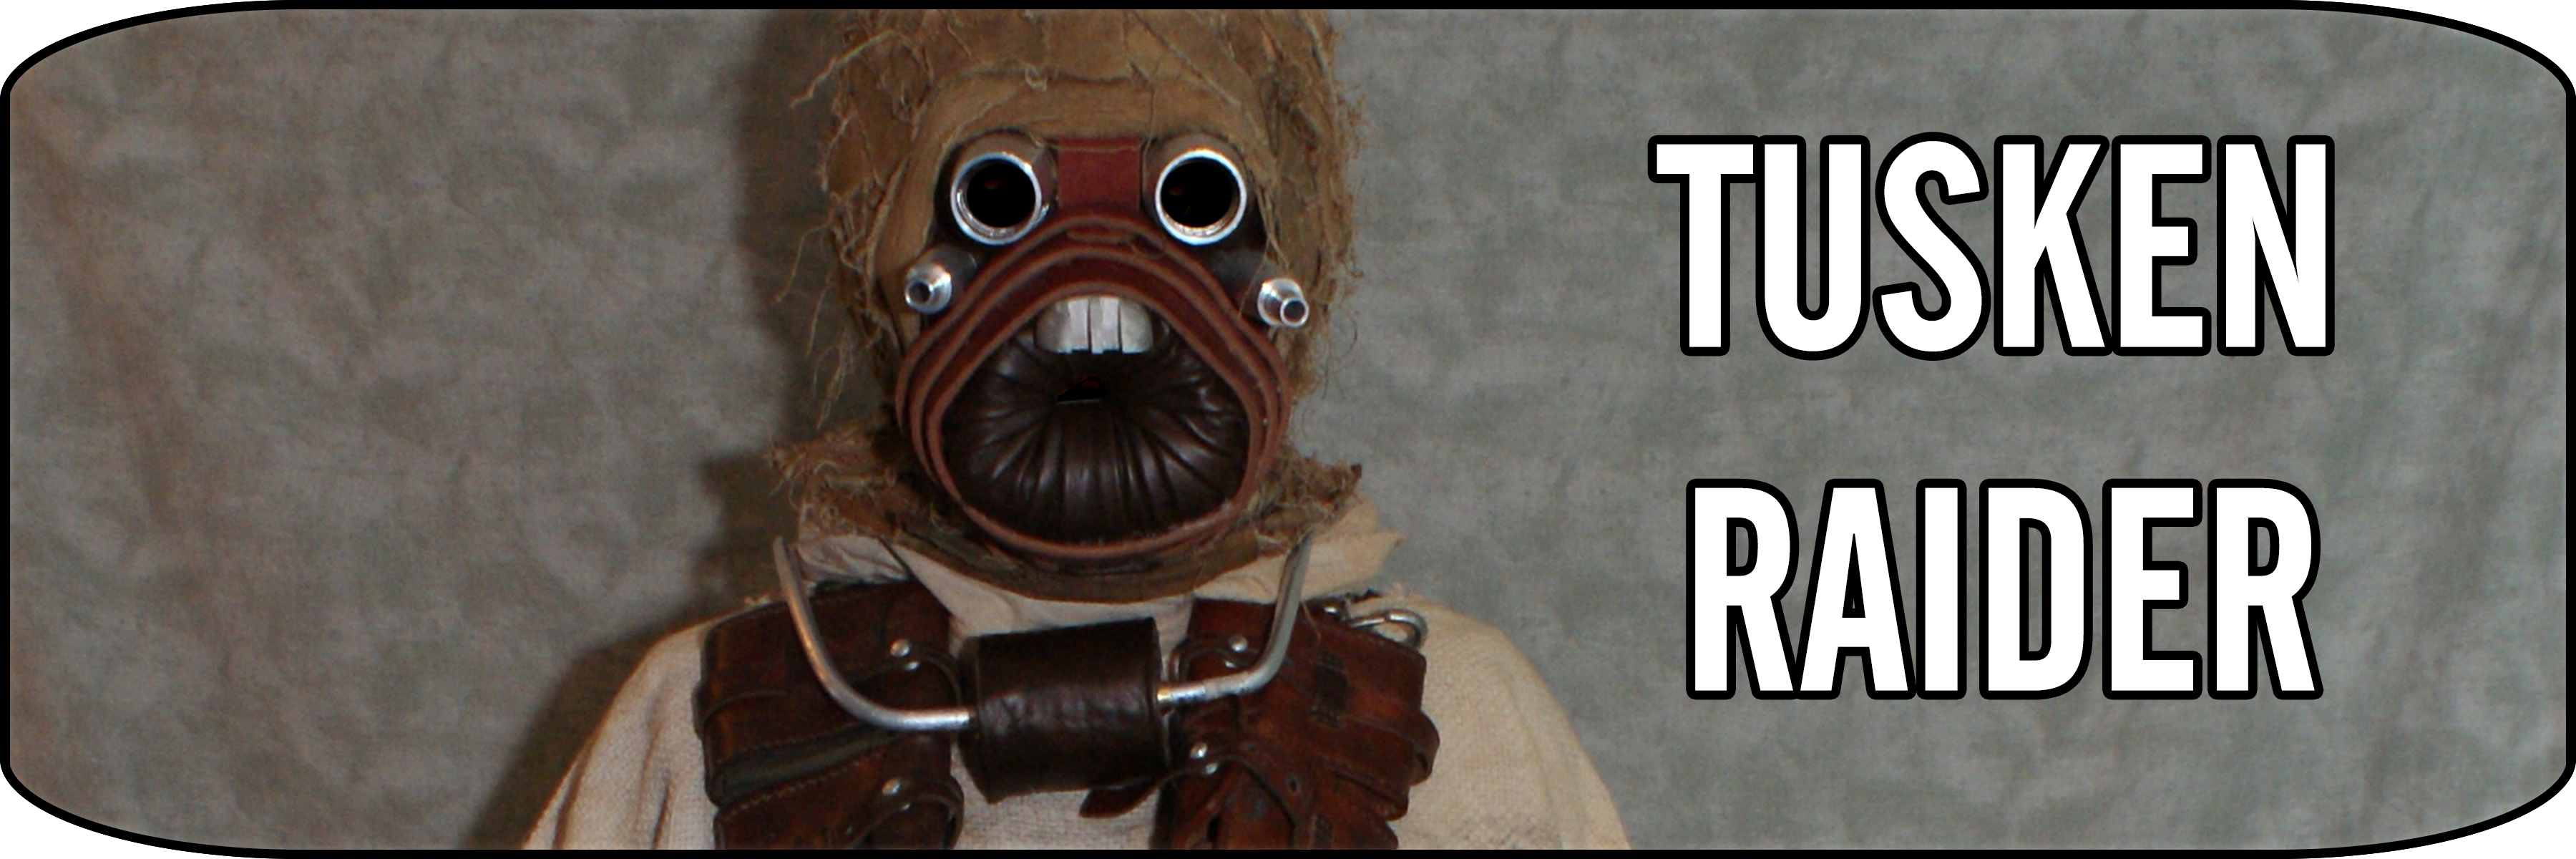
Tusken Raider
The Tusken Raiders were first seen in the film Star Wars: A New Hope, as well as the prequel films. Like I said above it is a fun costume because of the fun you can have with it and people in general as well as it is comfortable. Very hot, but comfortable compared to the Stormtrooper.
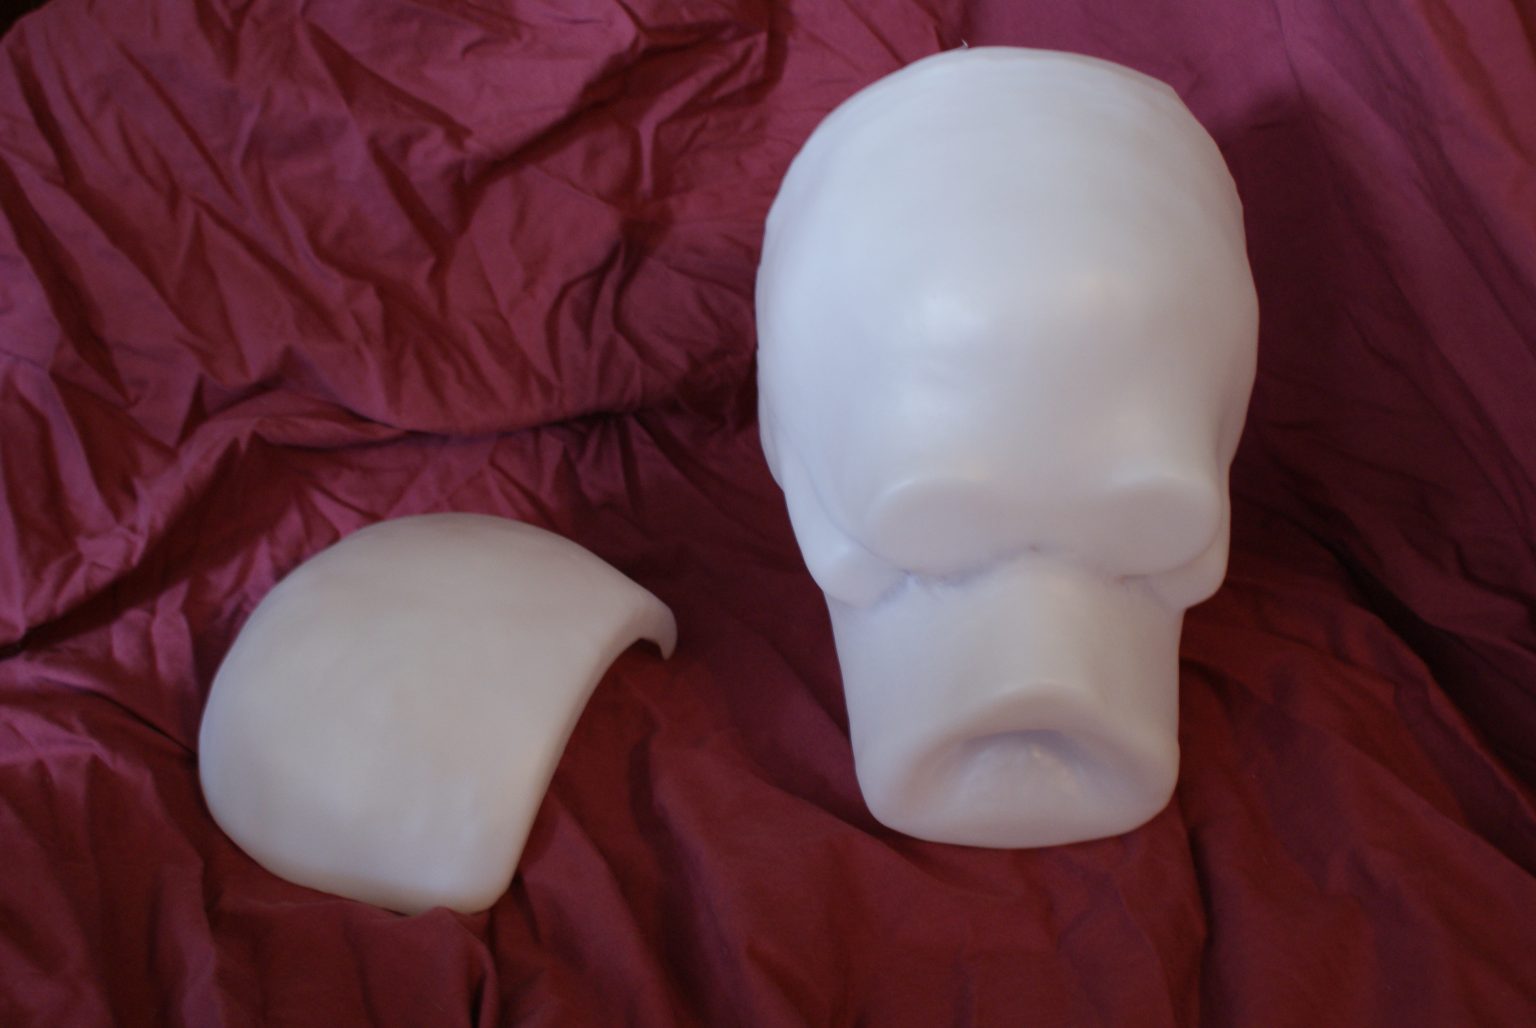
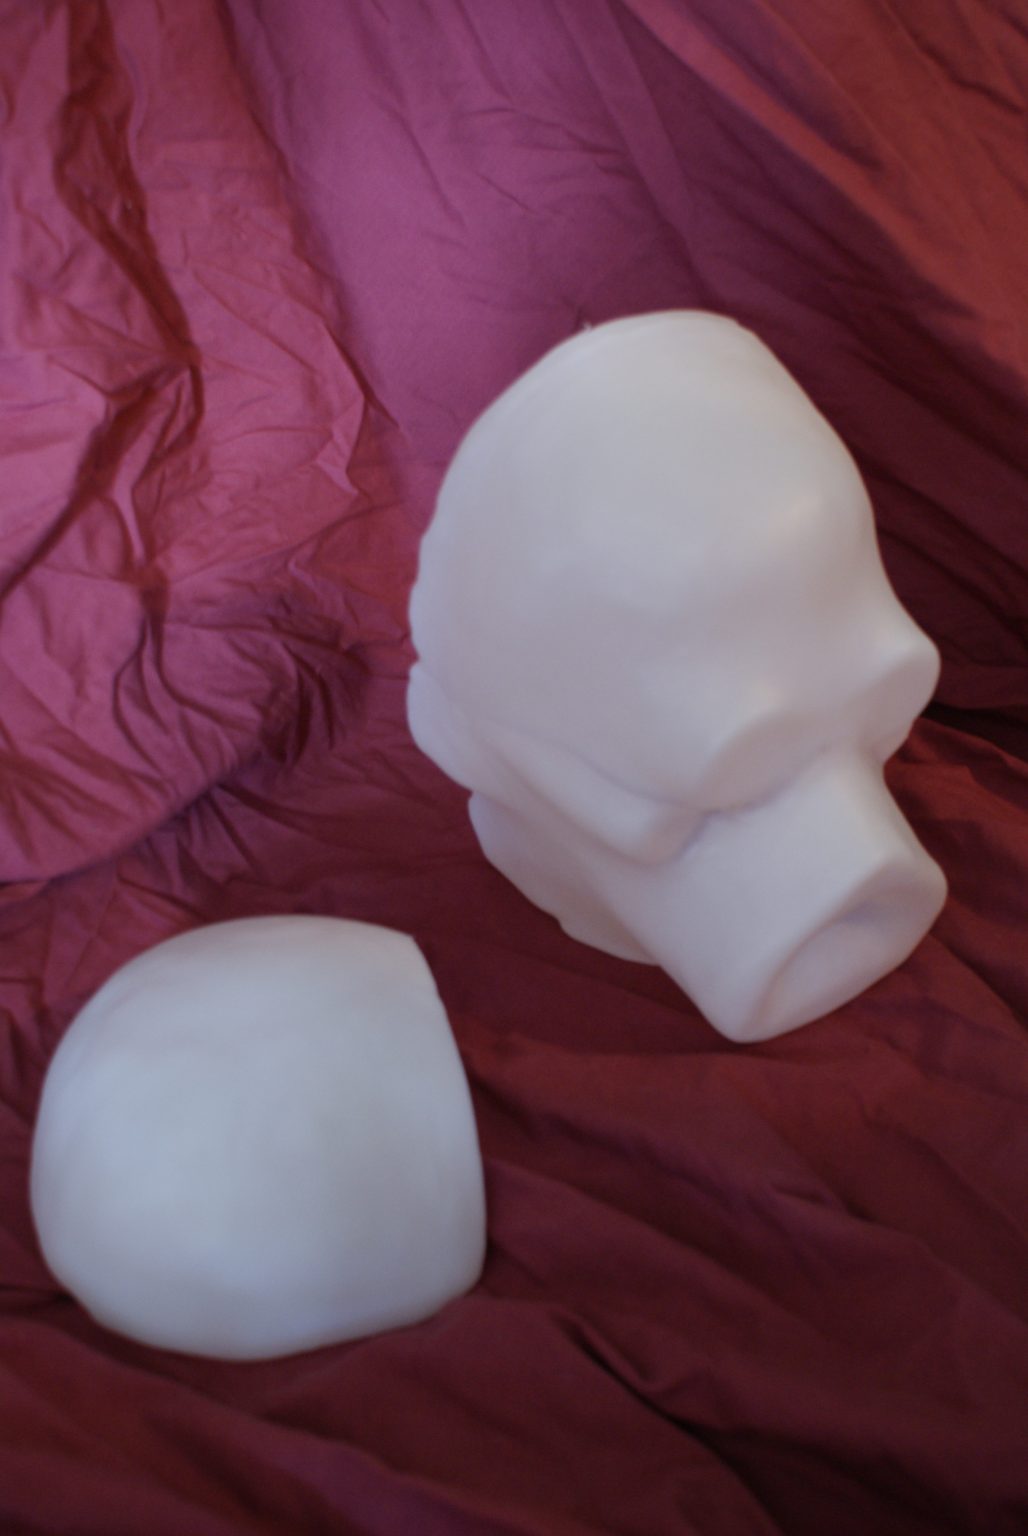
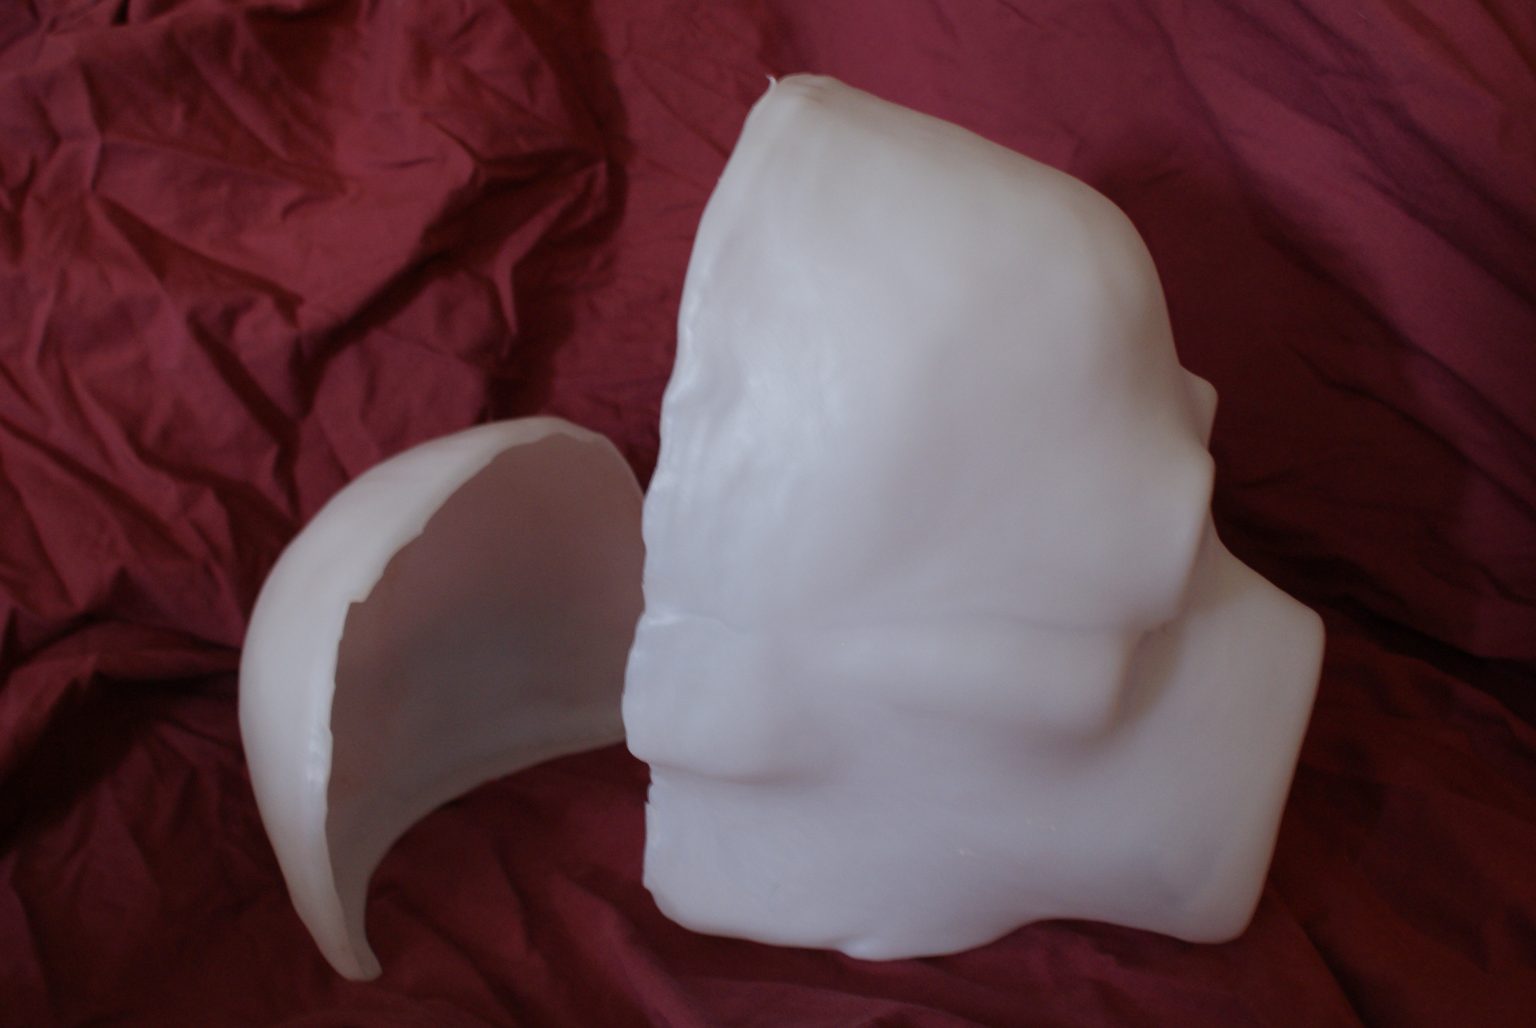
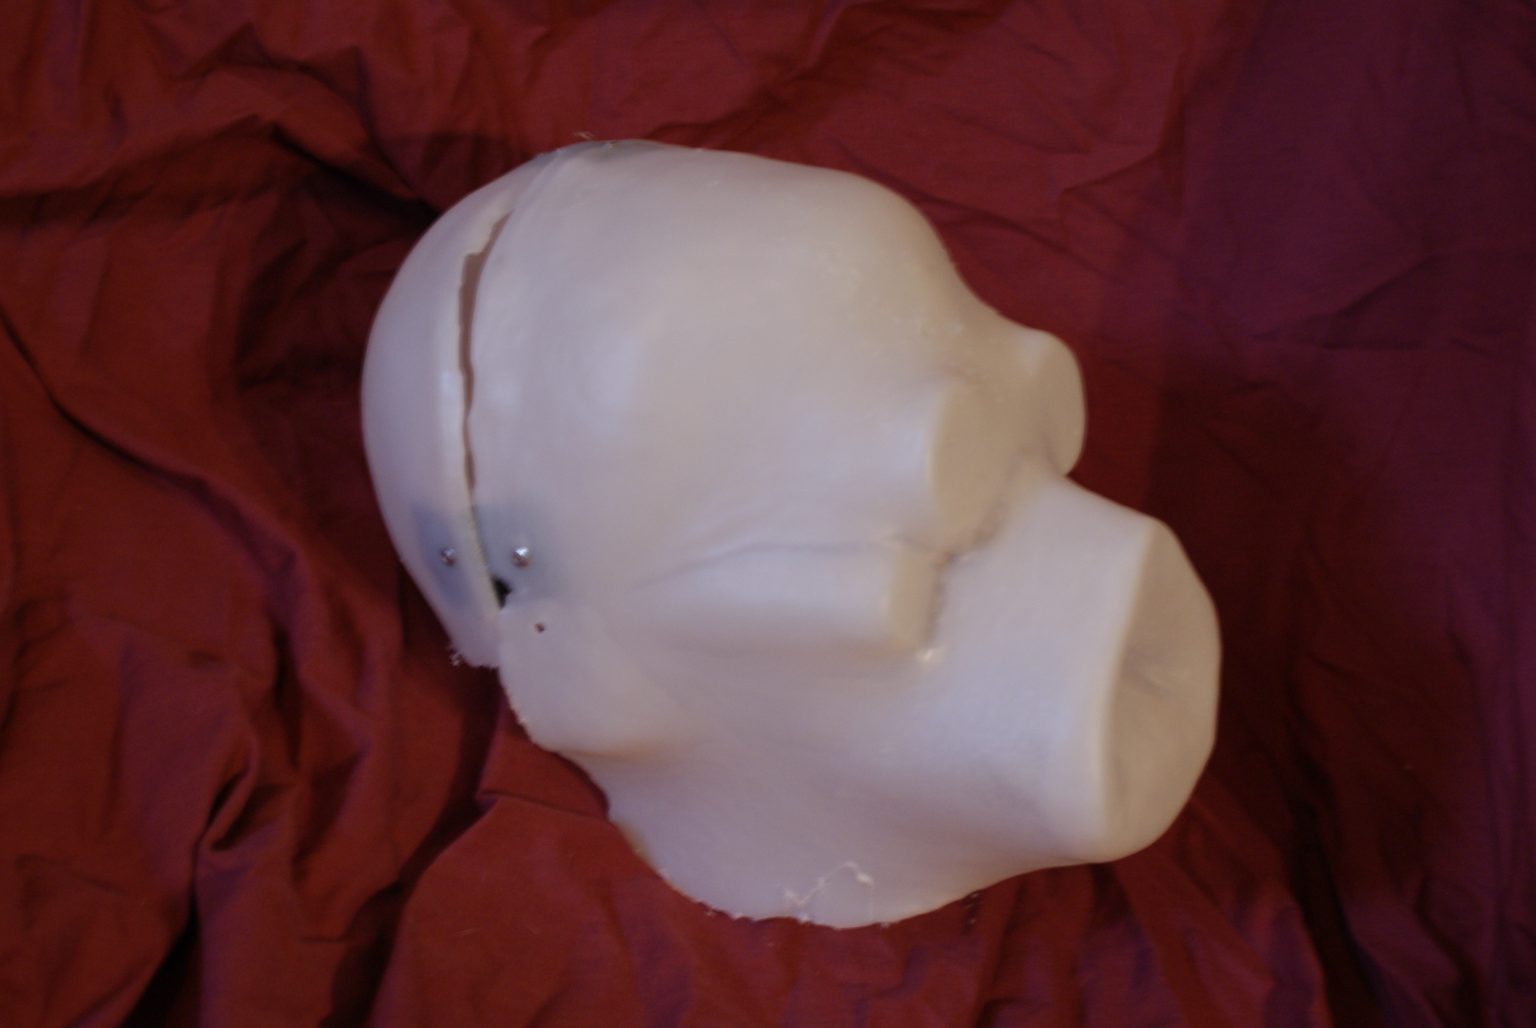
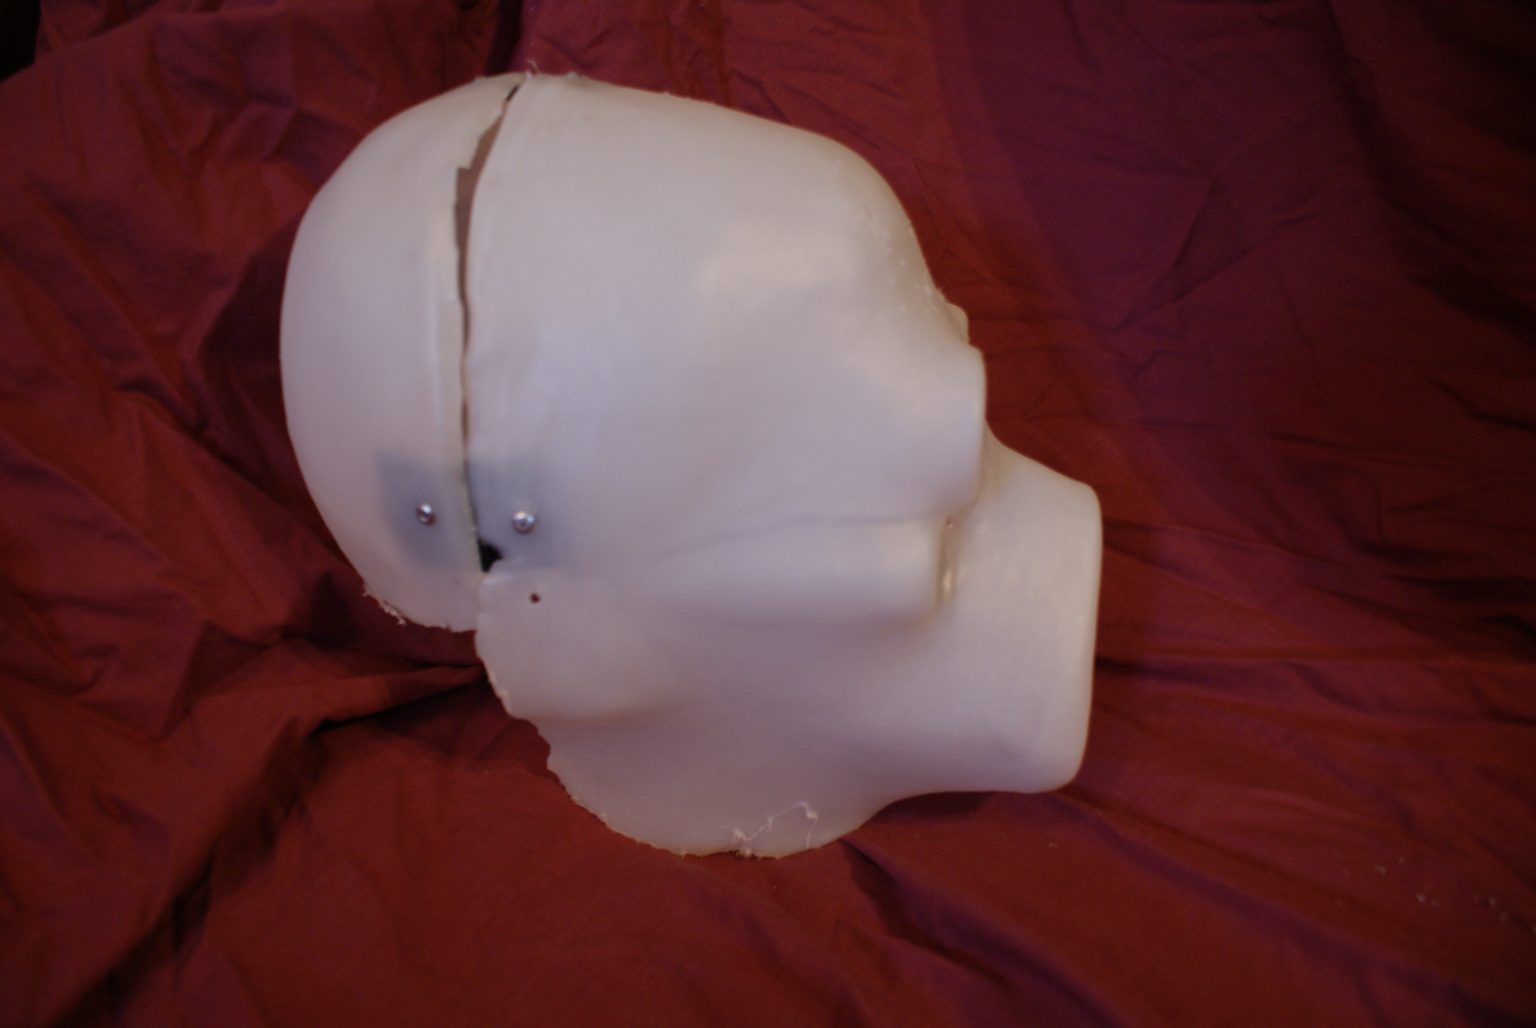
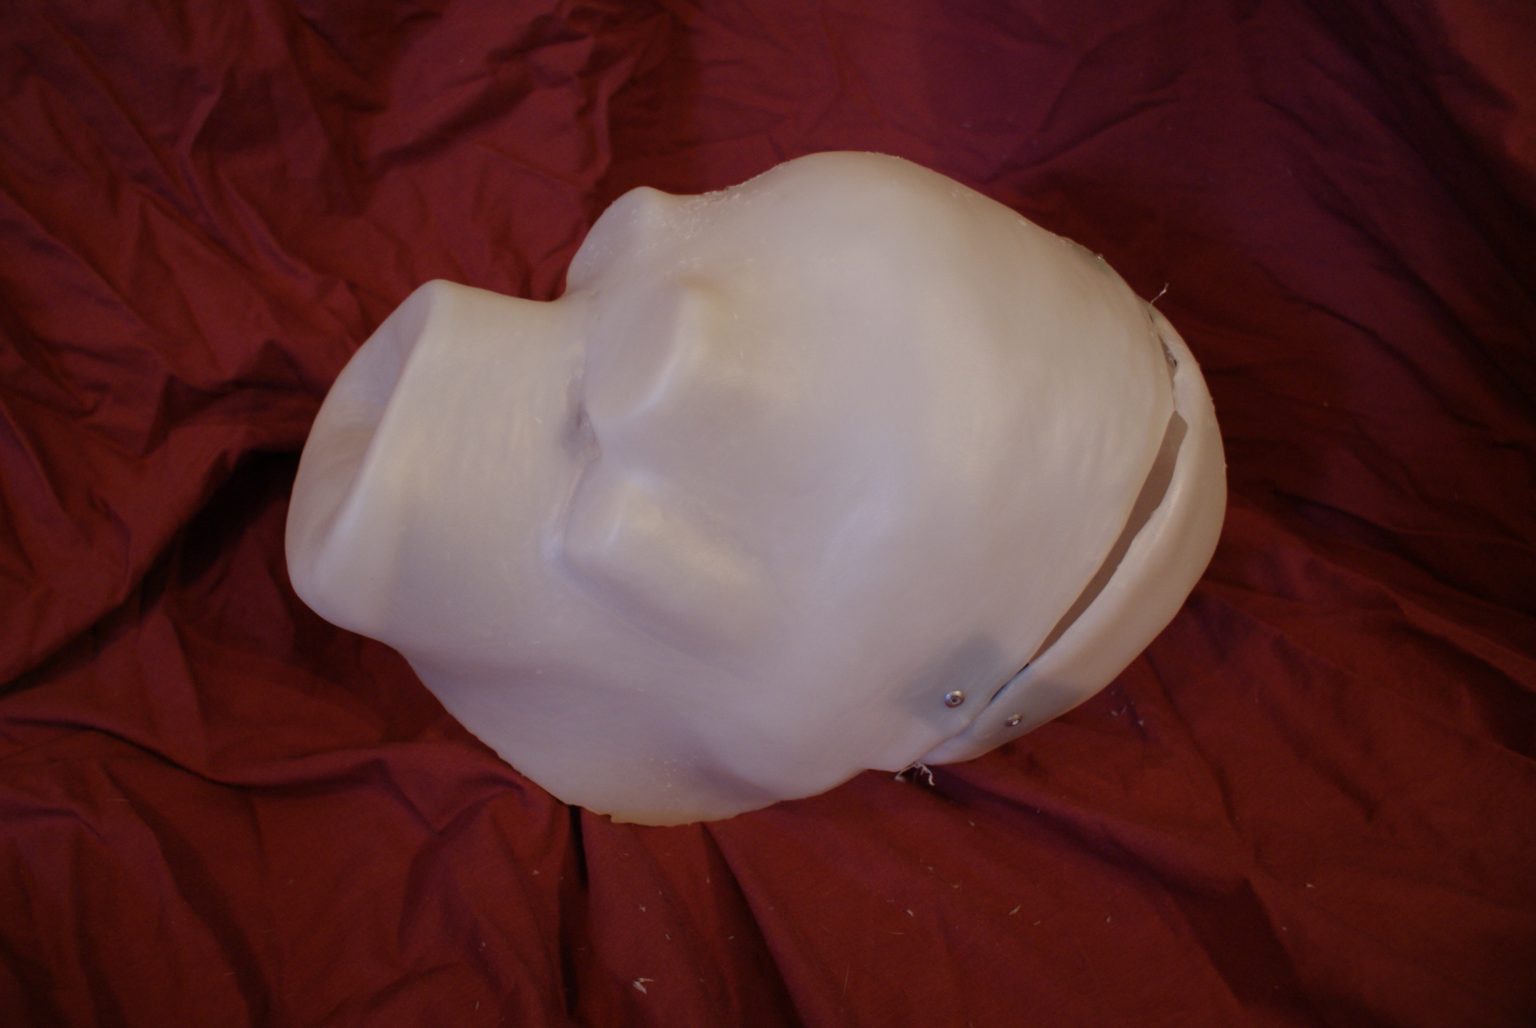
Getting Started and the Shell
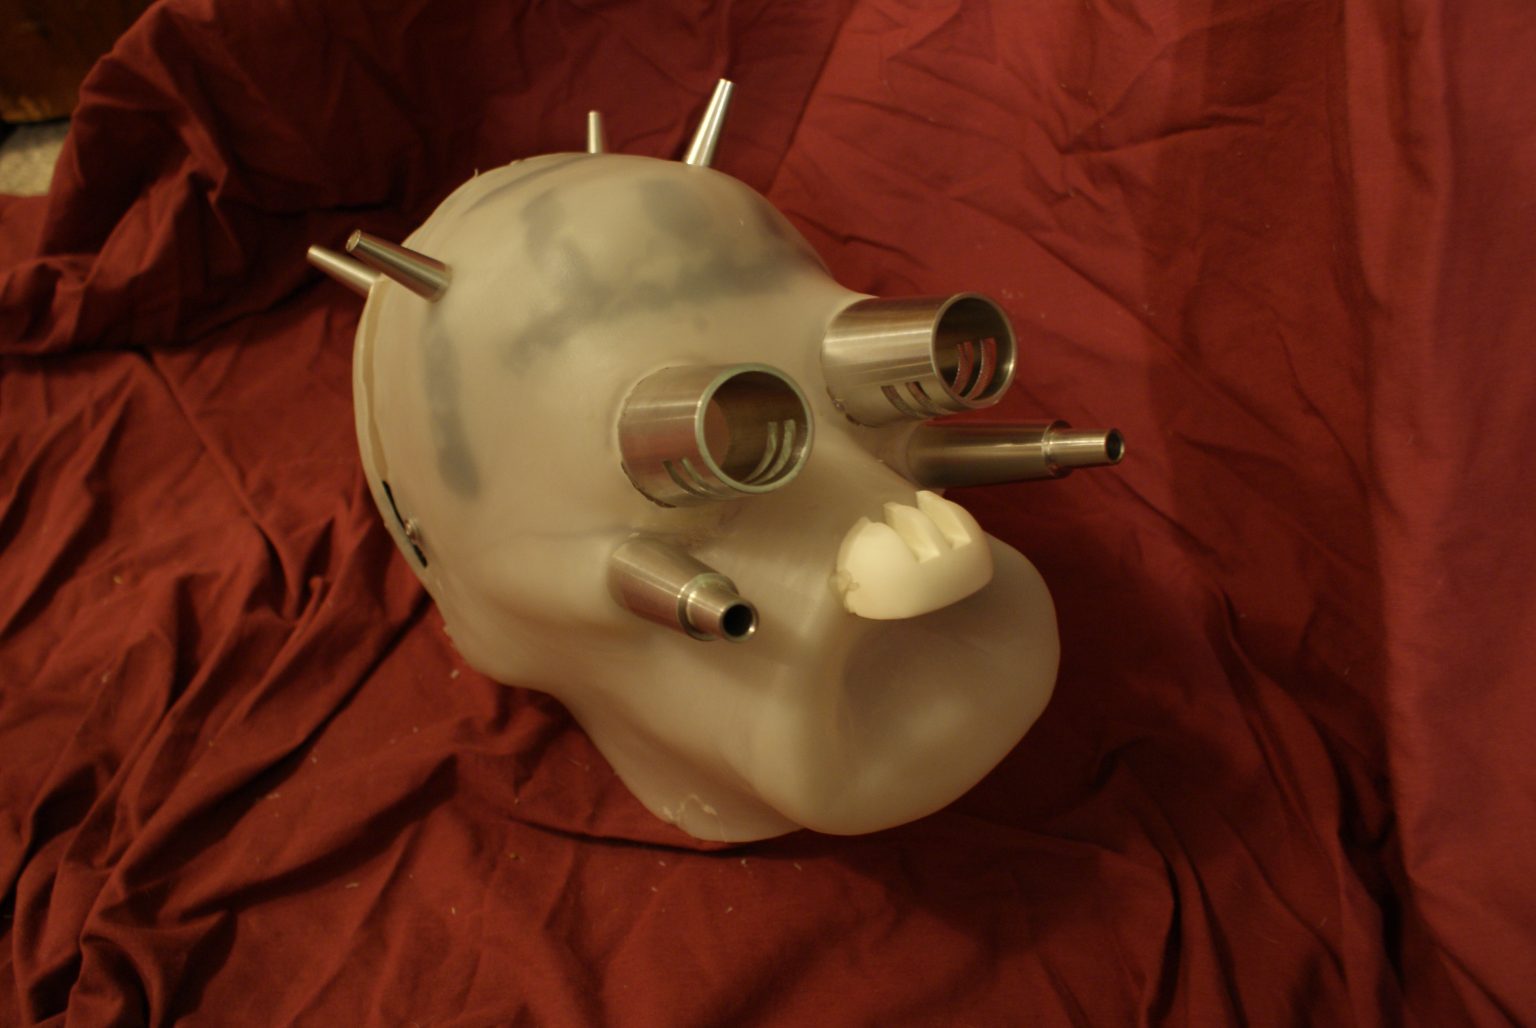
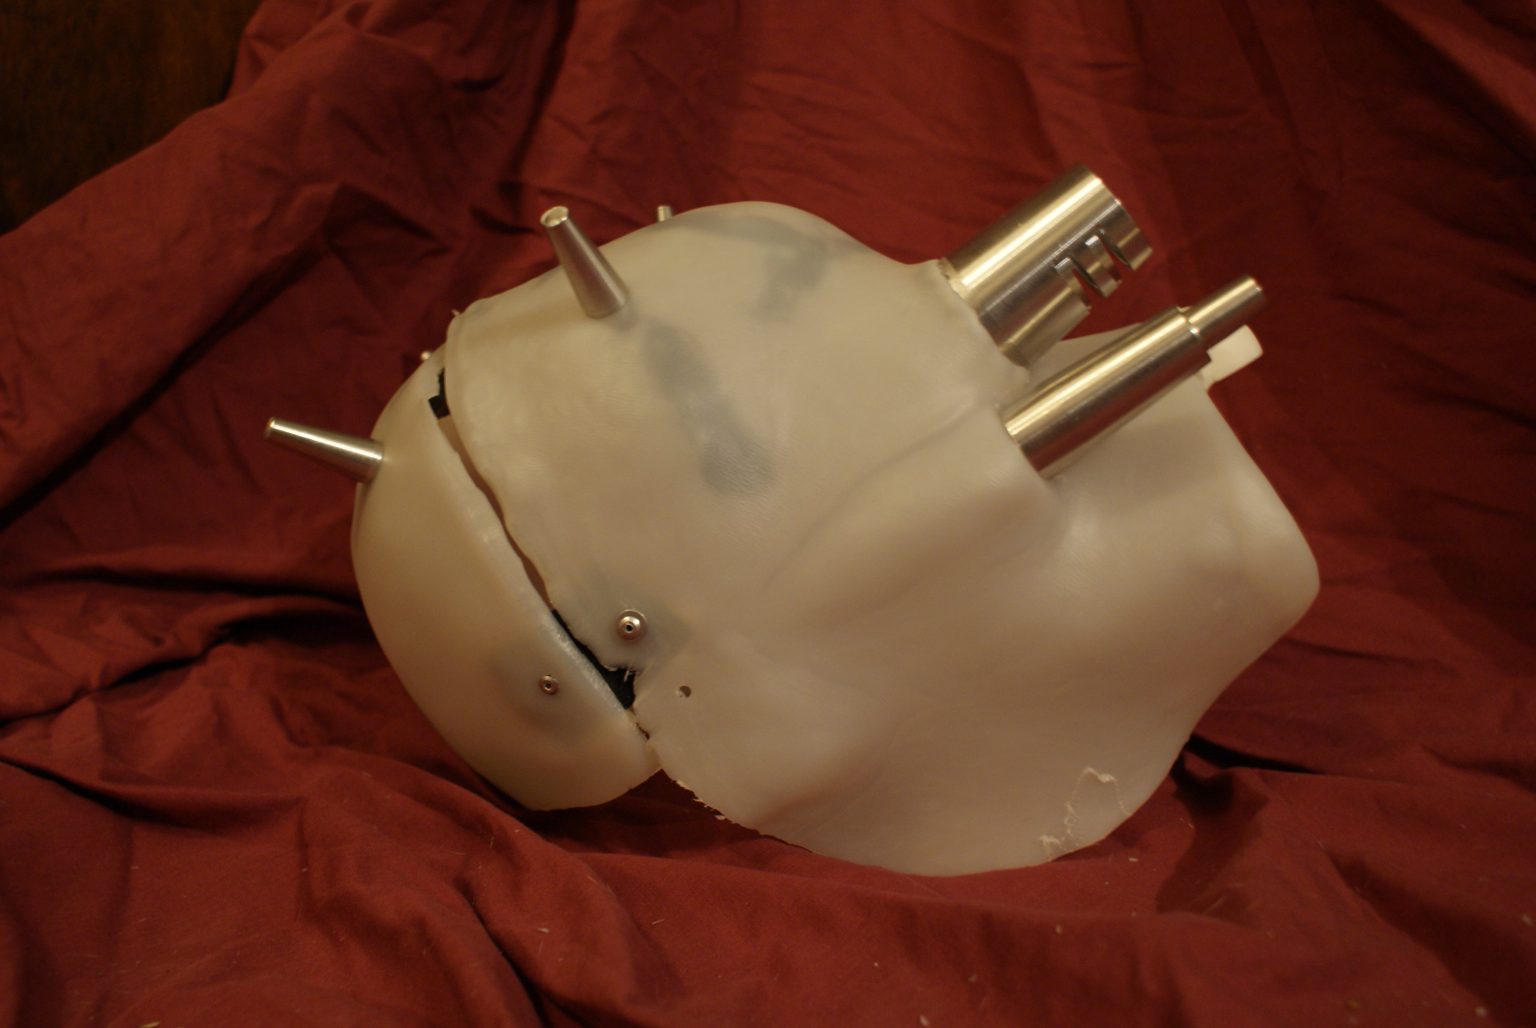
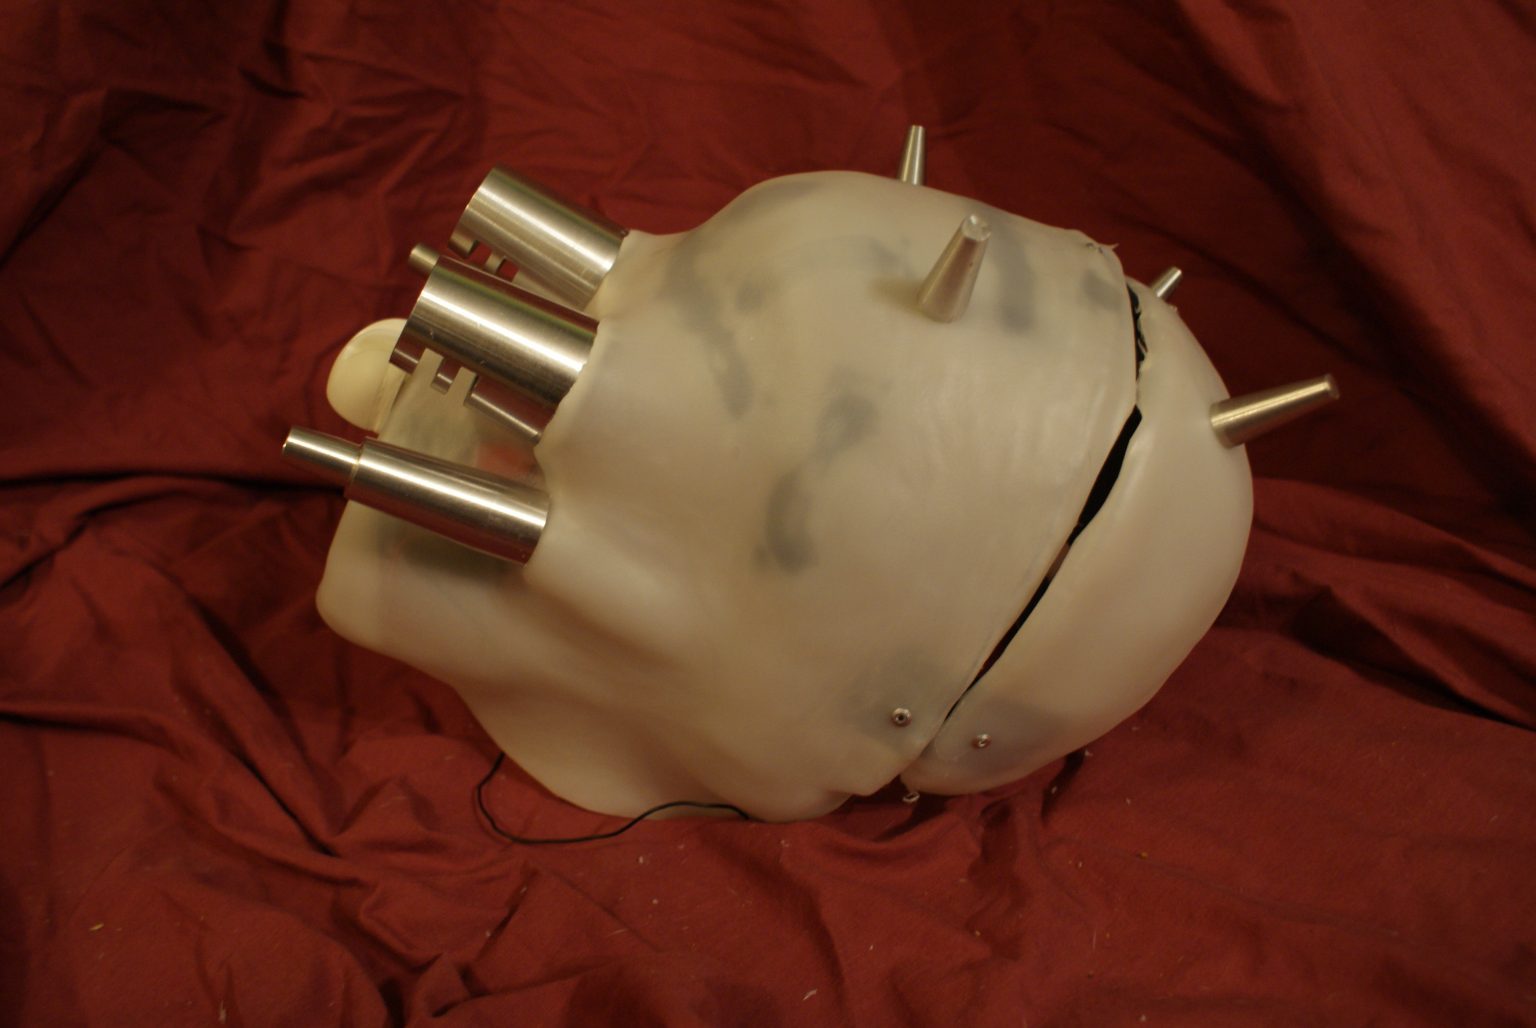
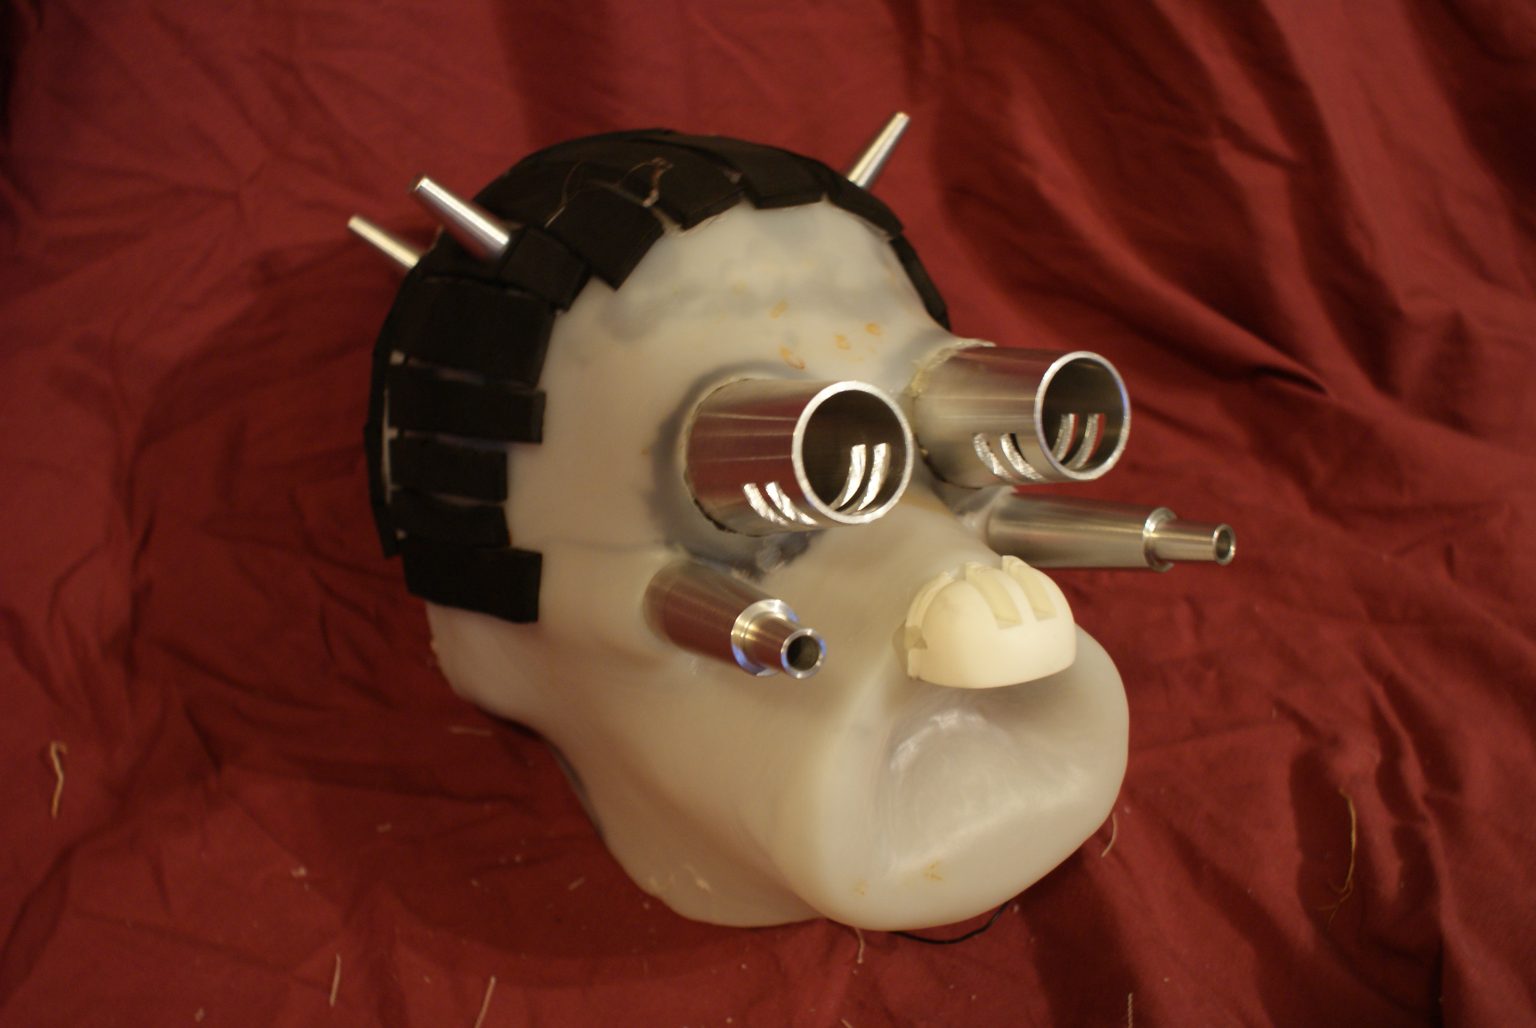
At some point I do need to make a weapon for this costume but it is a fun costume to run around in. Below are some pictures of a base shell I used and how I assembled them. I am not aware of whether this shell is still available, or the details, but there are alot of options out there. The shell could be vacuformed, shaped from worbla, sintra, or other plastic, 3d printed, or other way.
If you want to build your own shell, Studio Creations has a great tutorial on how to make one.
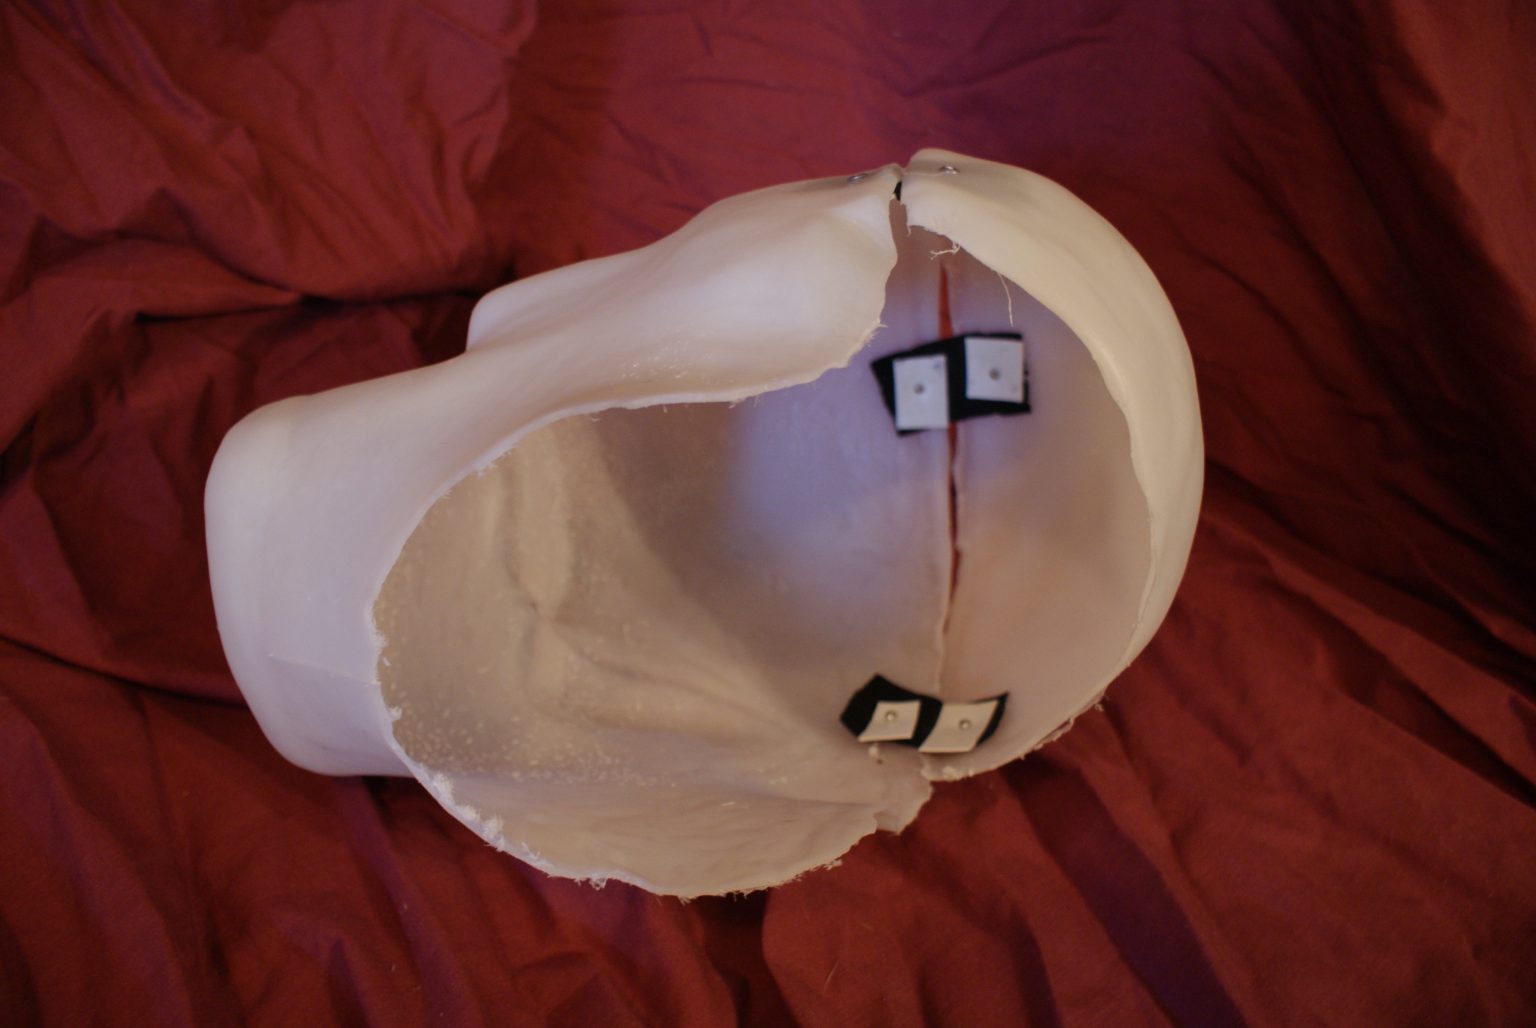
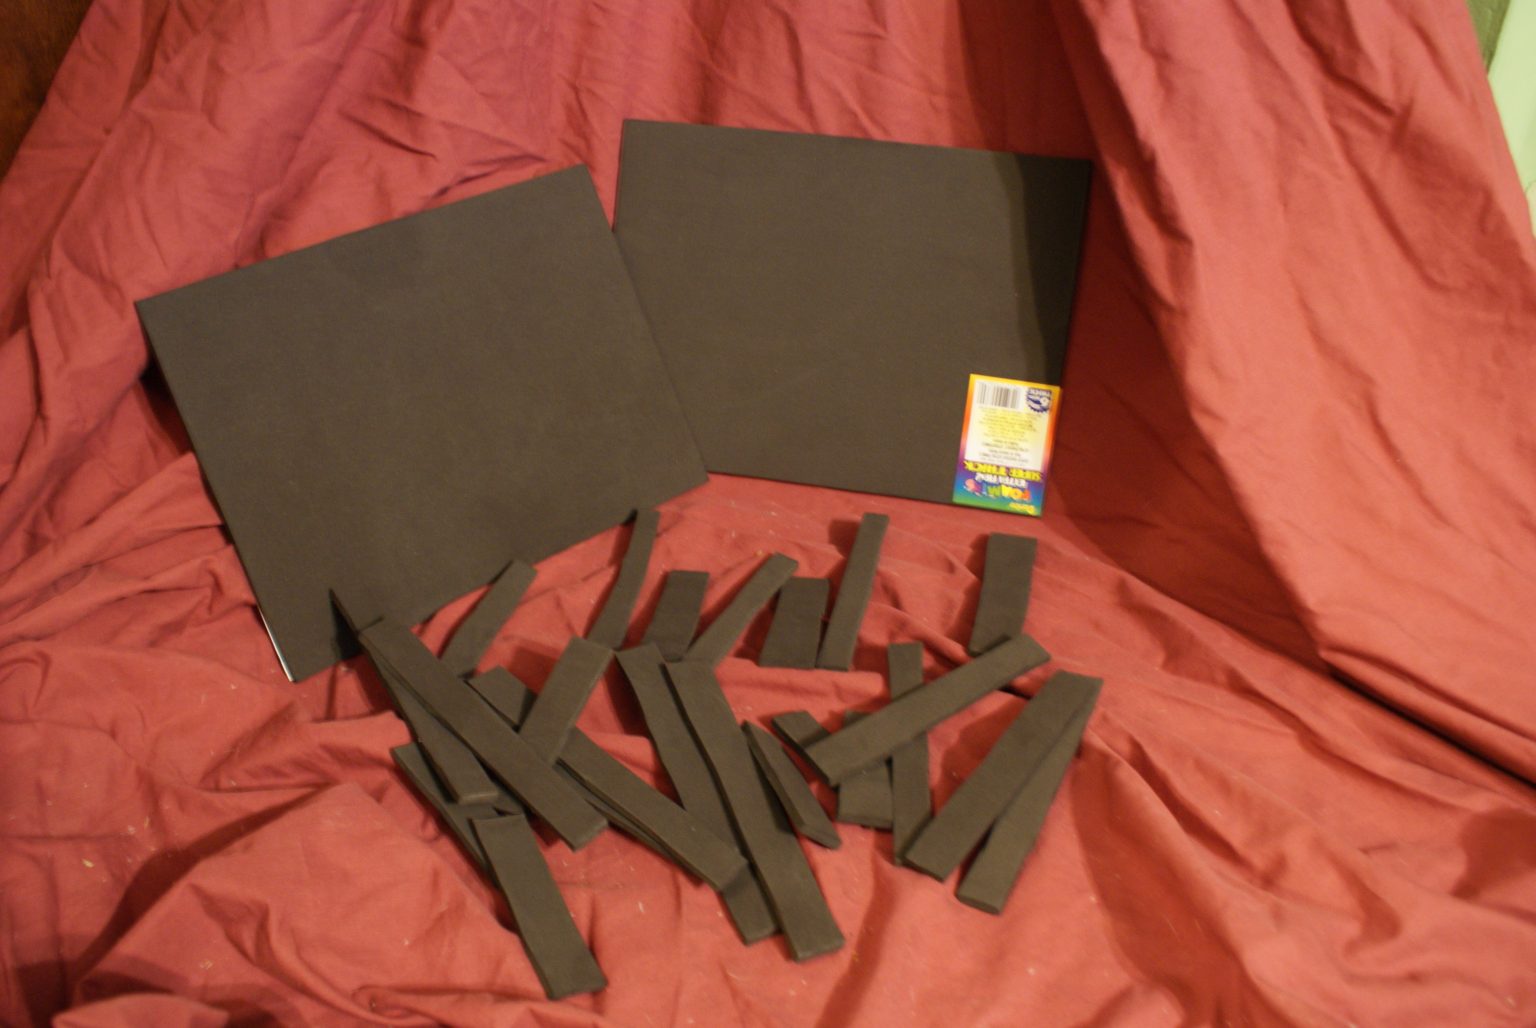
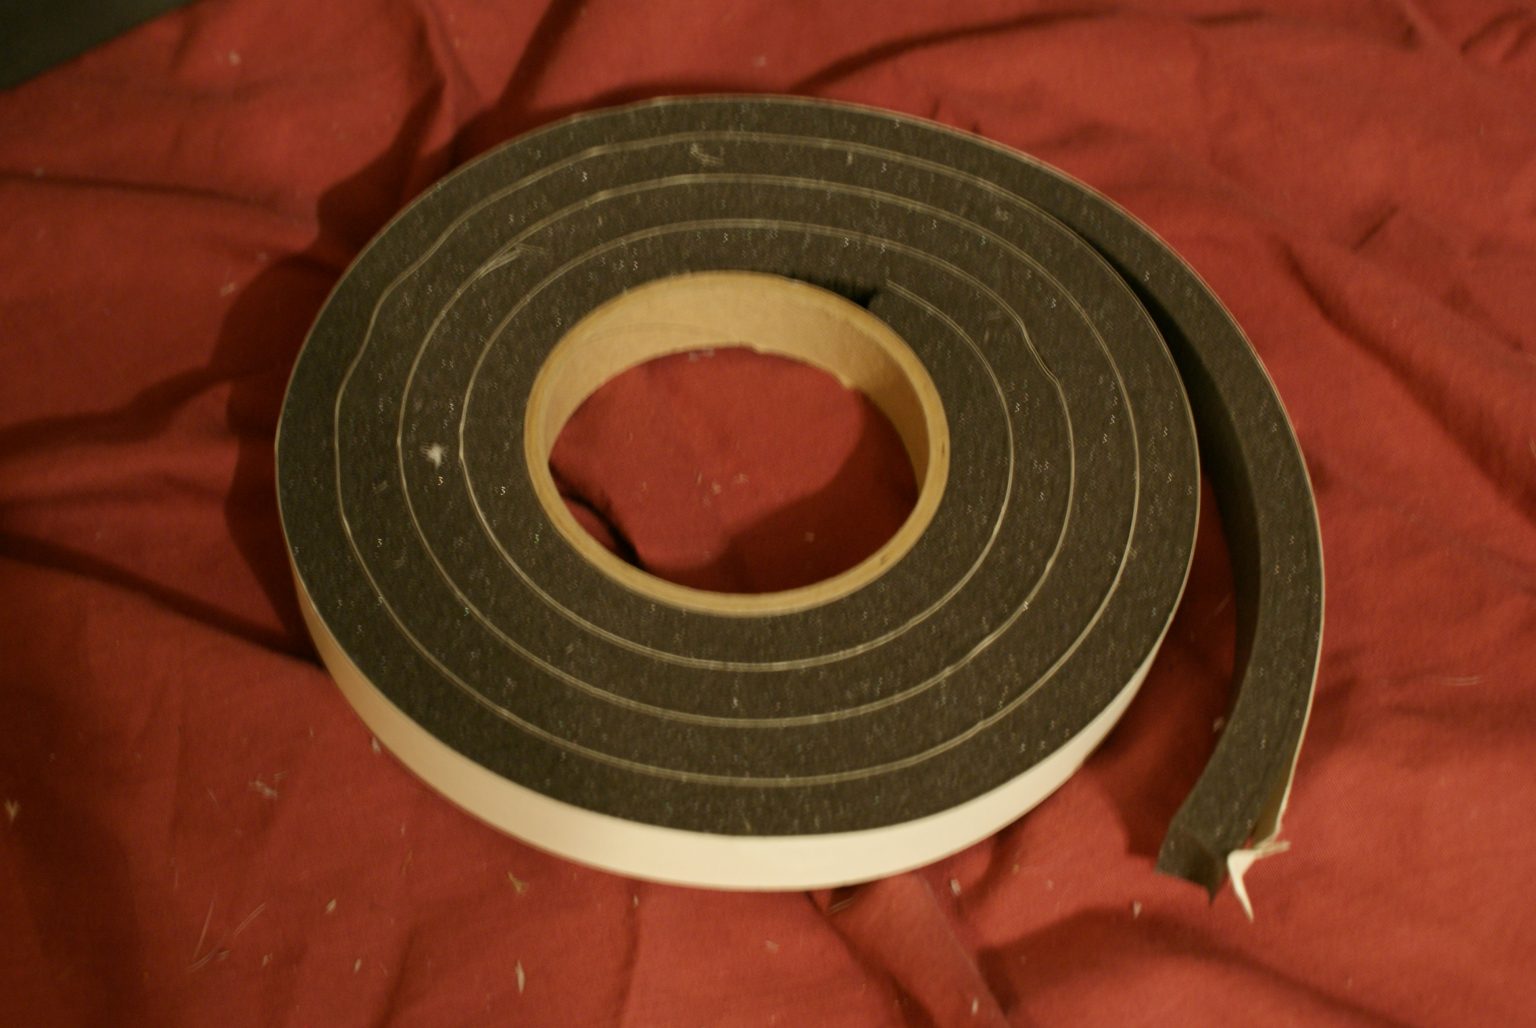
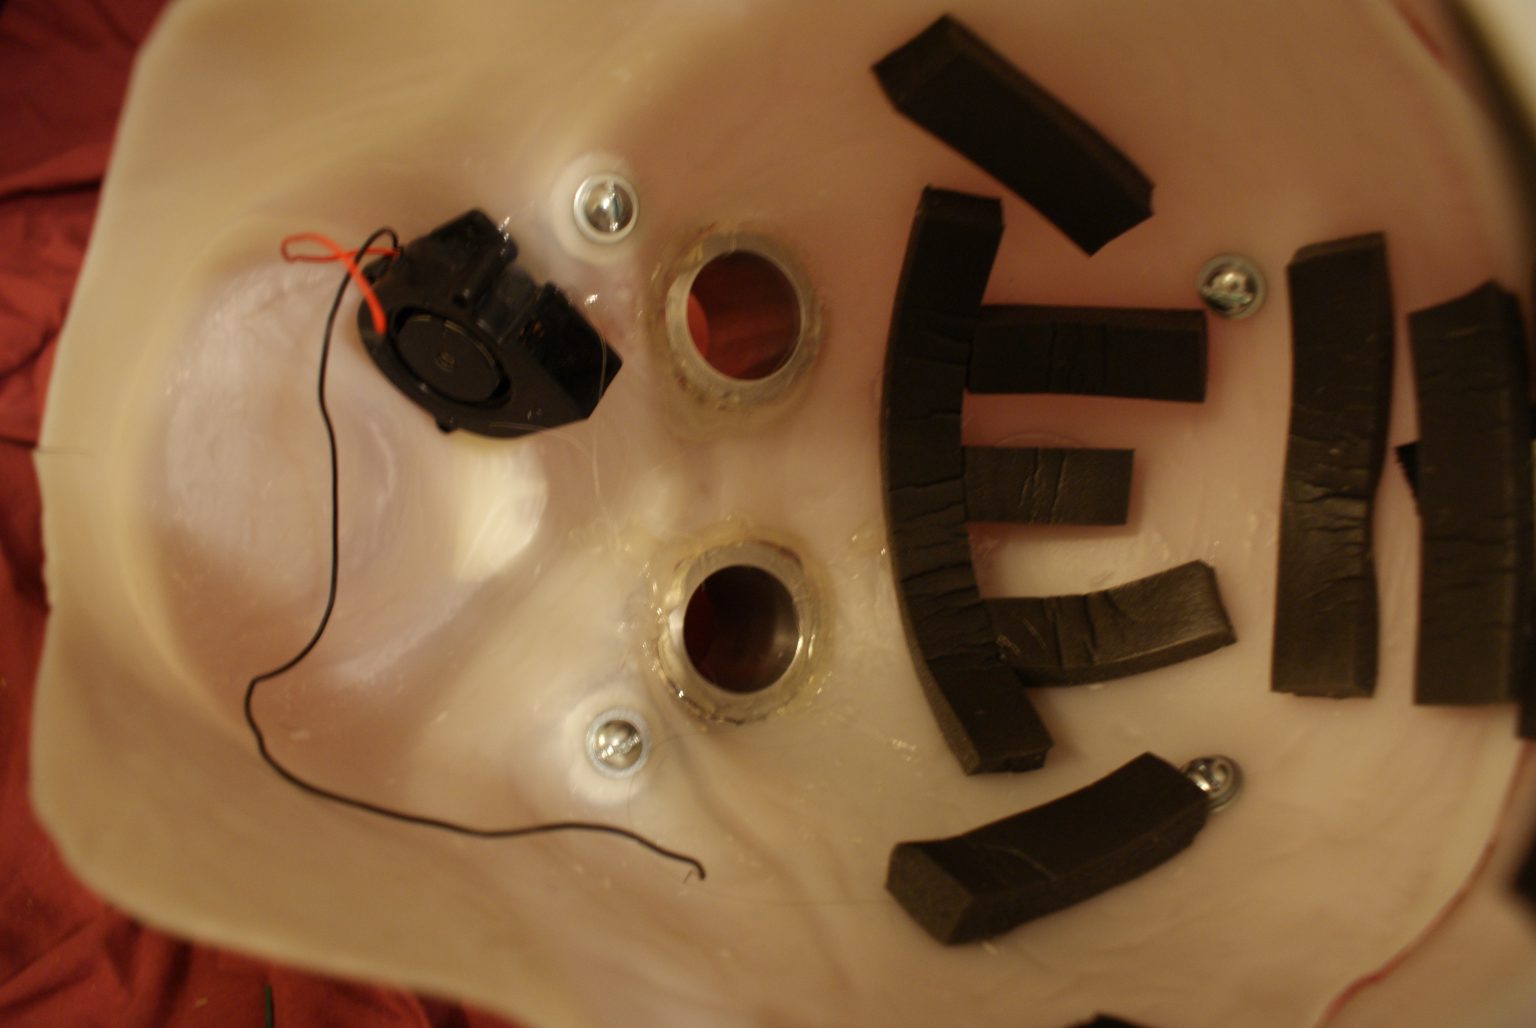
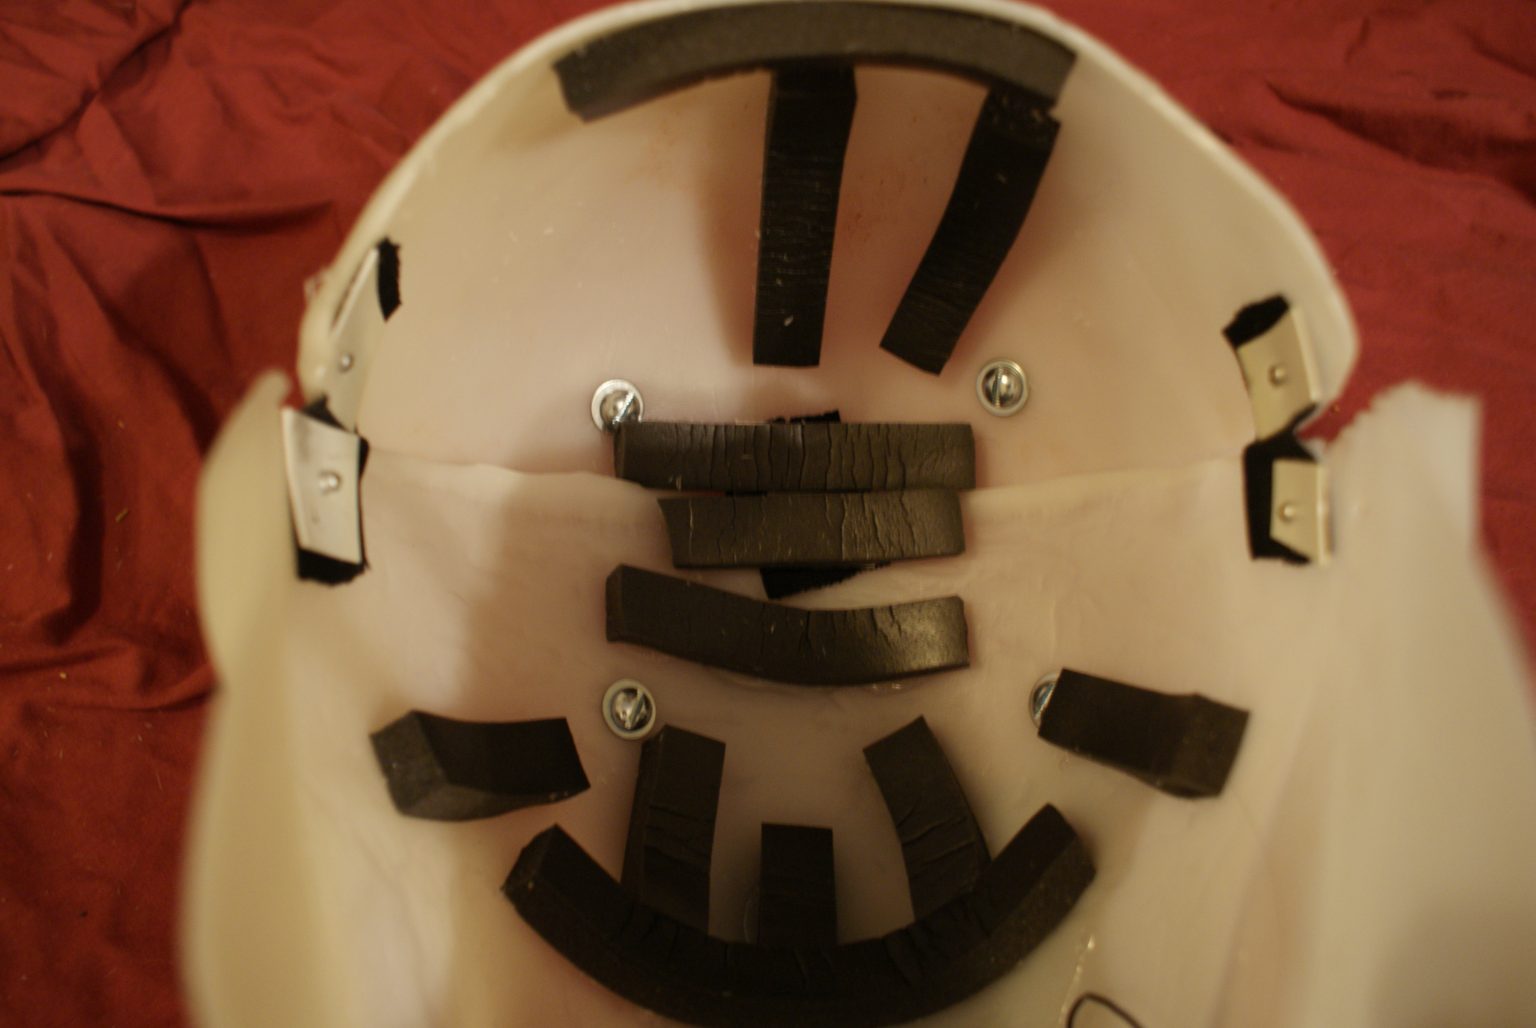
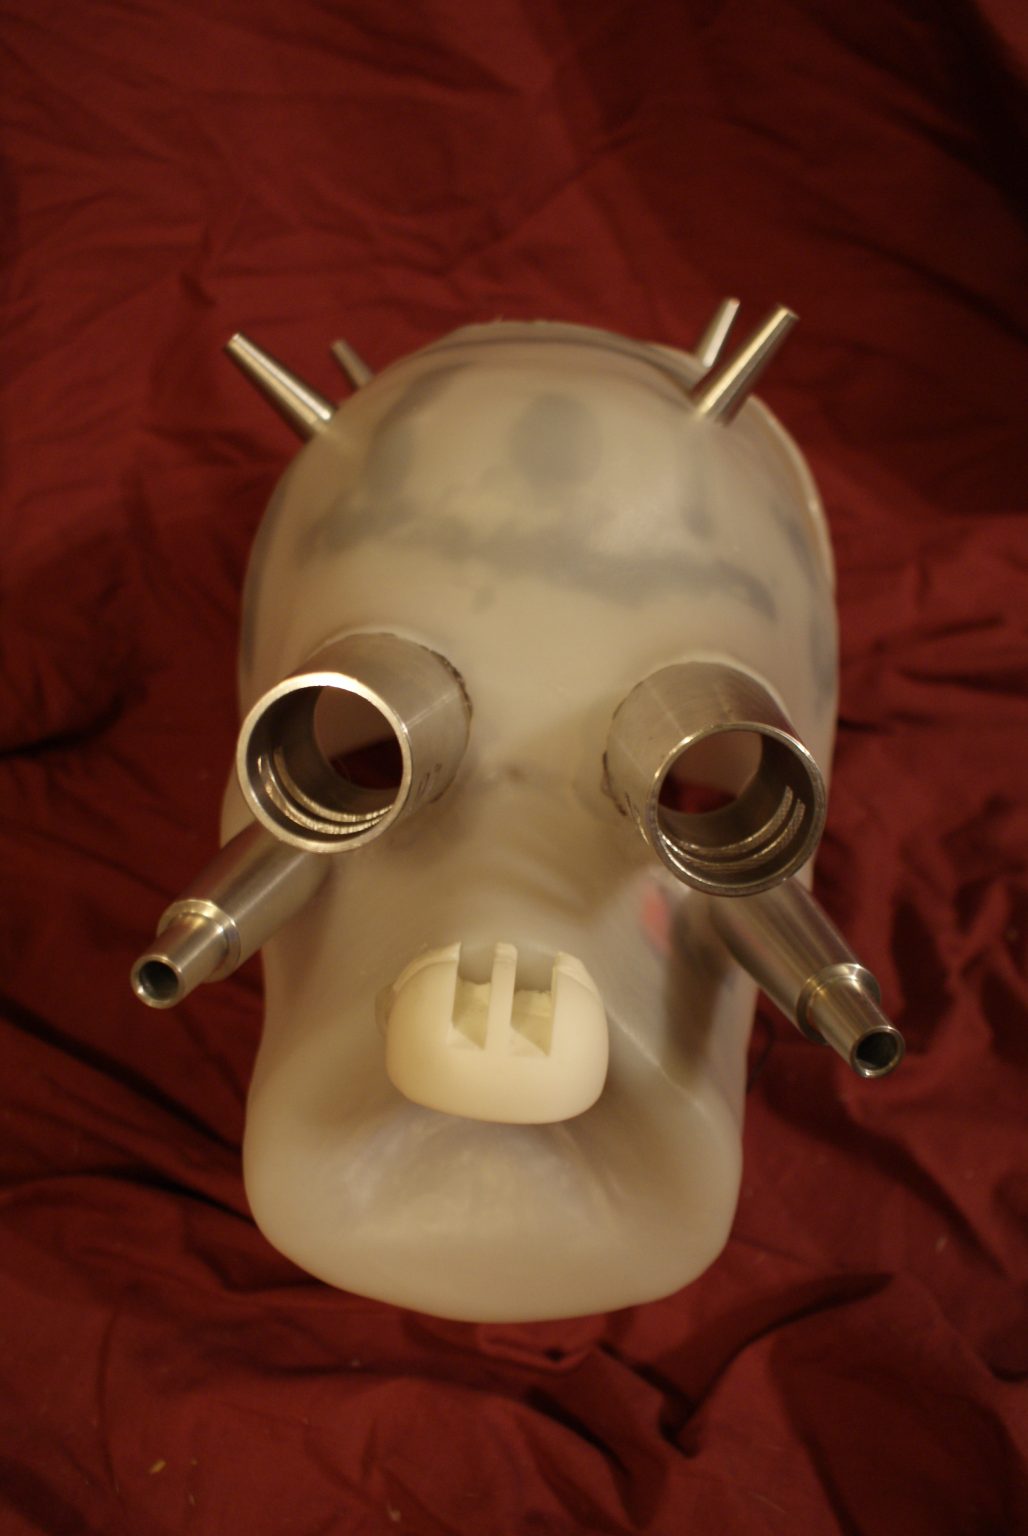
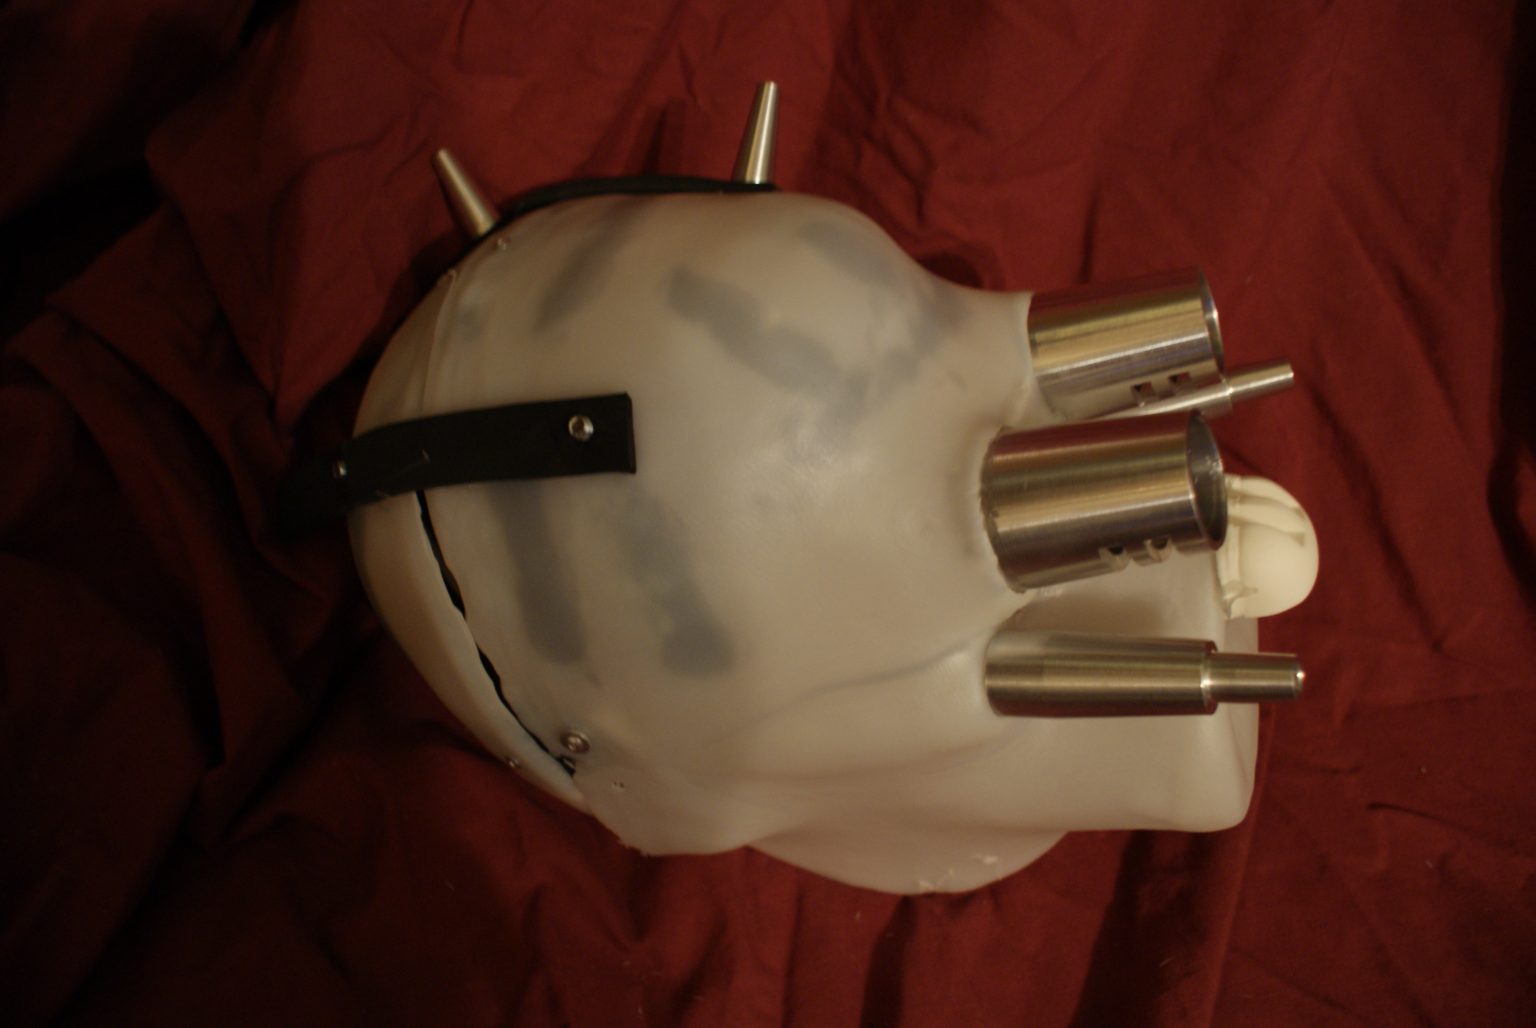
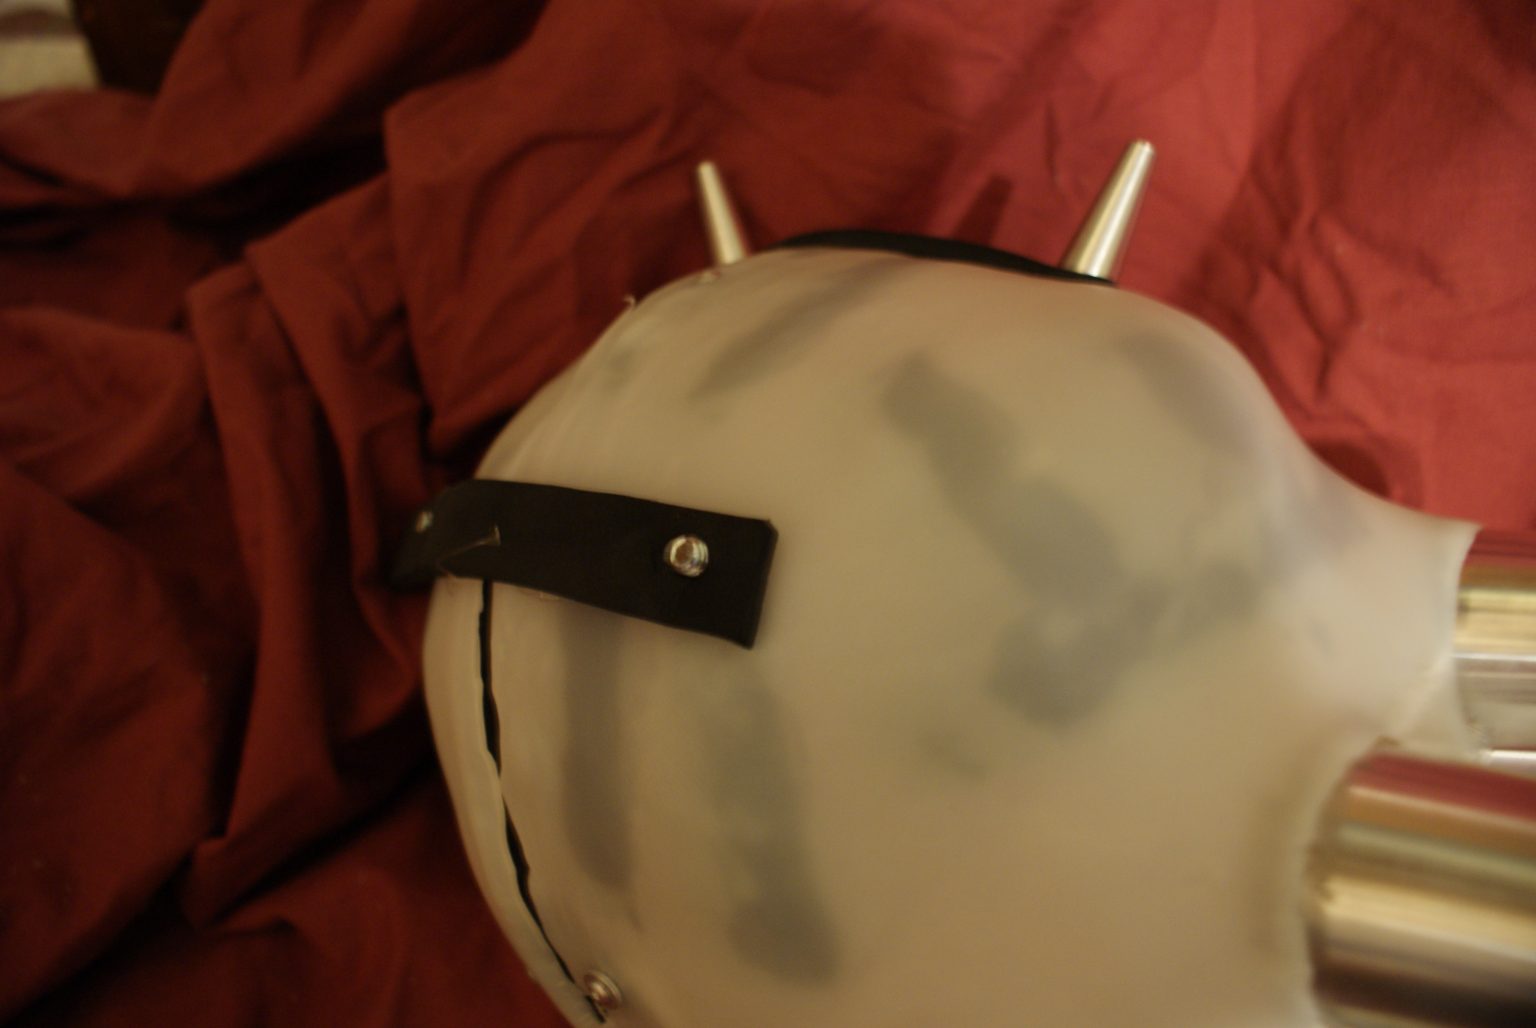
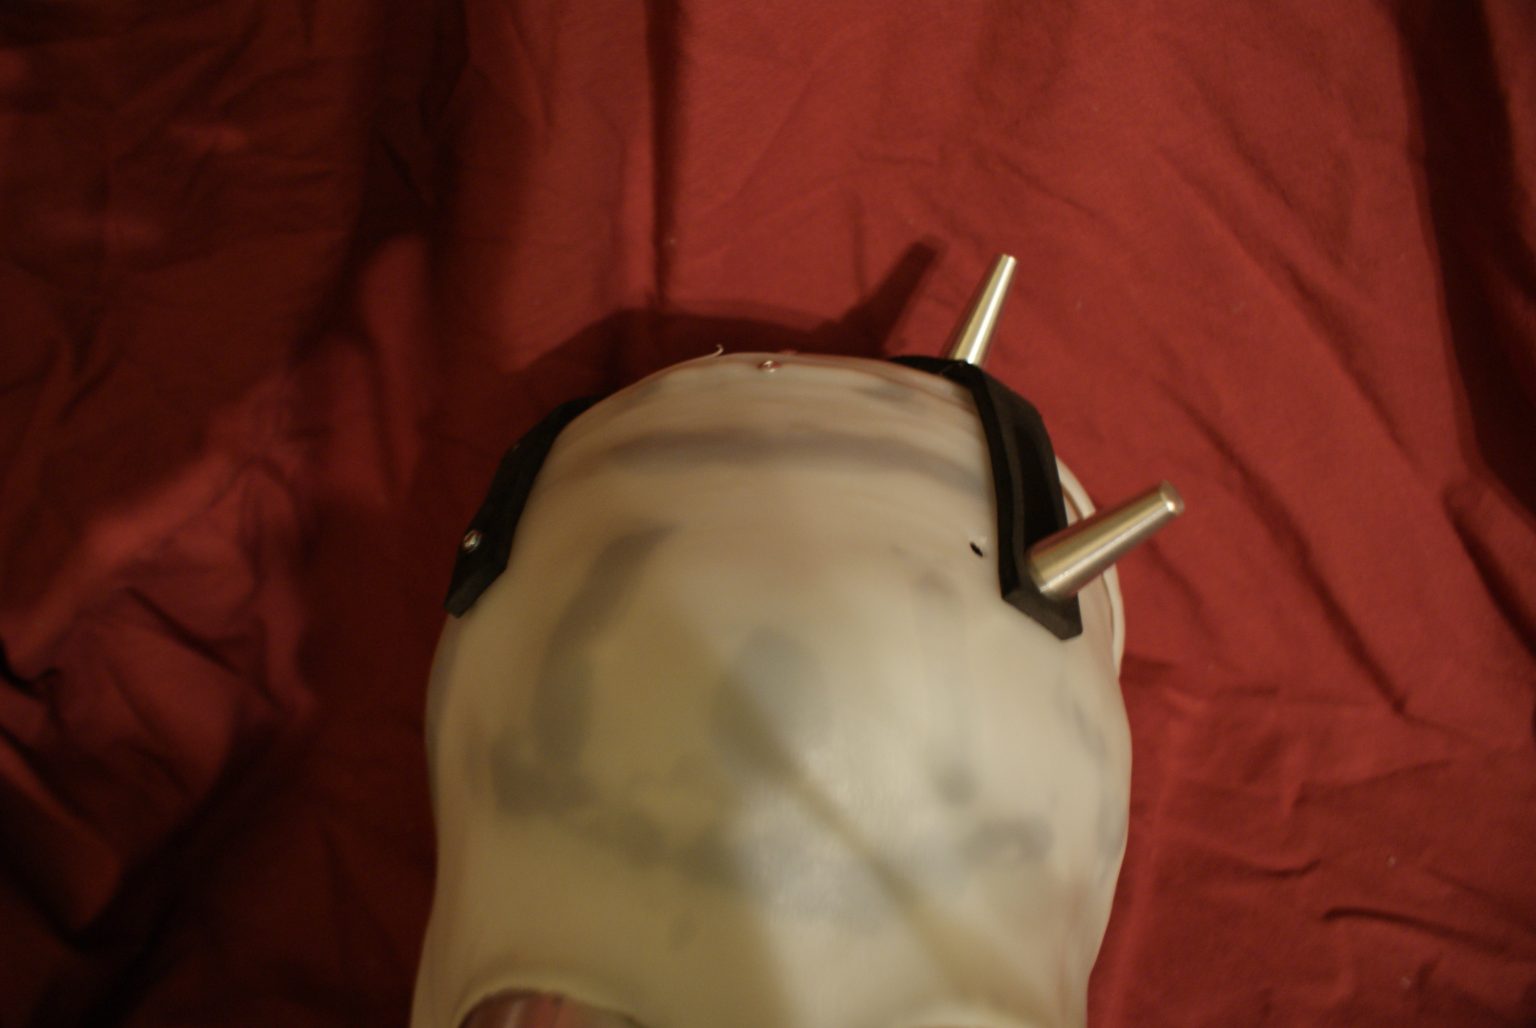
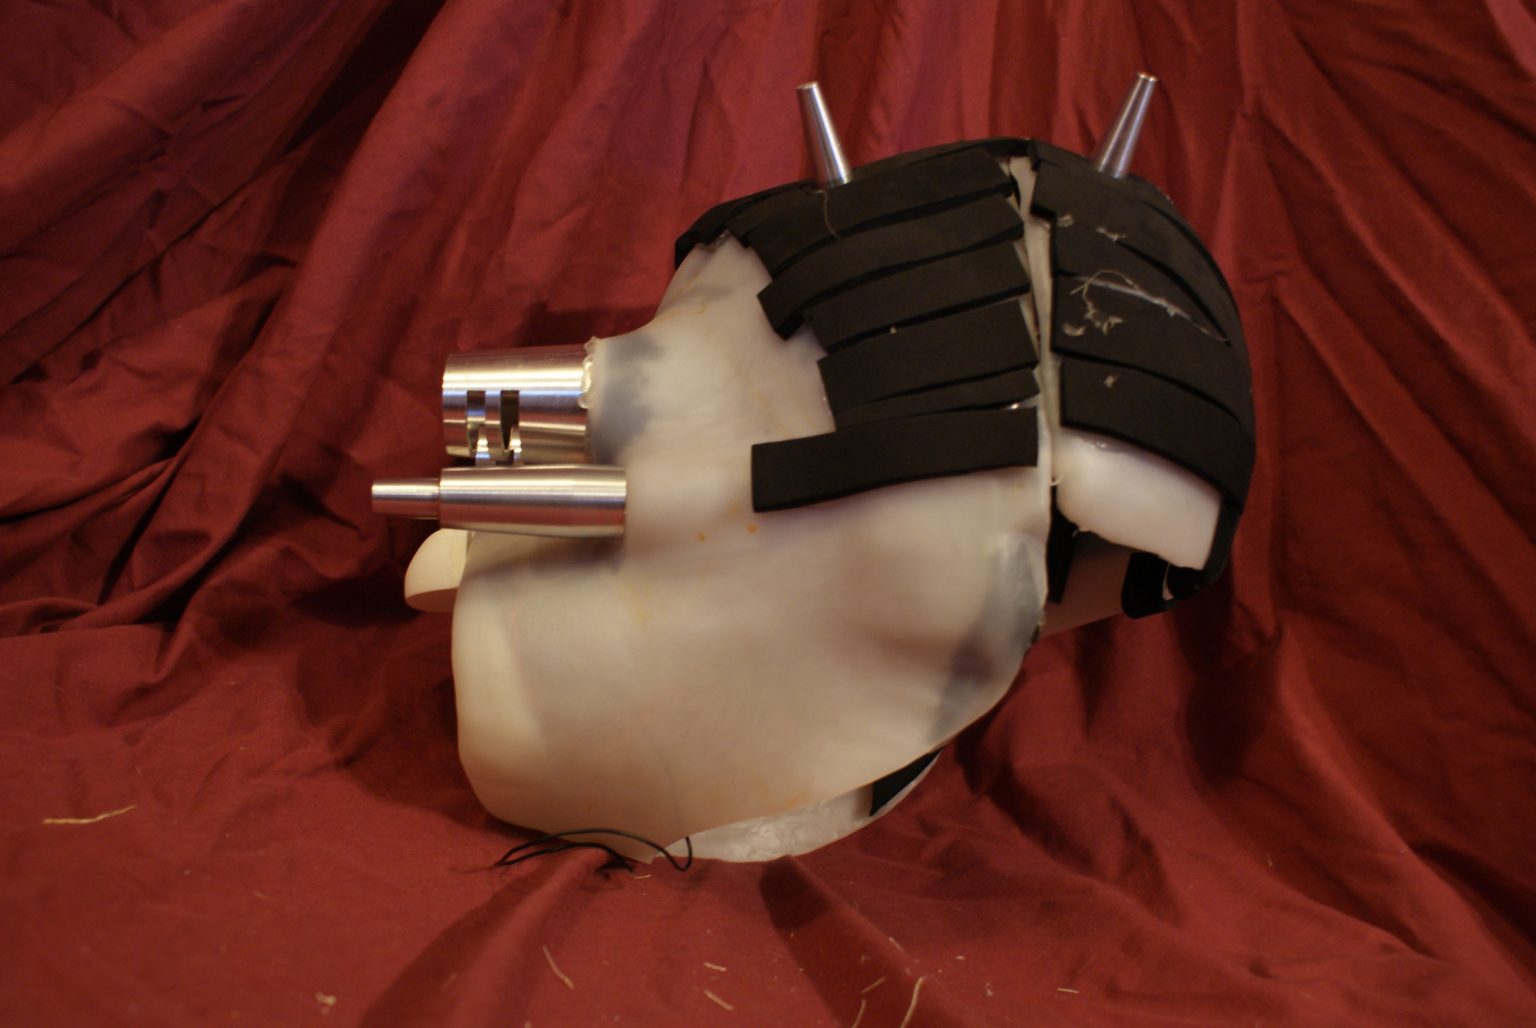
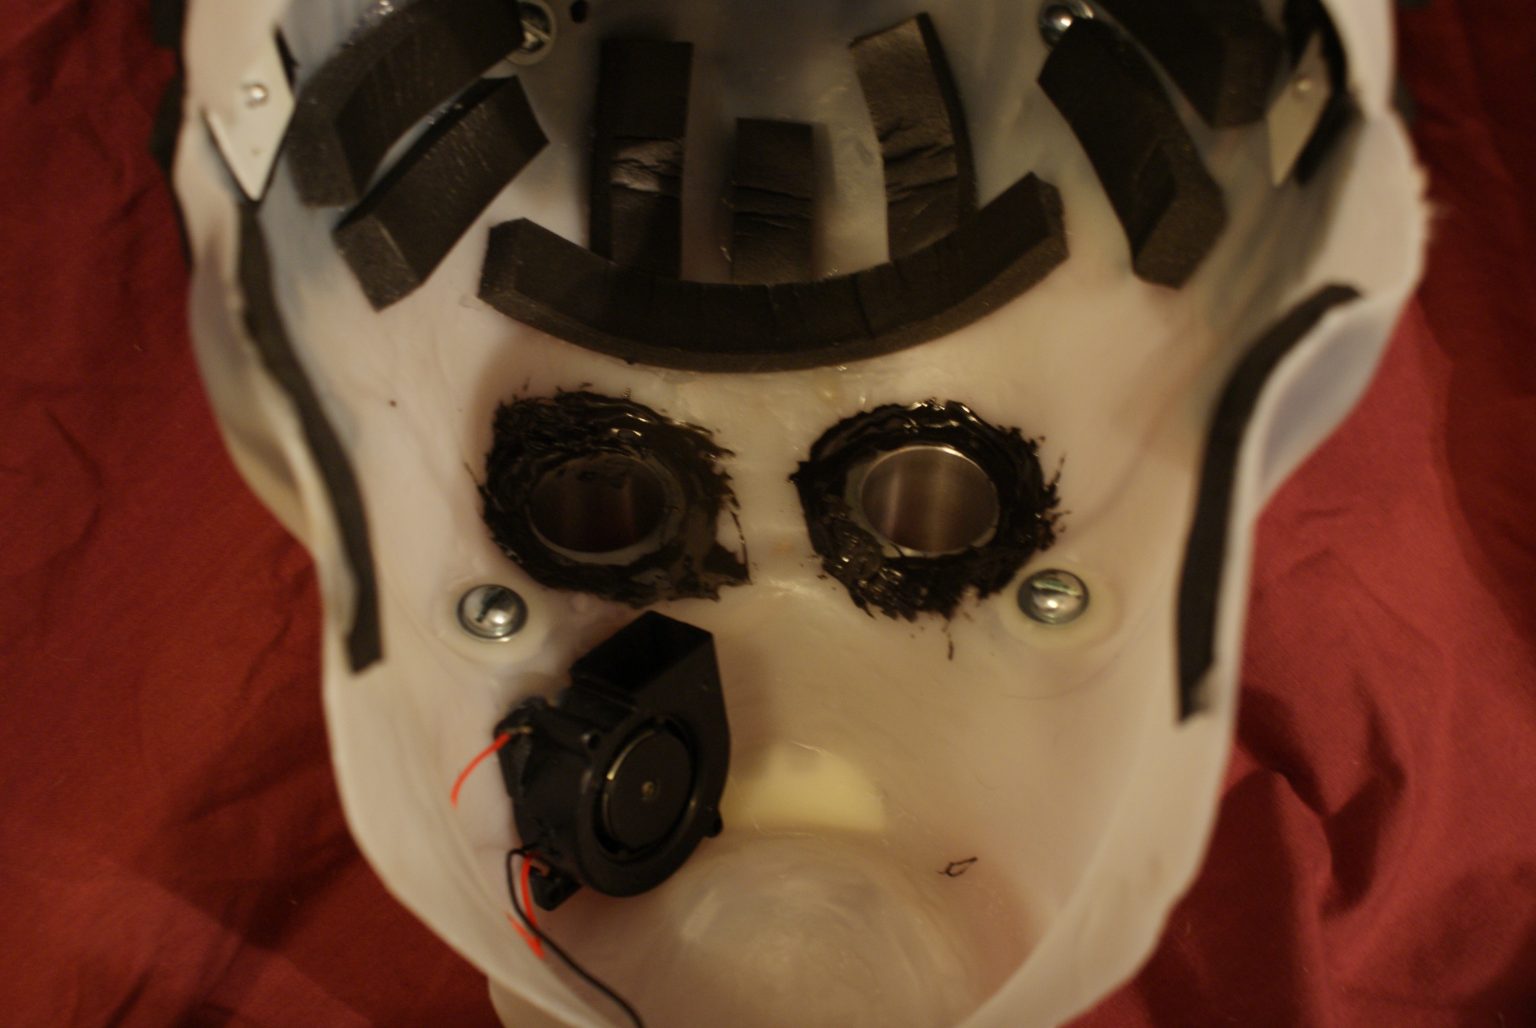
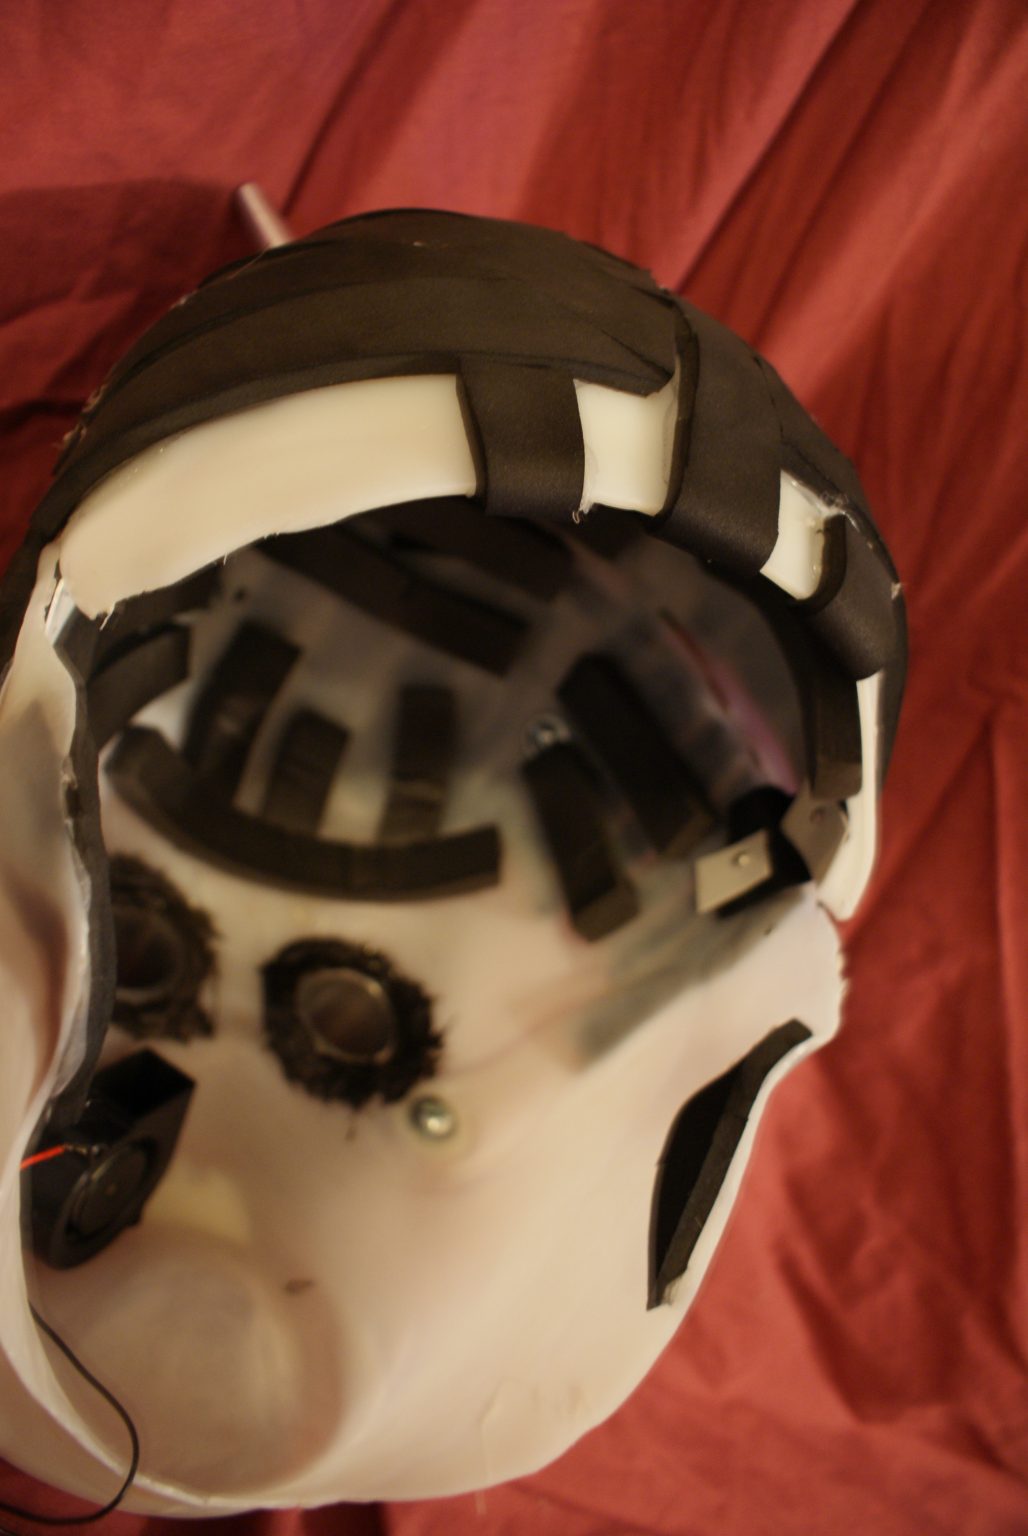
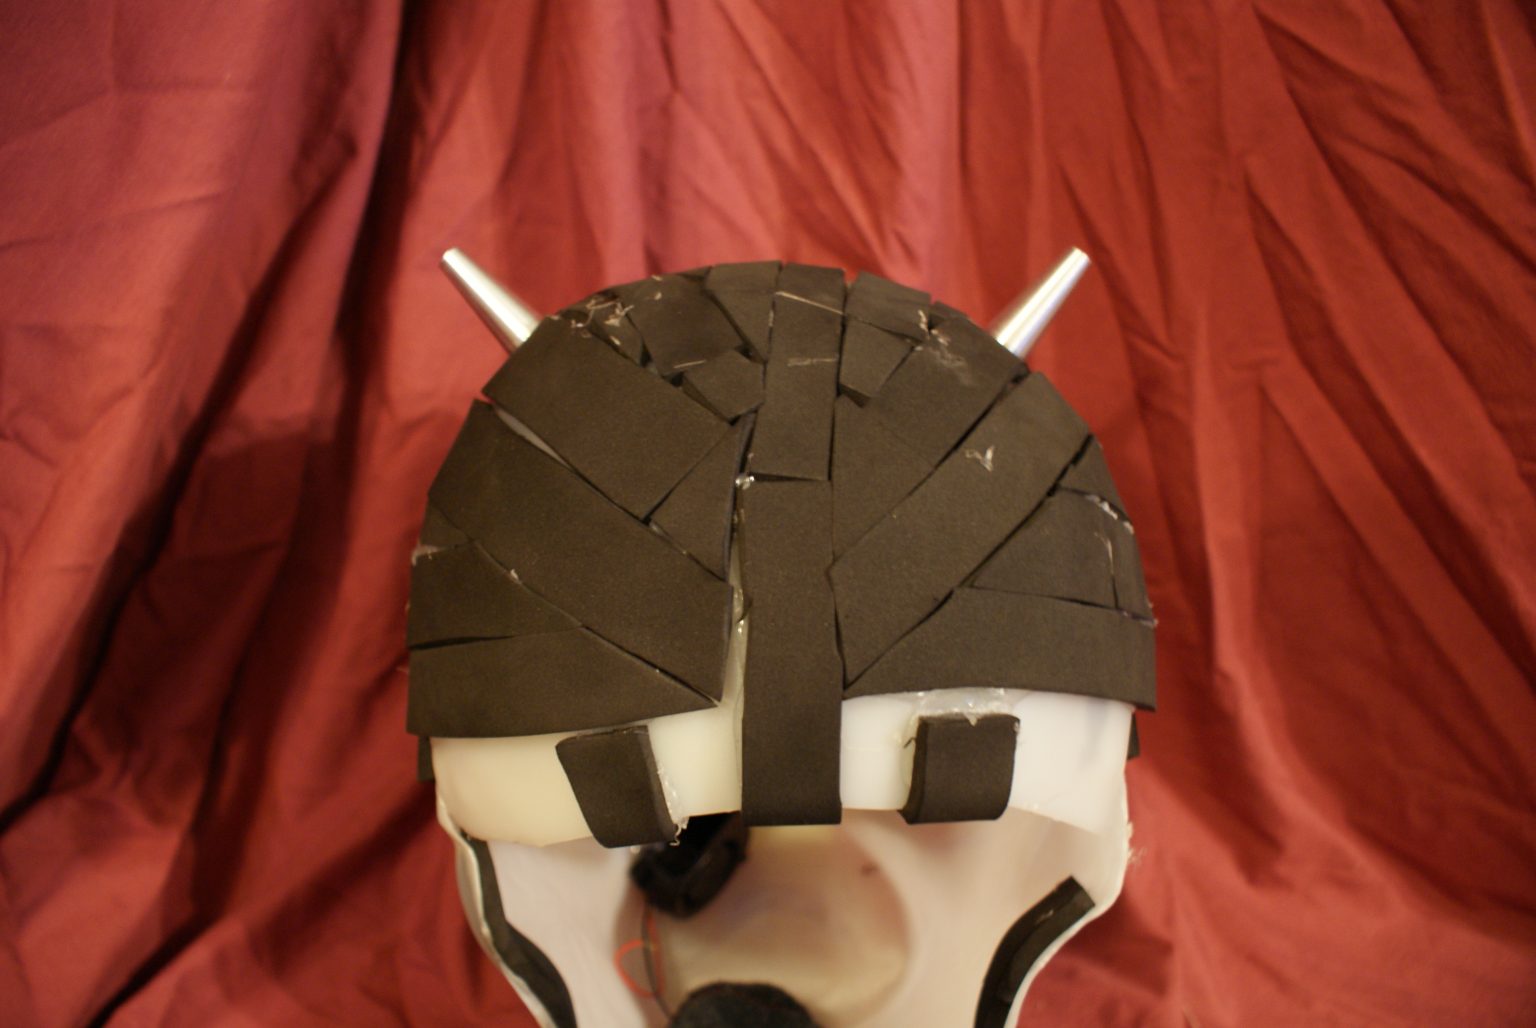
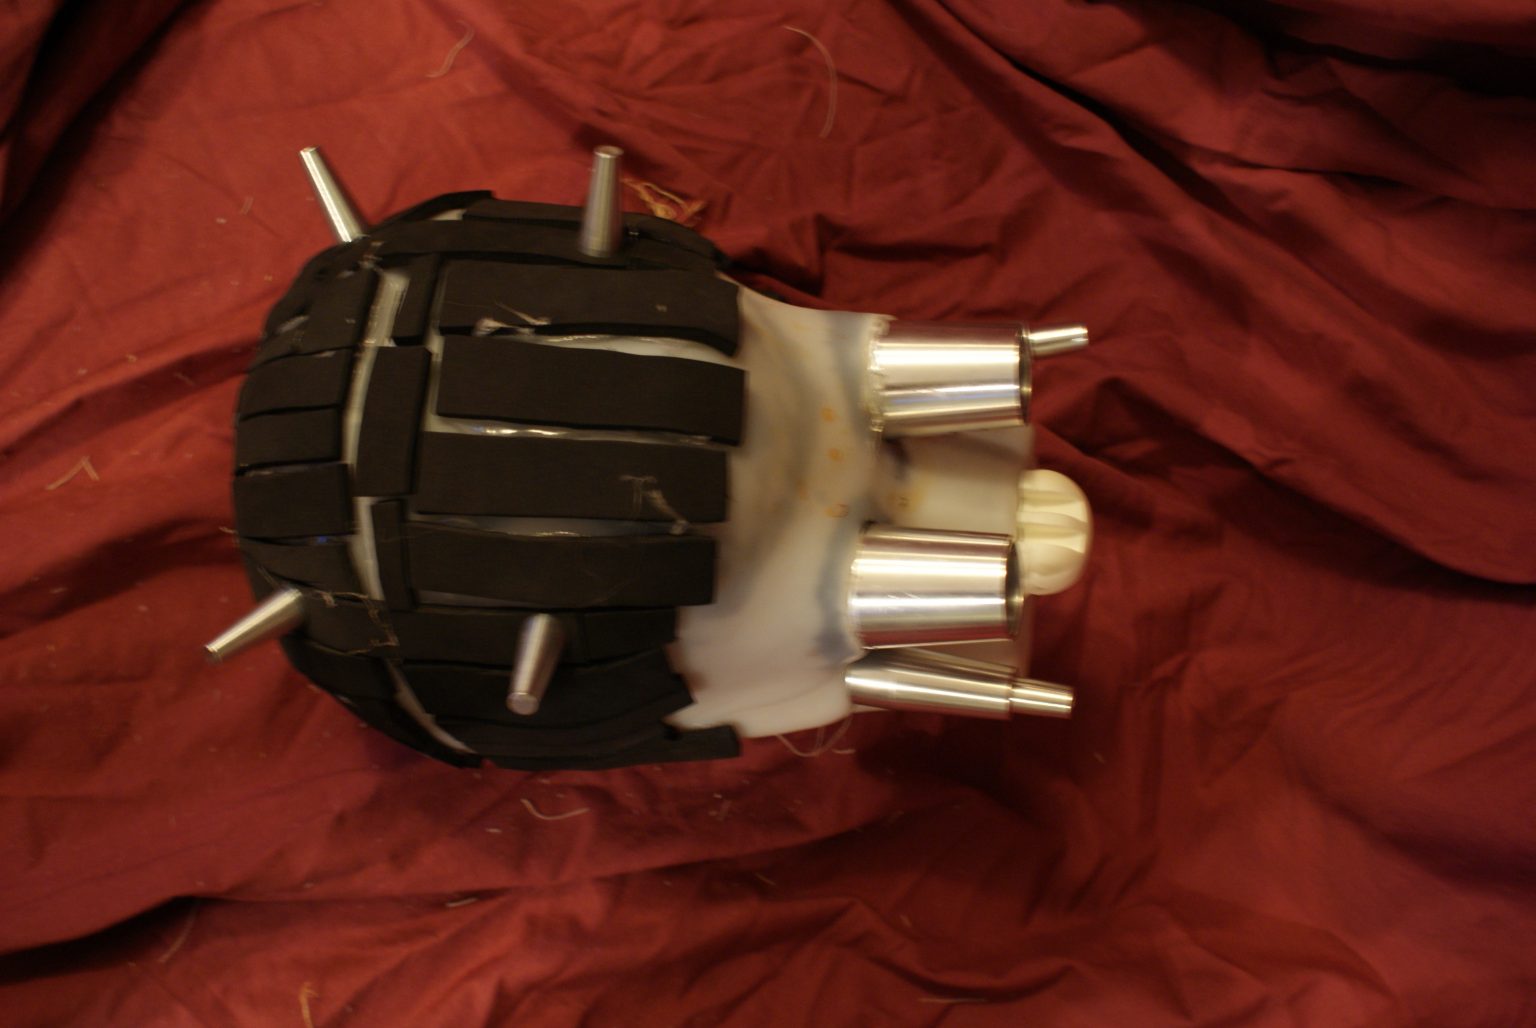
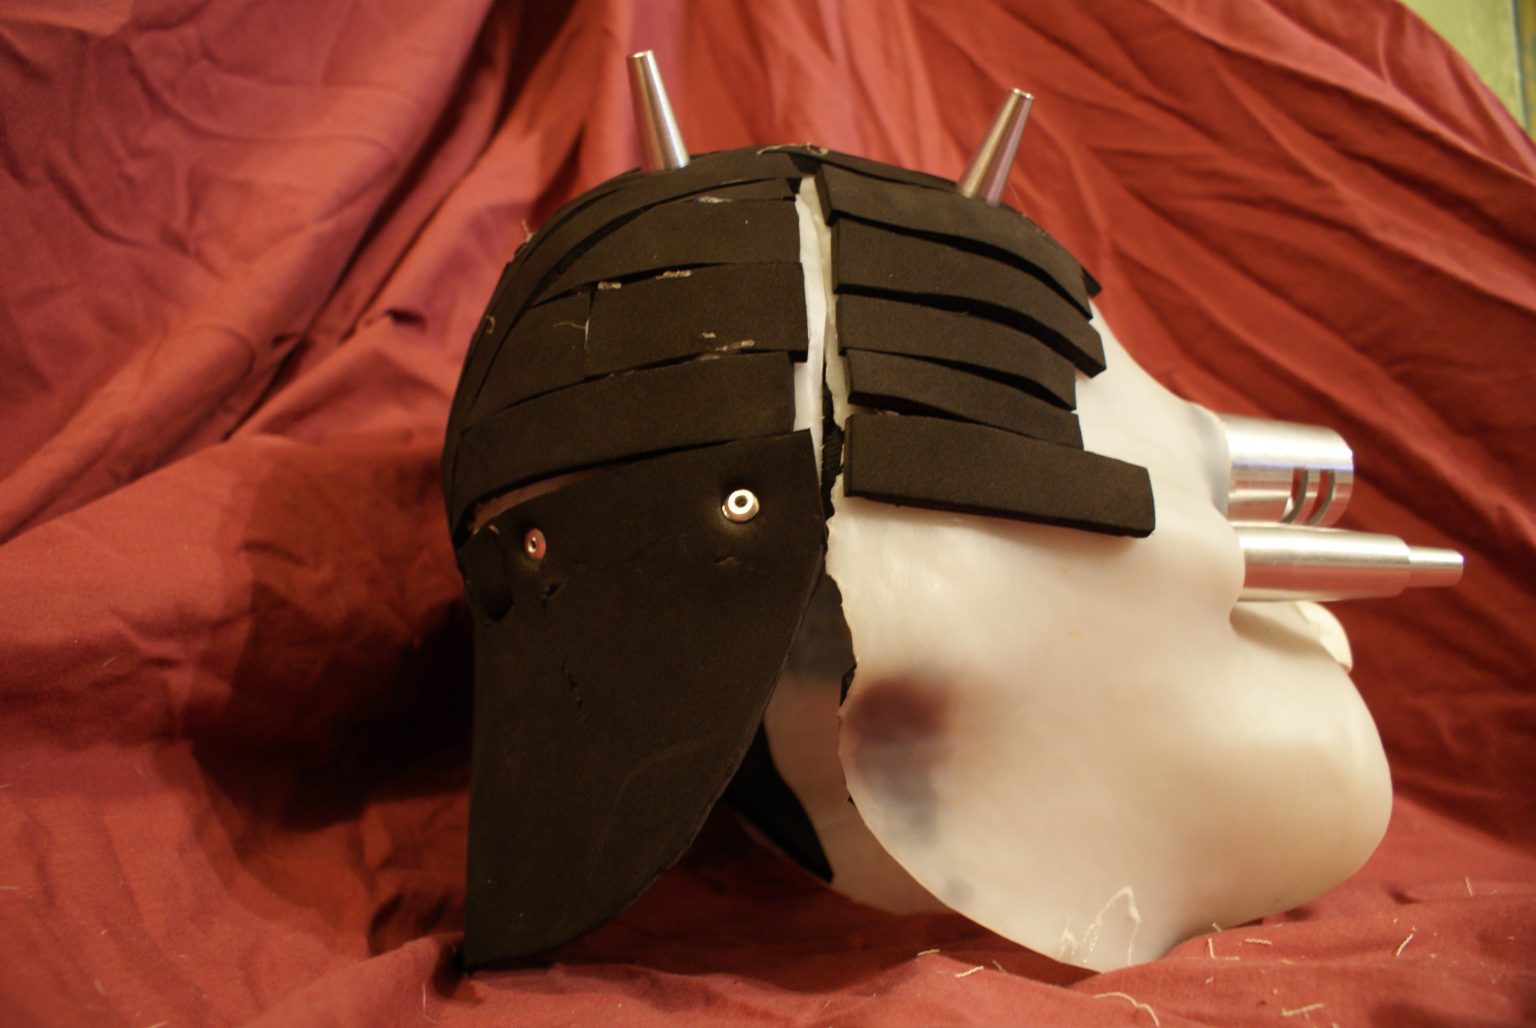
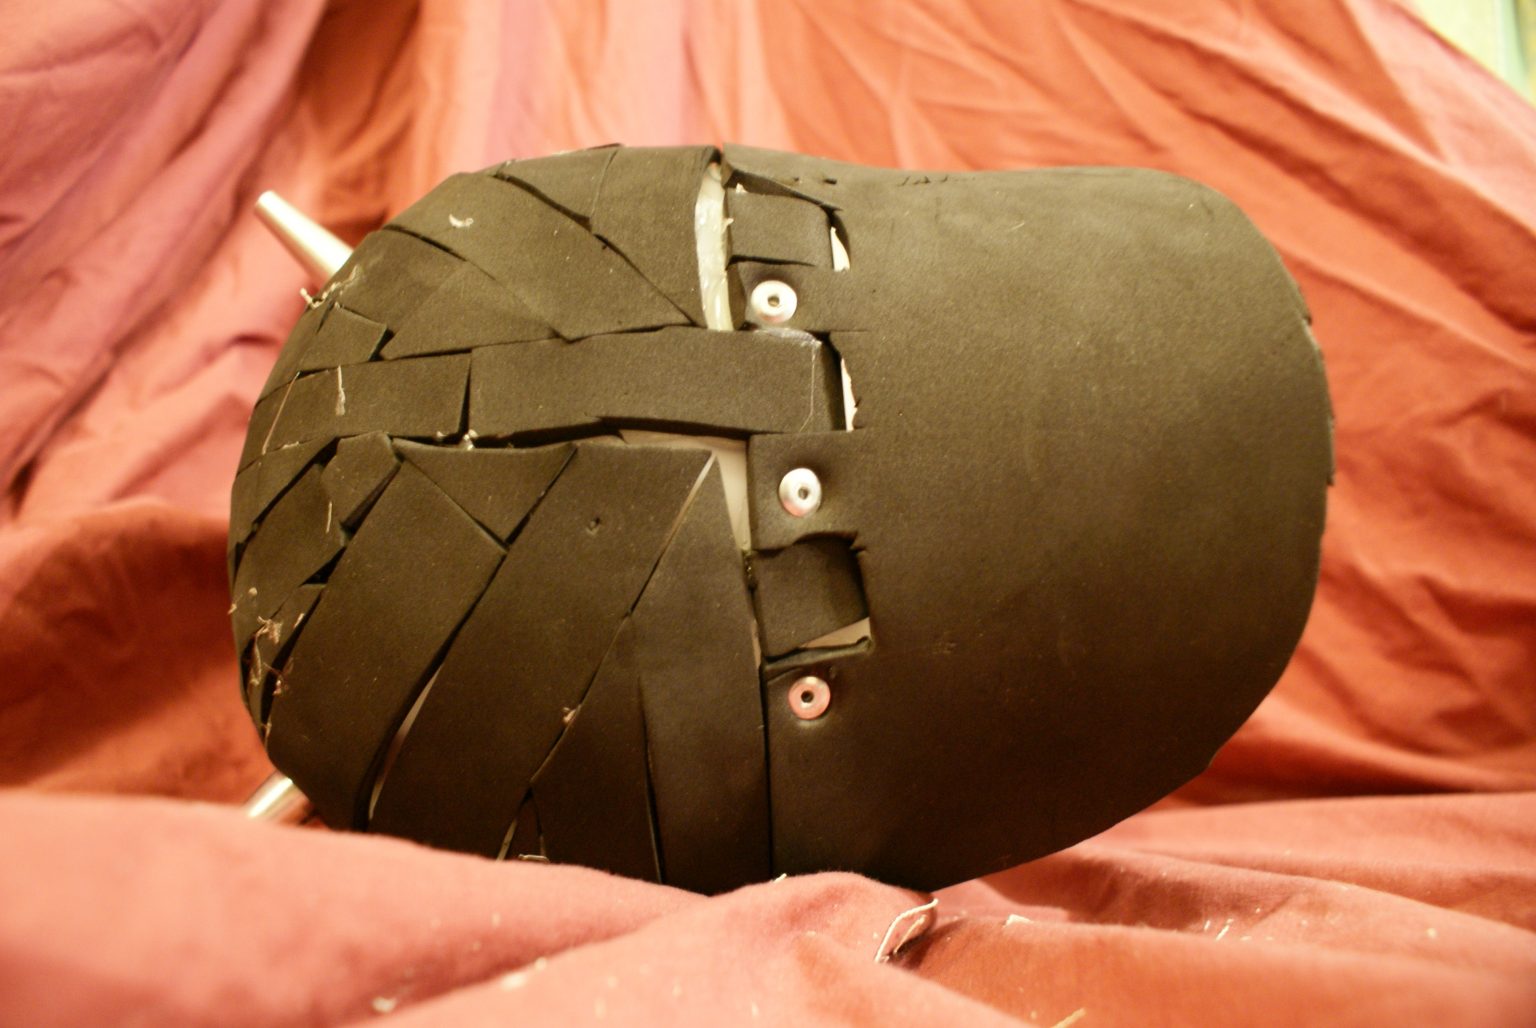
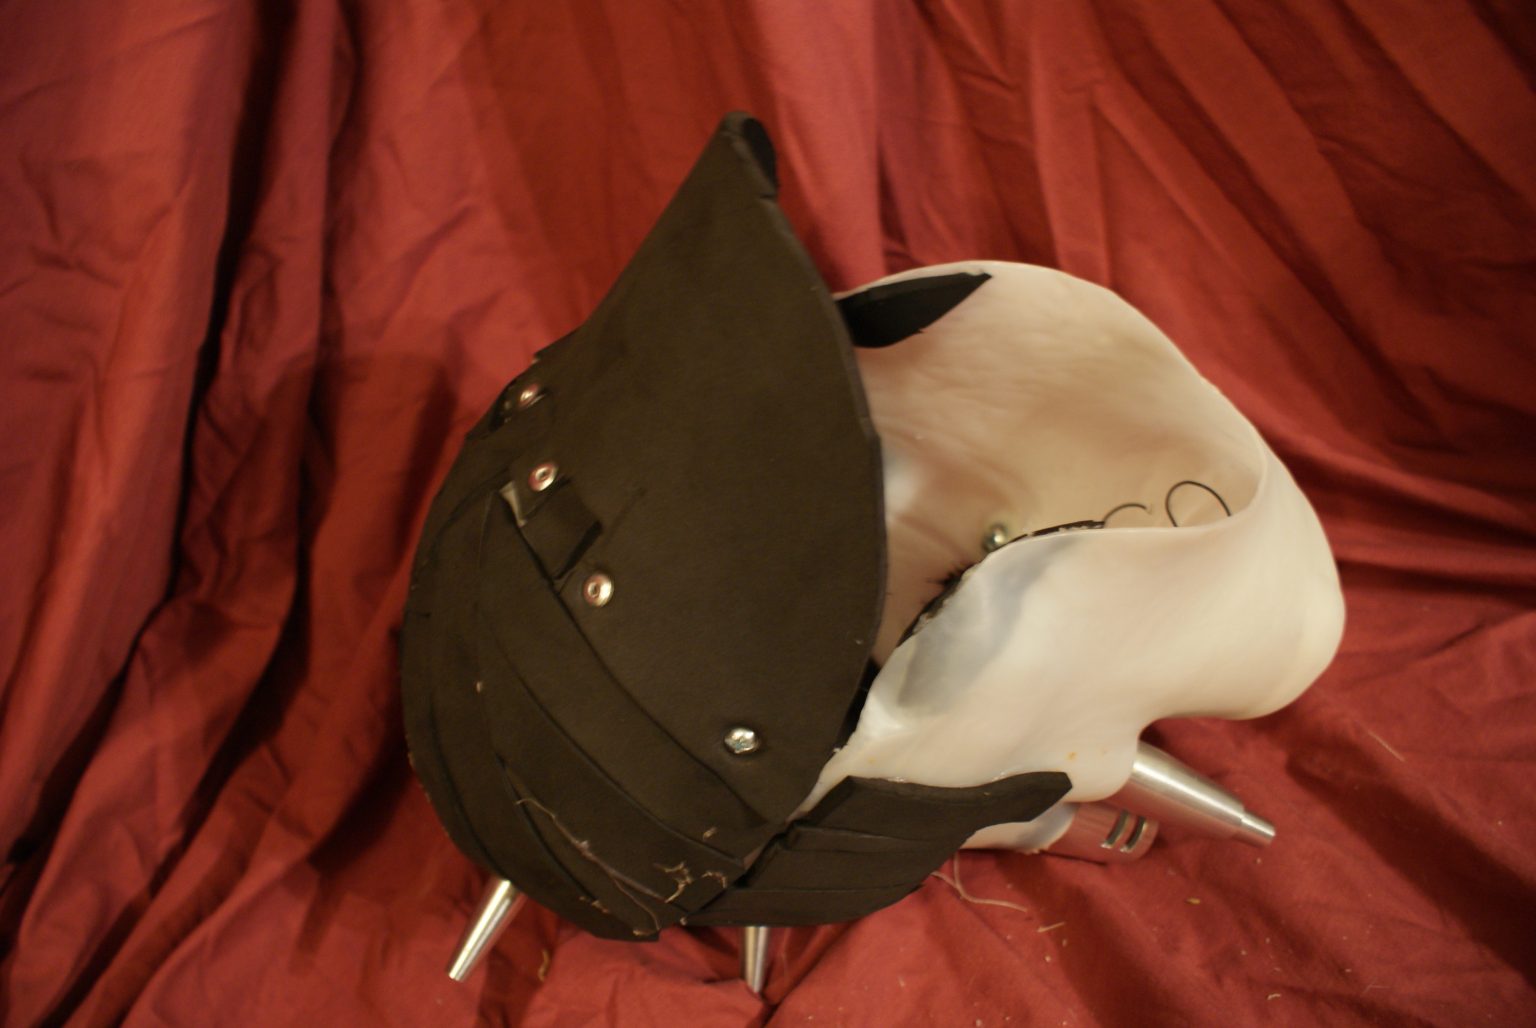
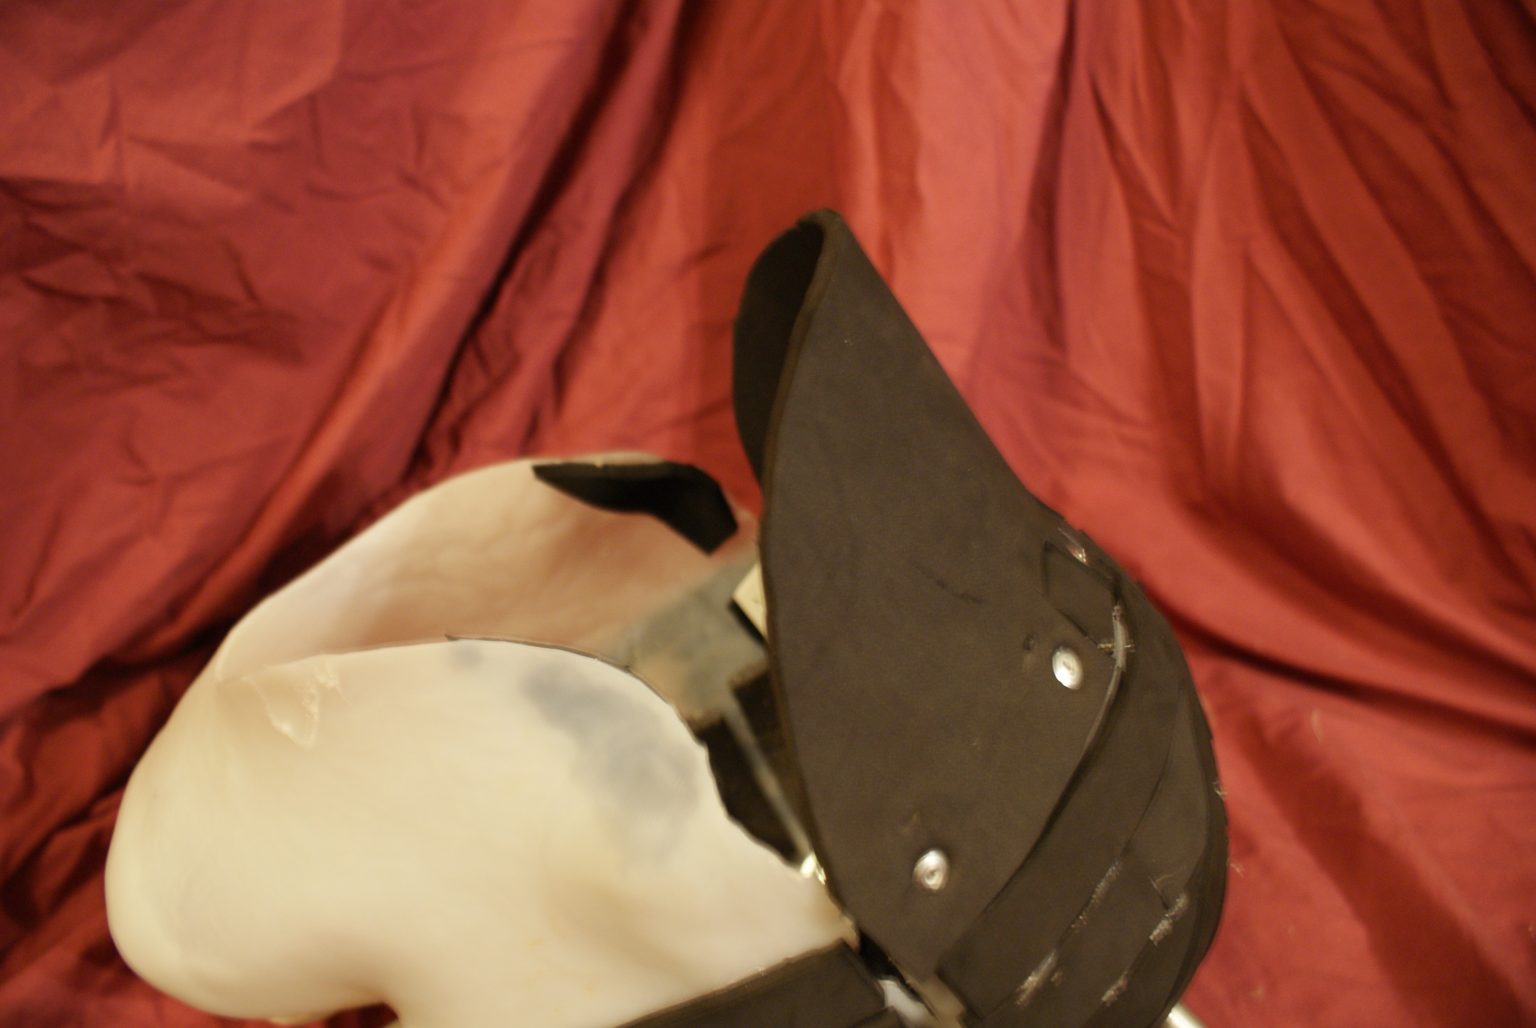
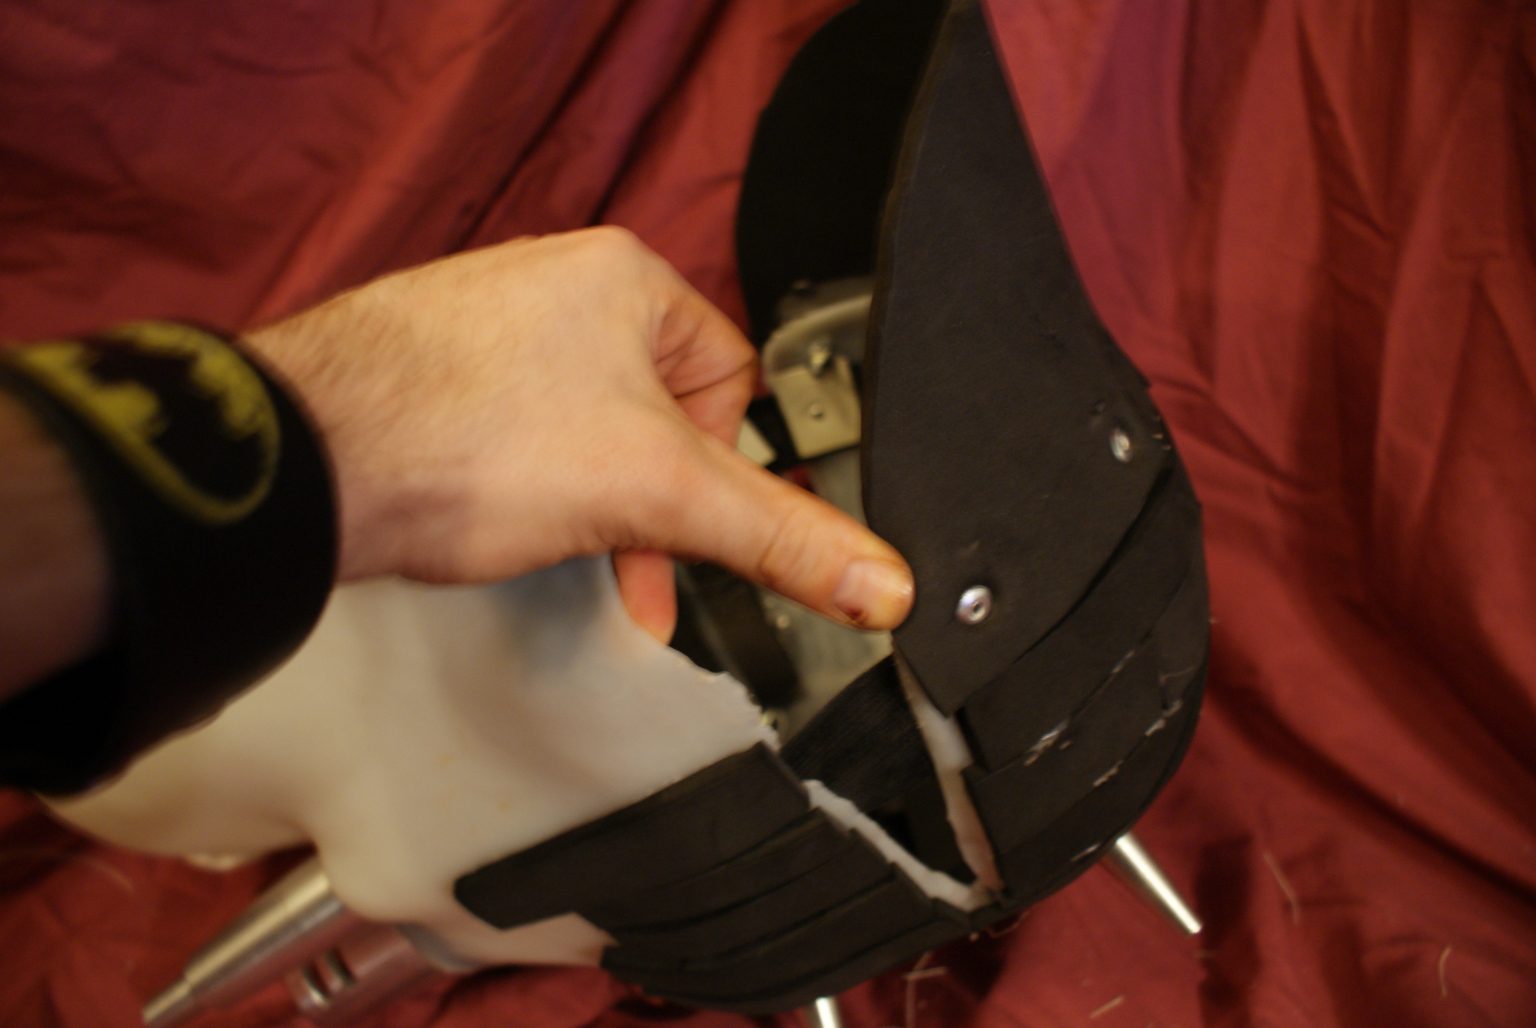
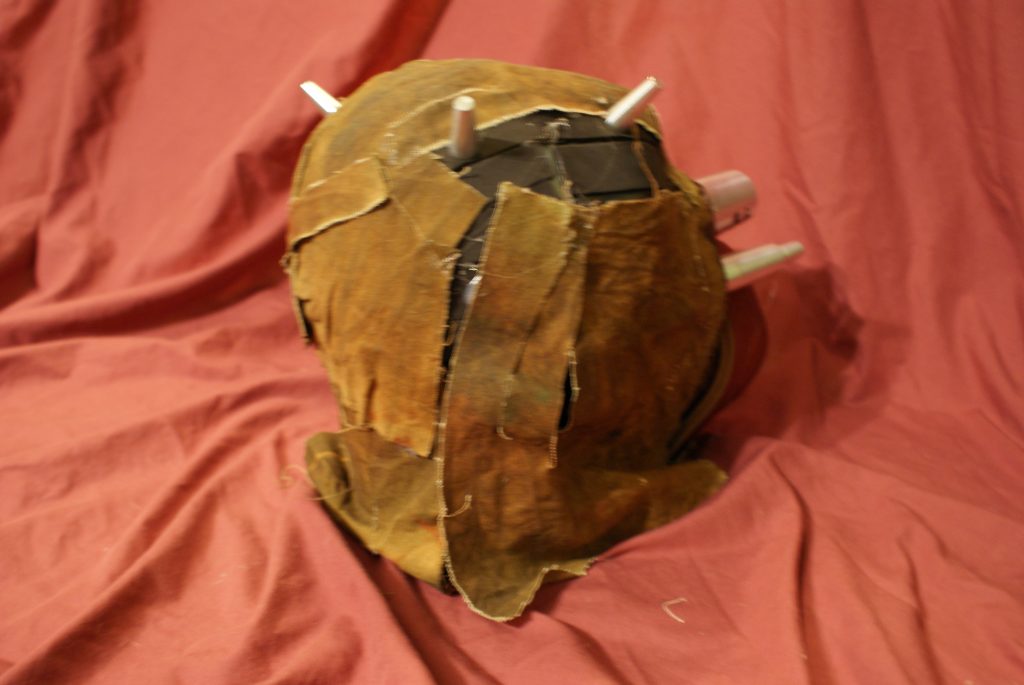
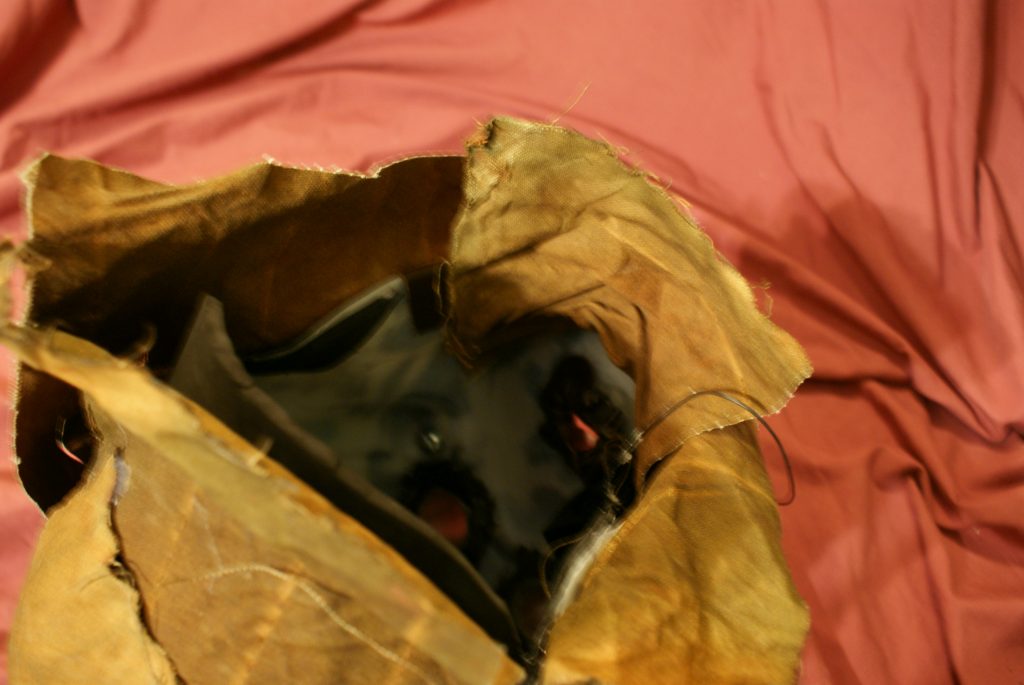
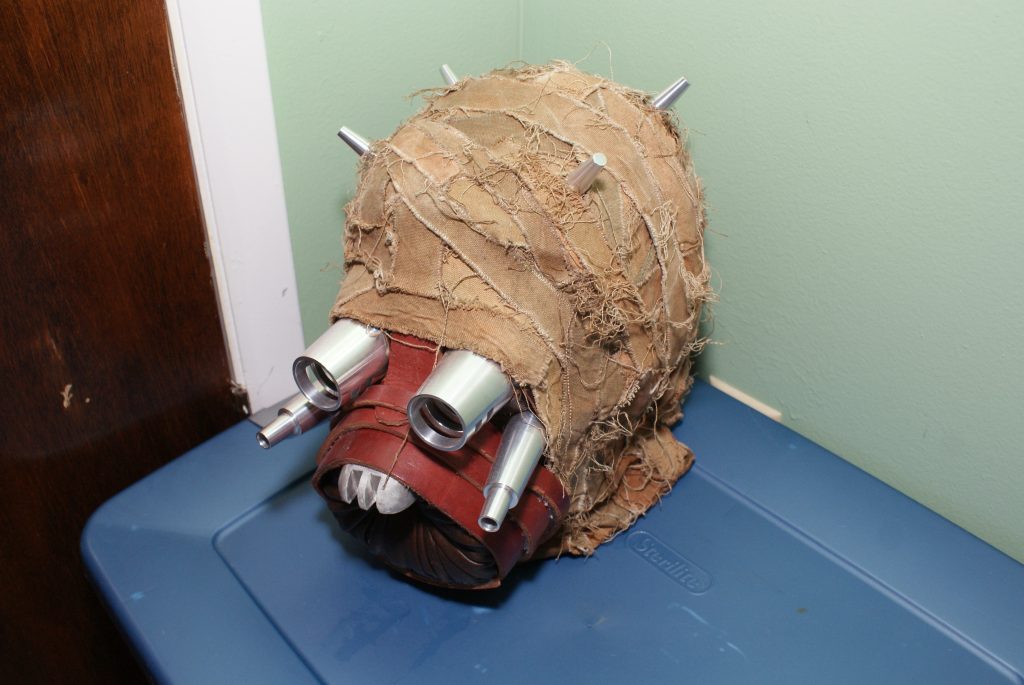
These picture below show how I took that shell, and details and assembled them. Using foamies to help adjust the size and shape of the surface, as well as using an elastic strap to help clam shell the mask to my head as I pull it on.
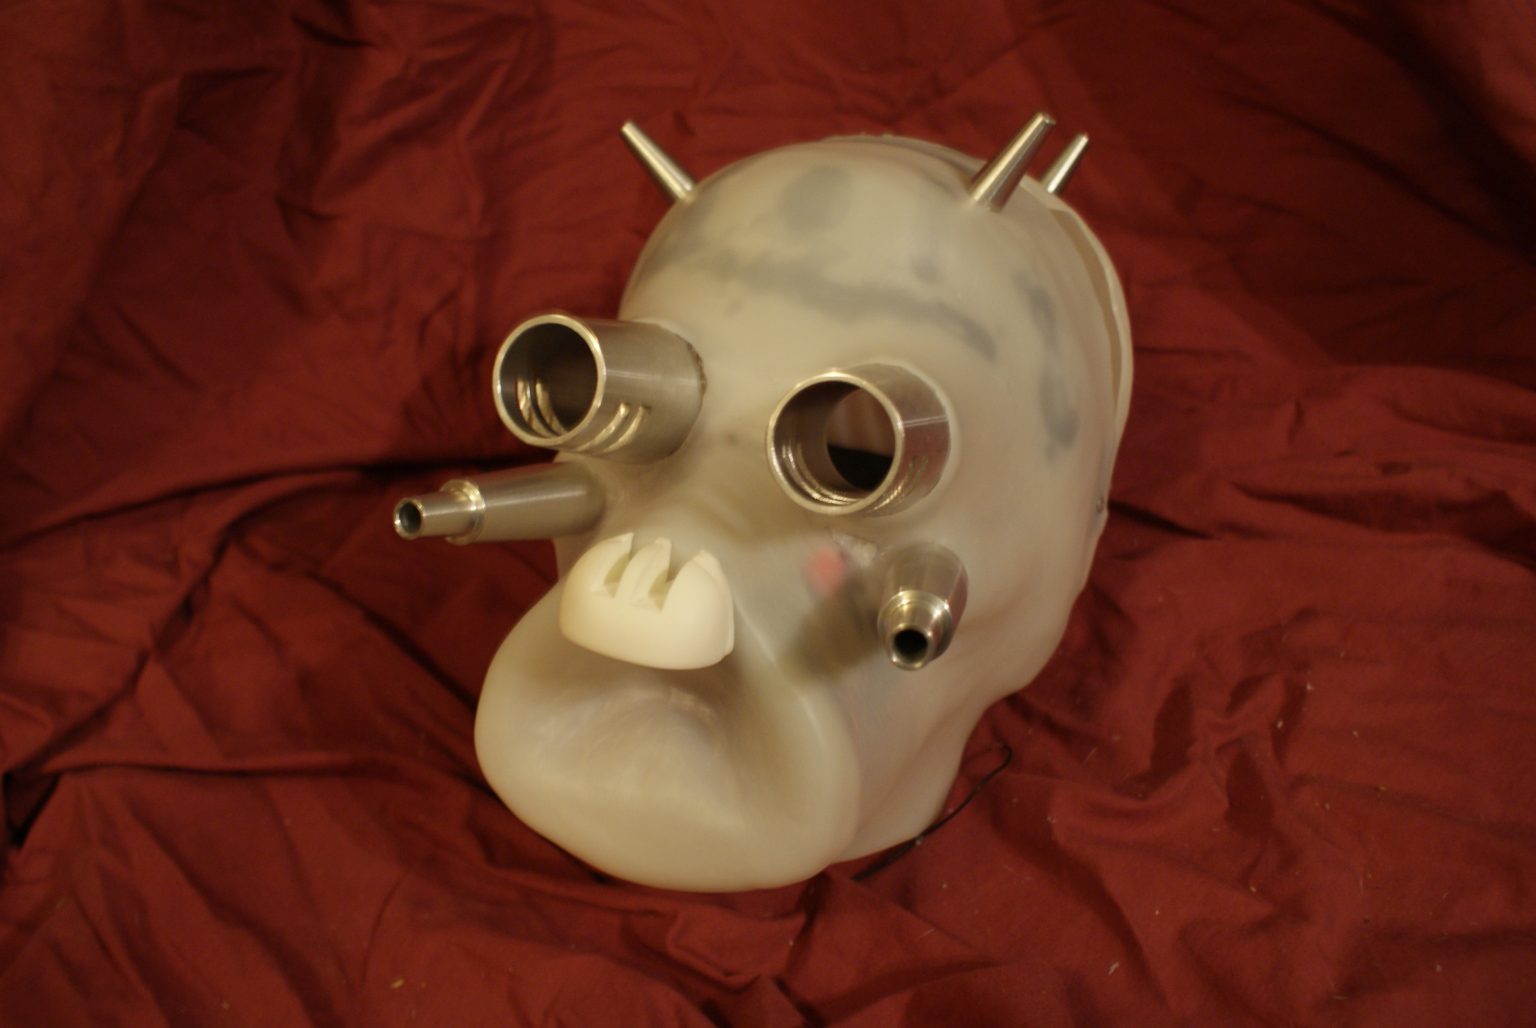
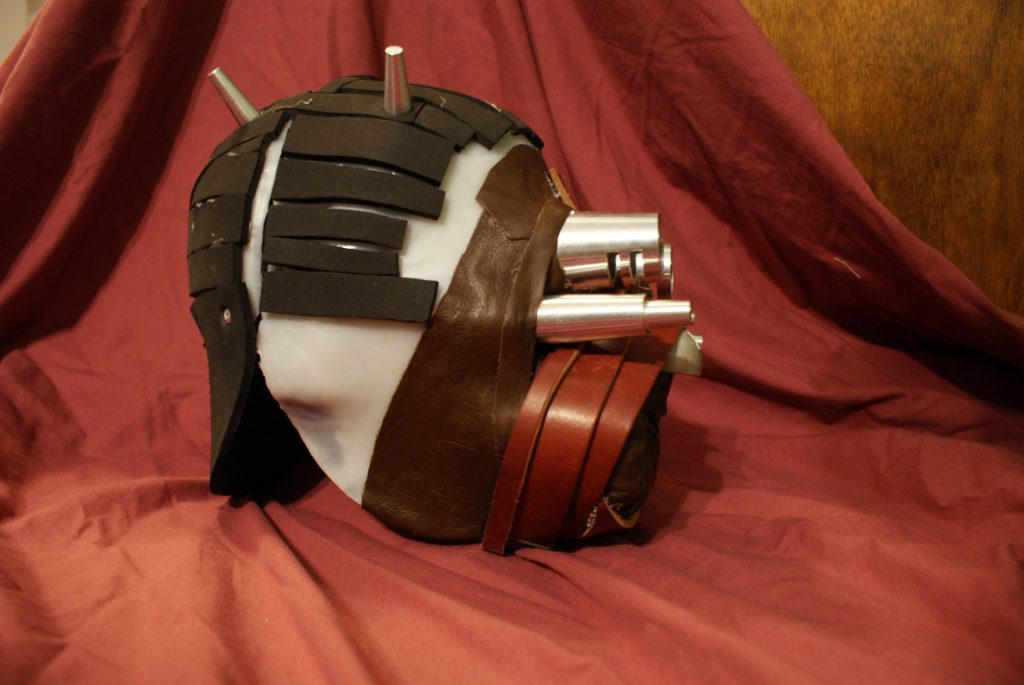
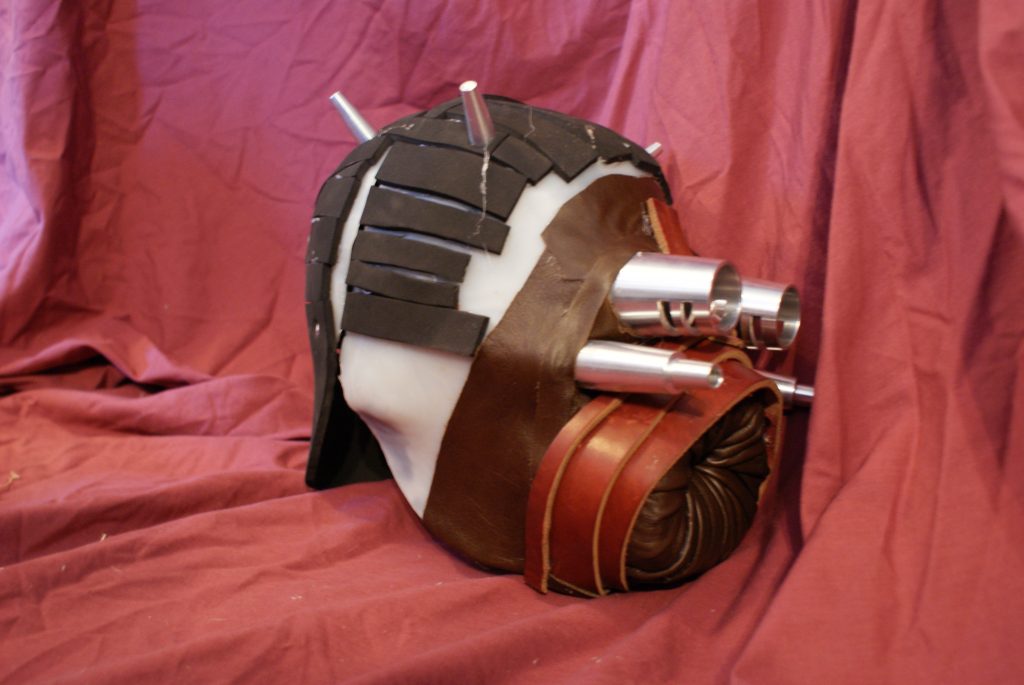
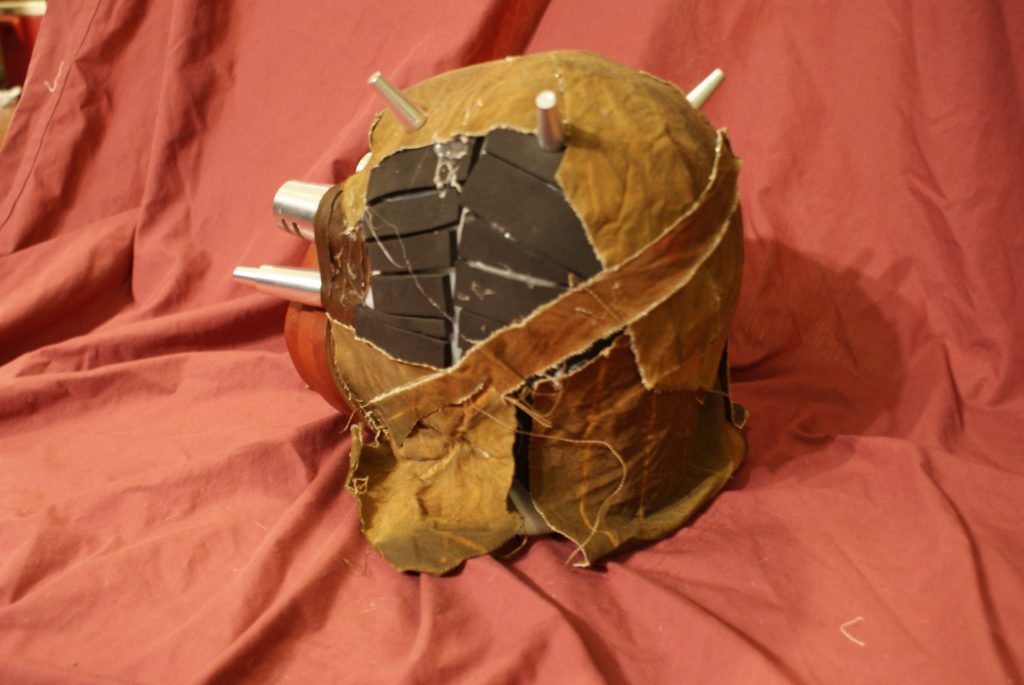
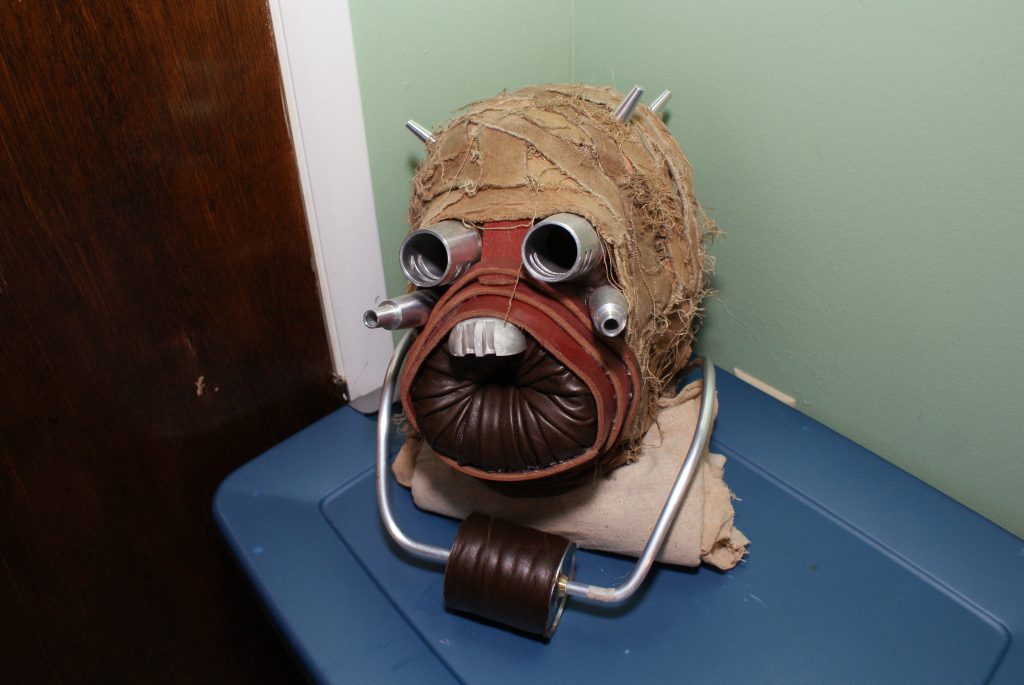
The details were machined but there are 3d files out there to print or sometimes on some of the prop forums you can find a run of machined details.
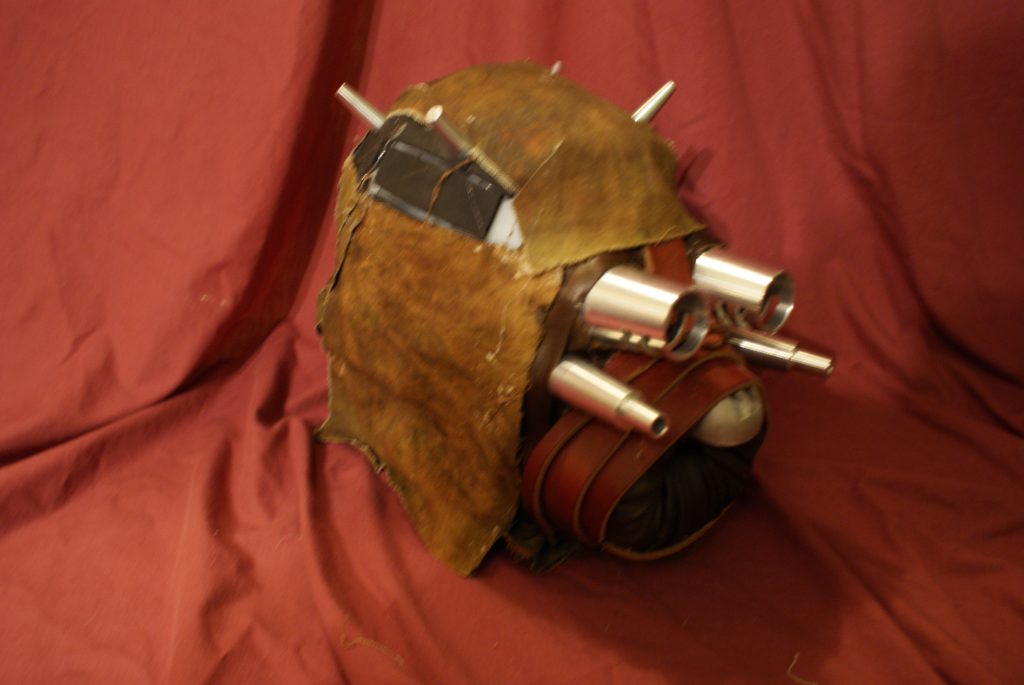
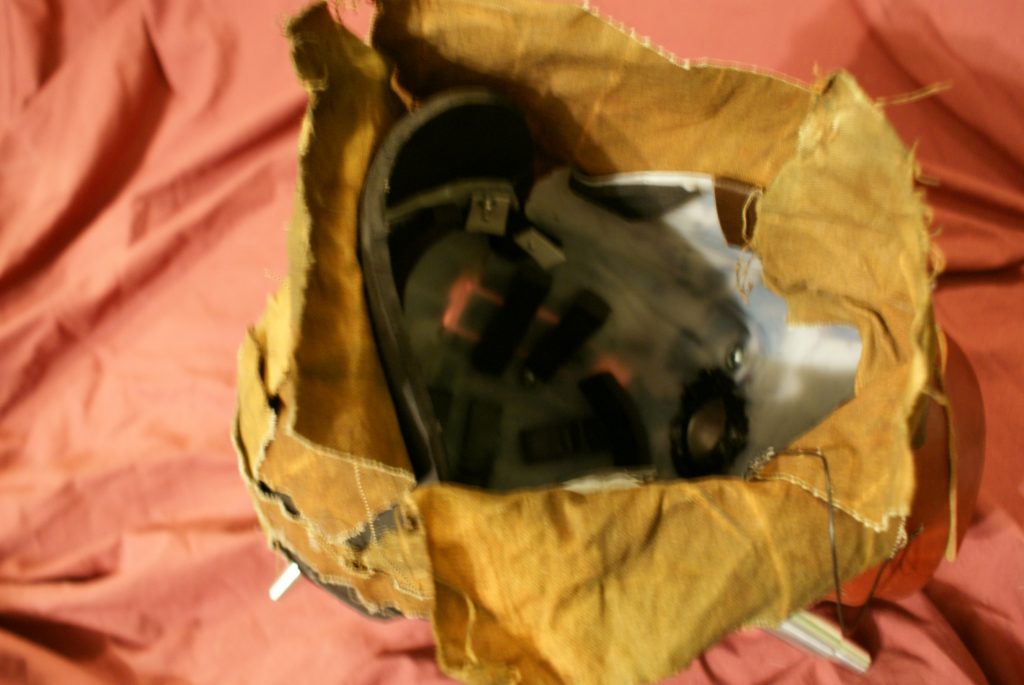
As for the interior I added weatherstripping as the padding, and a small squirrel cage fan I added to help with comfort. This fan just moves a small amount or air but it makes the helmet so much more comfortable.

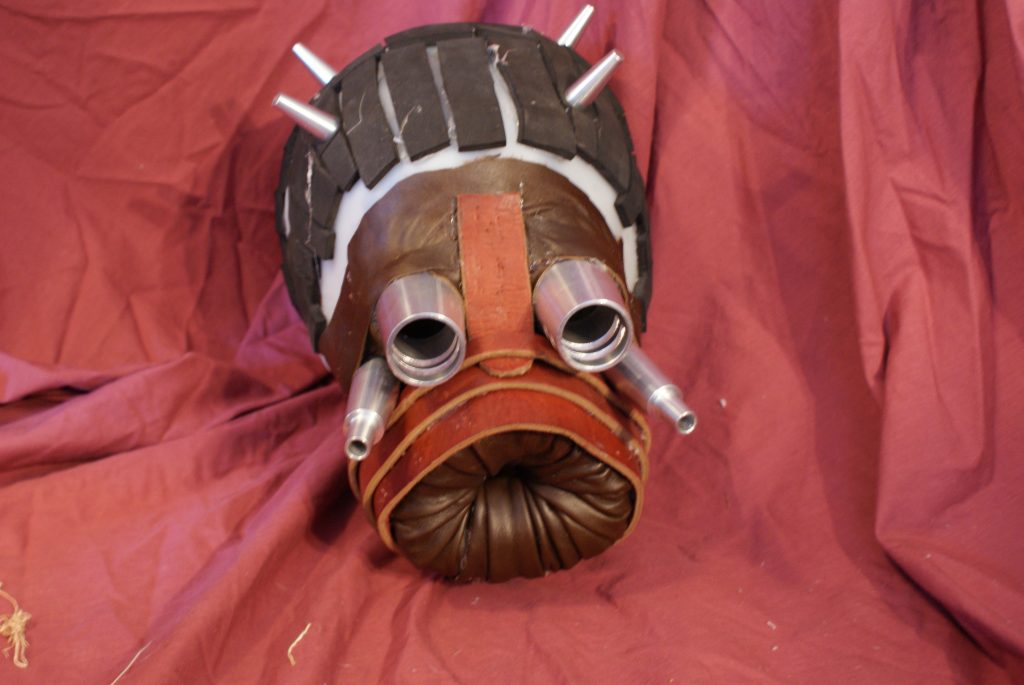
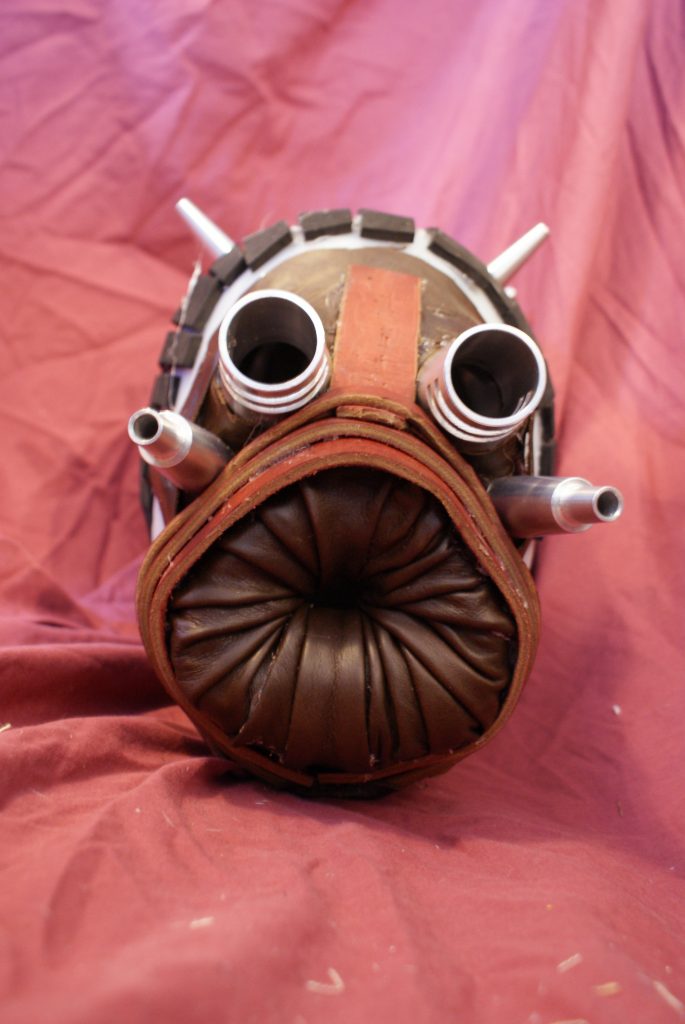
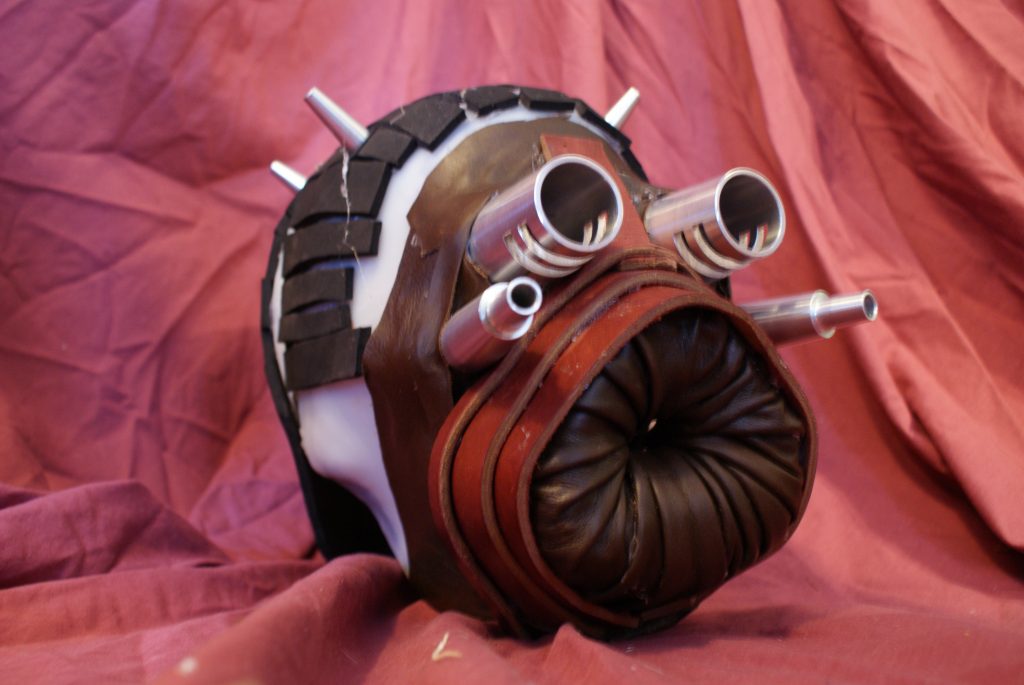
Leather Pieces
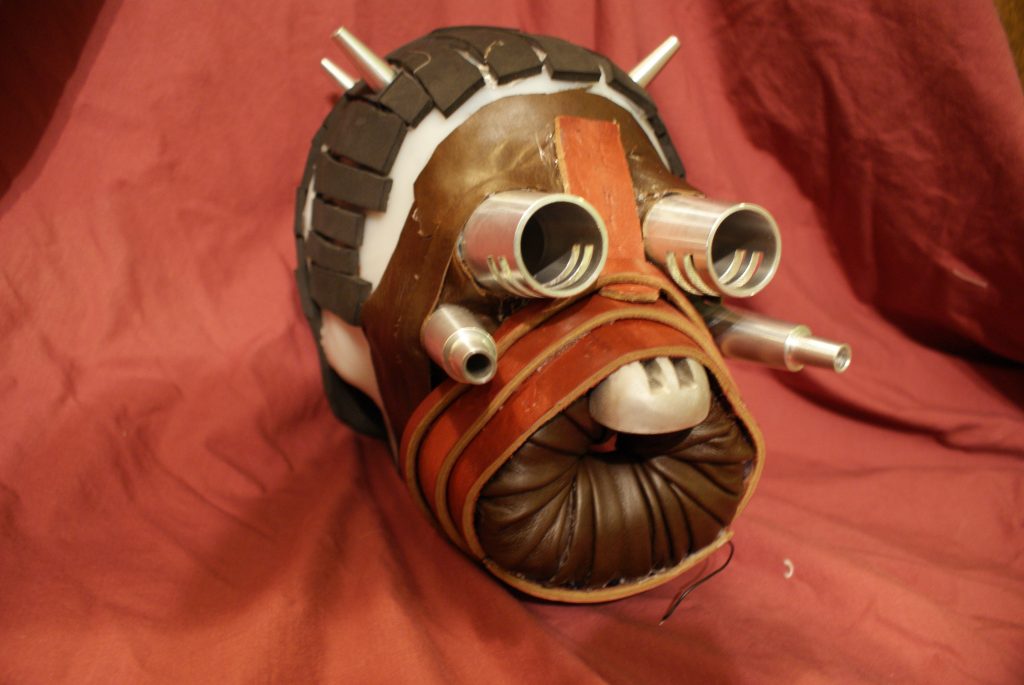
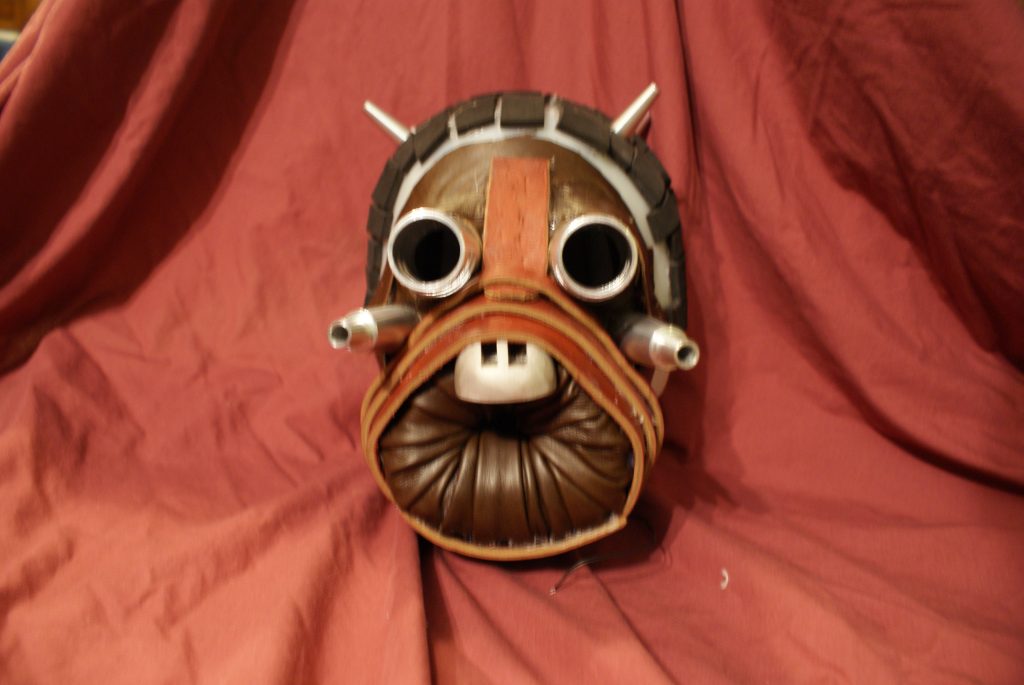
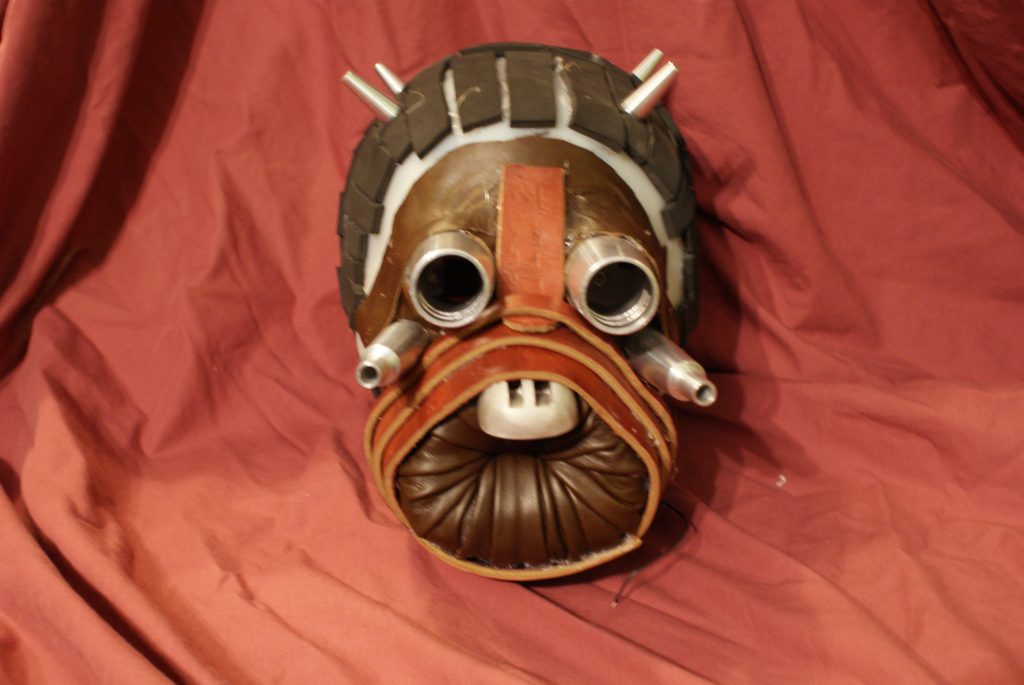
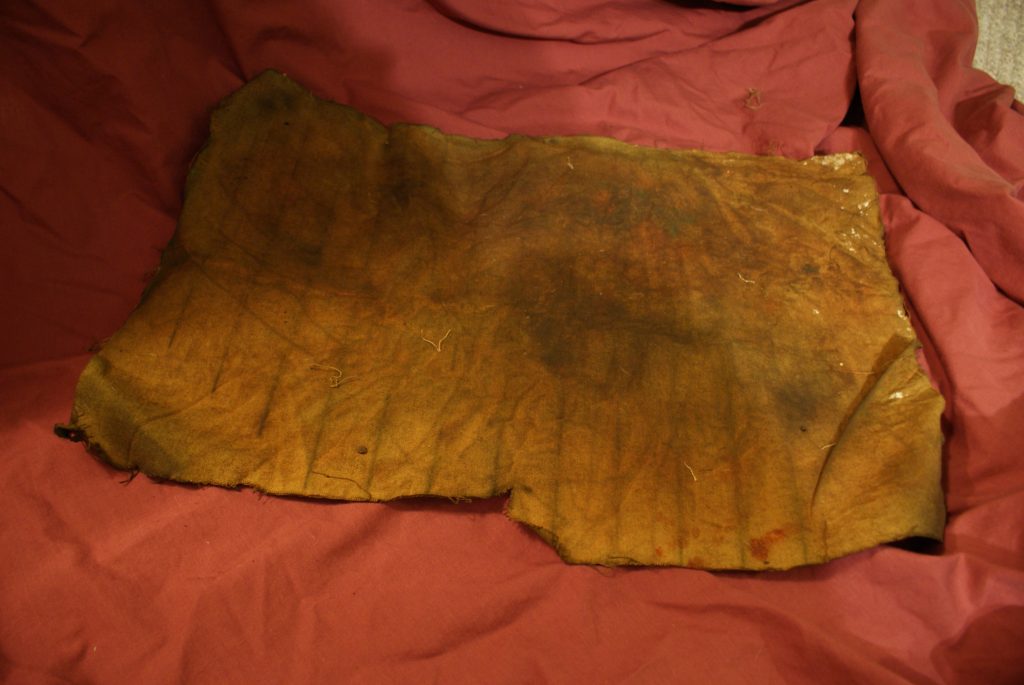
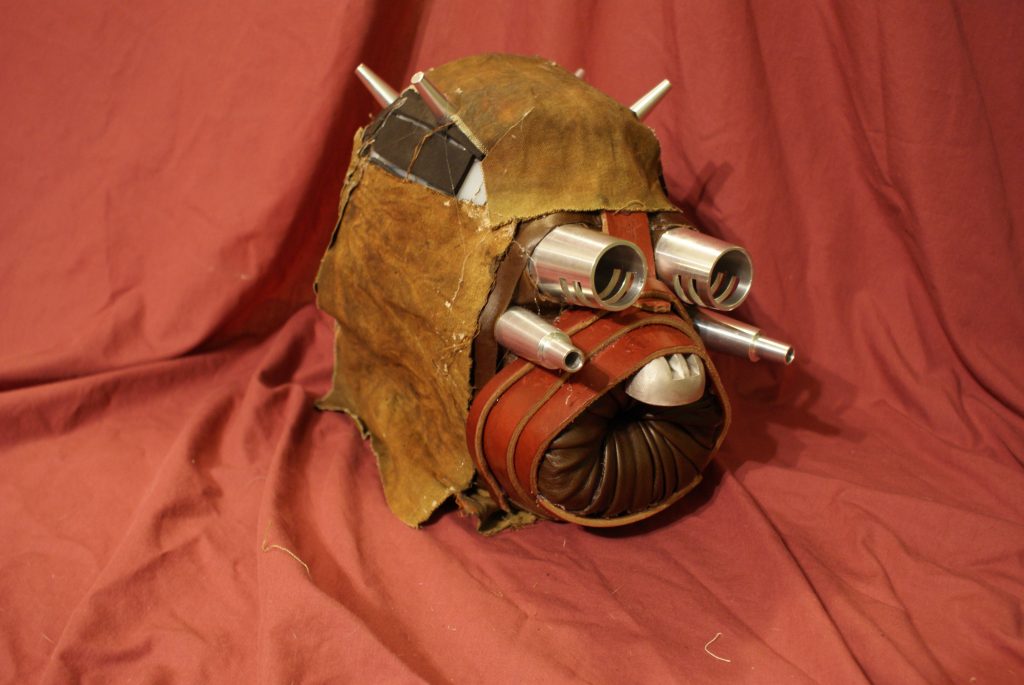
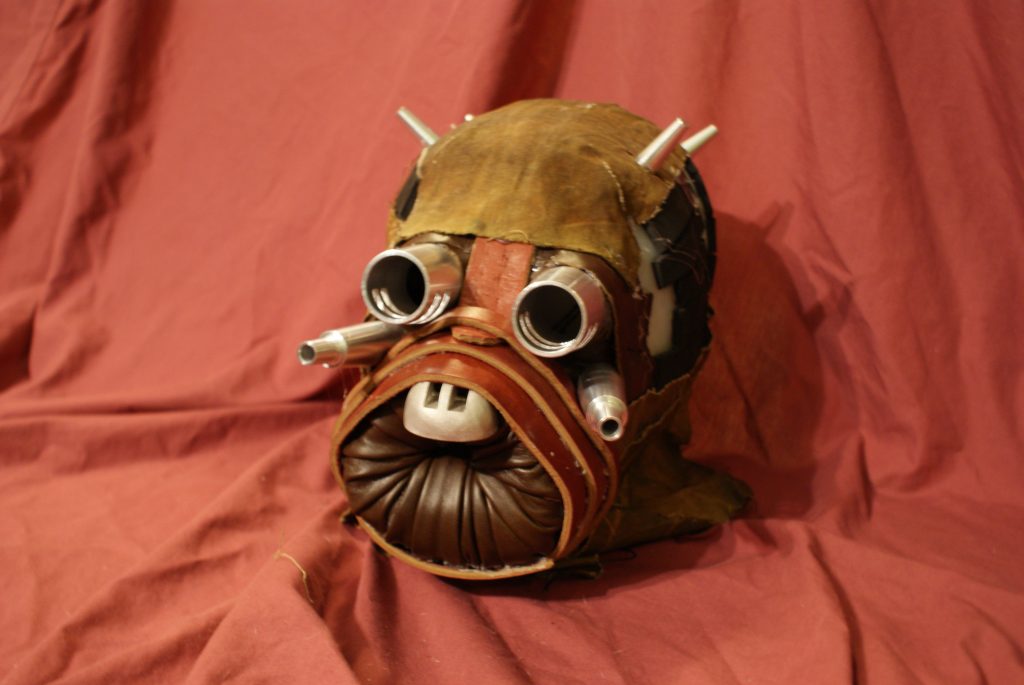
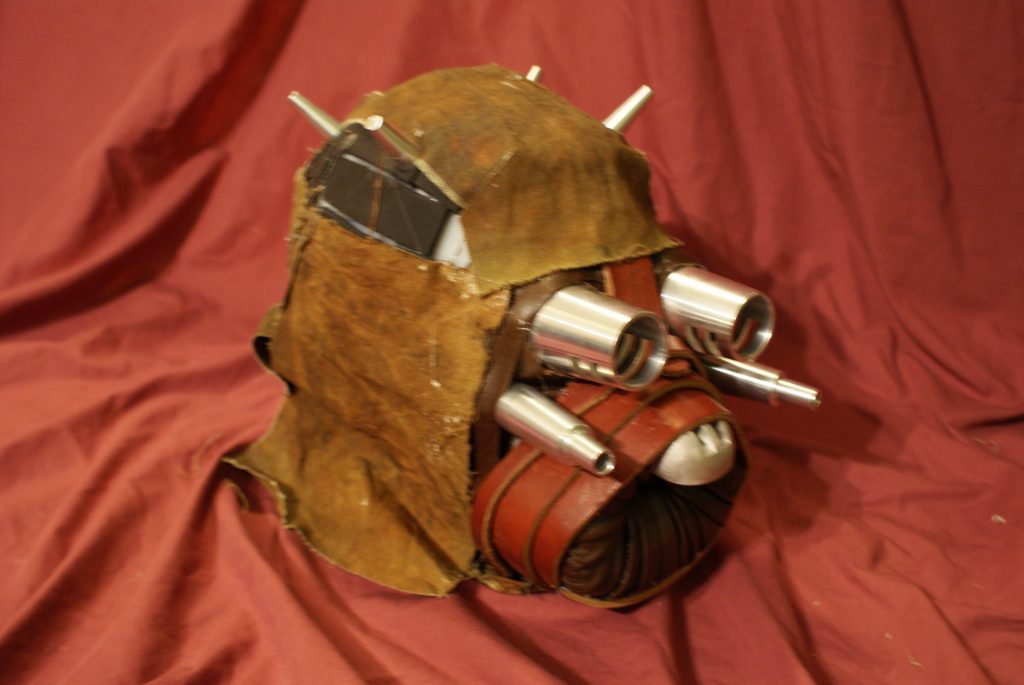
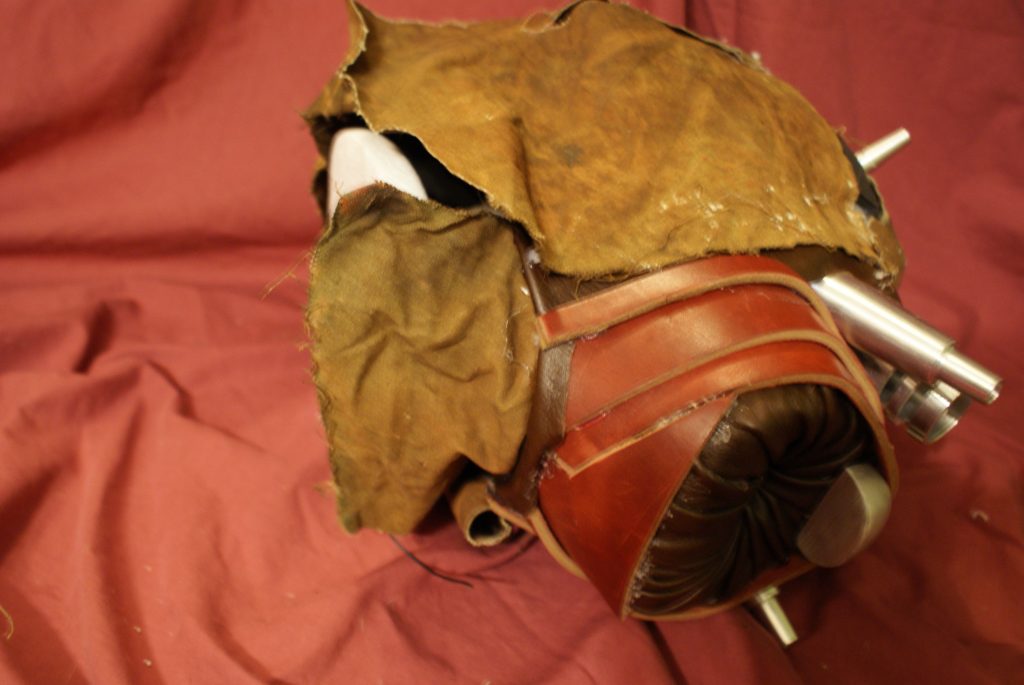
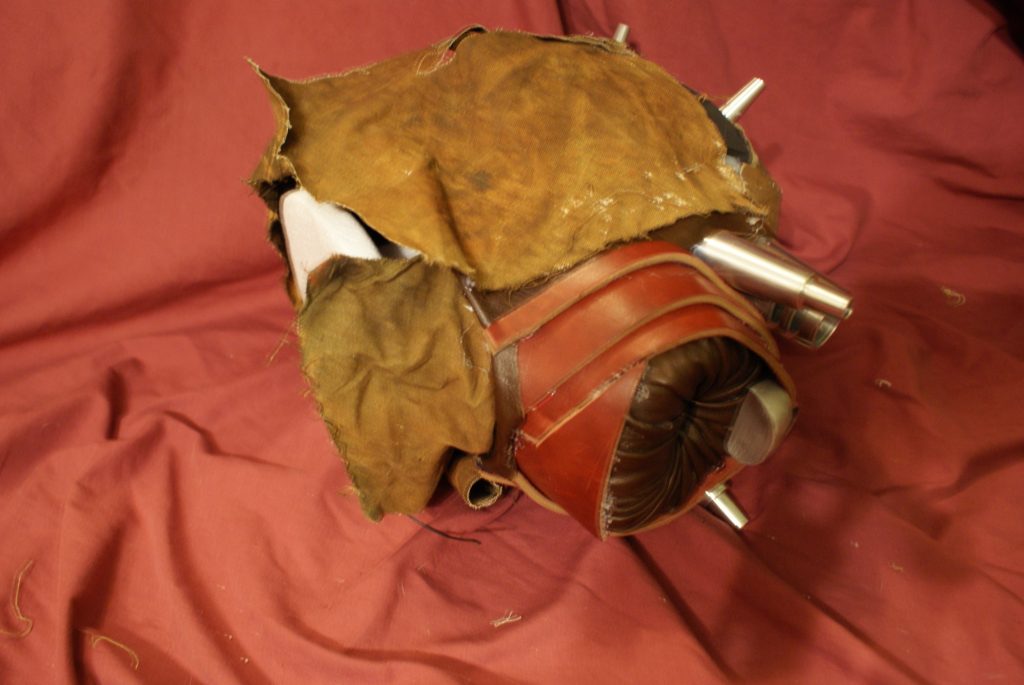
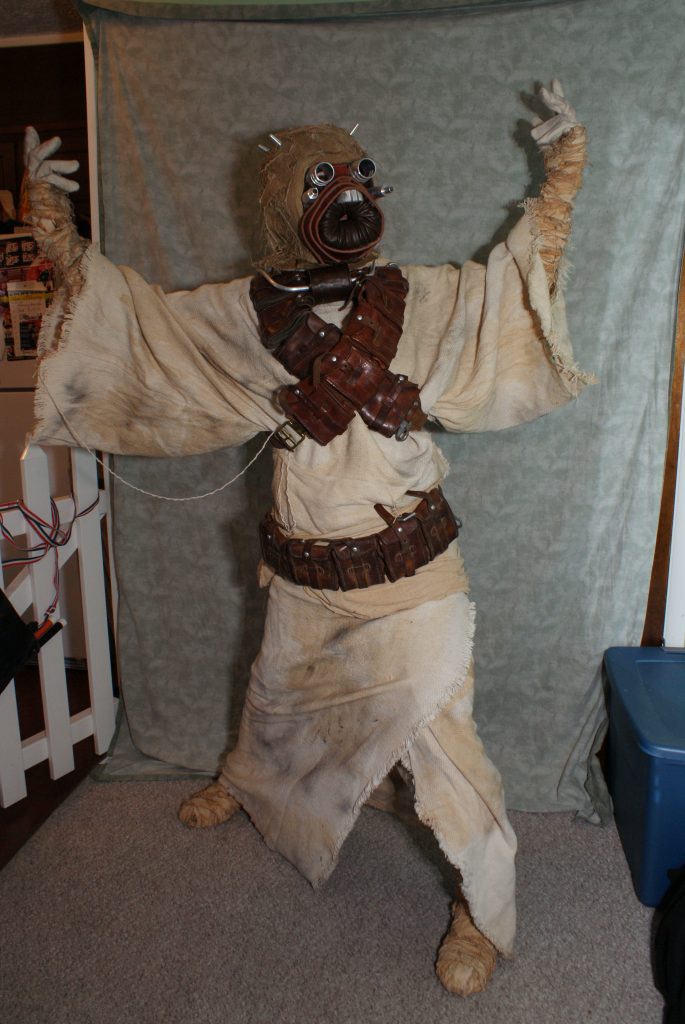
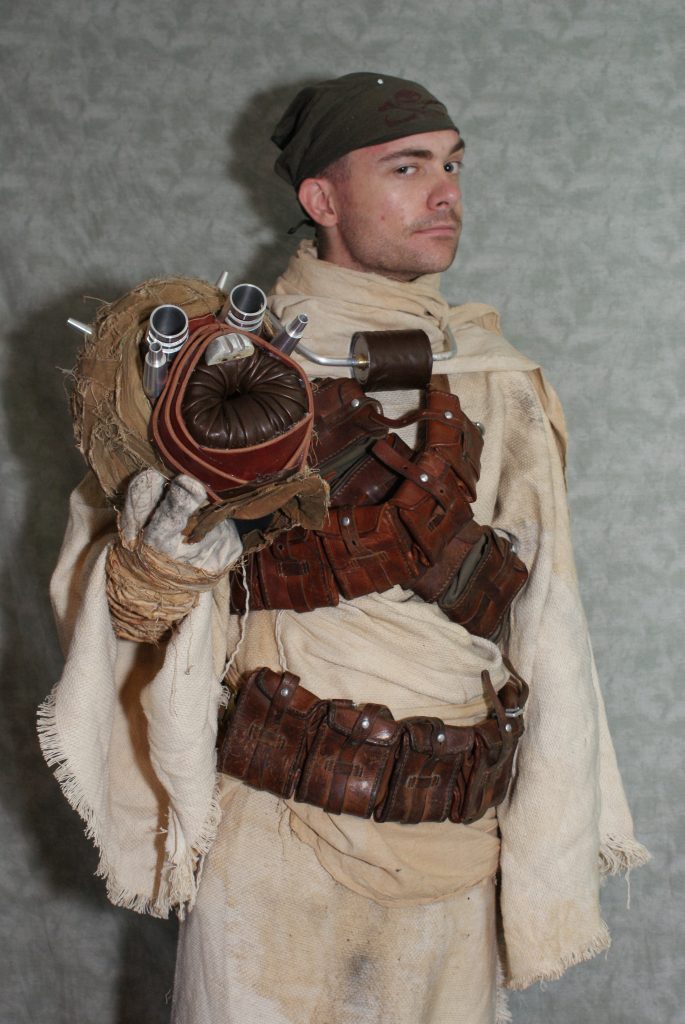
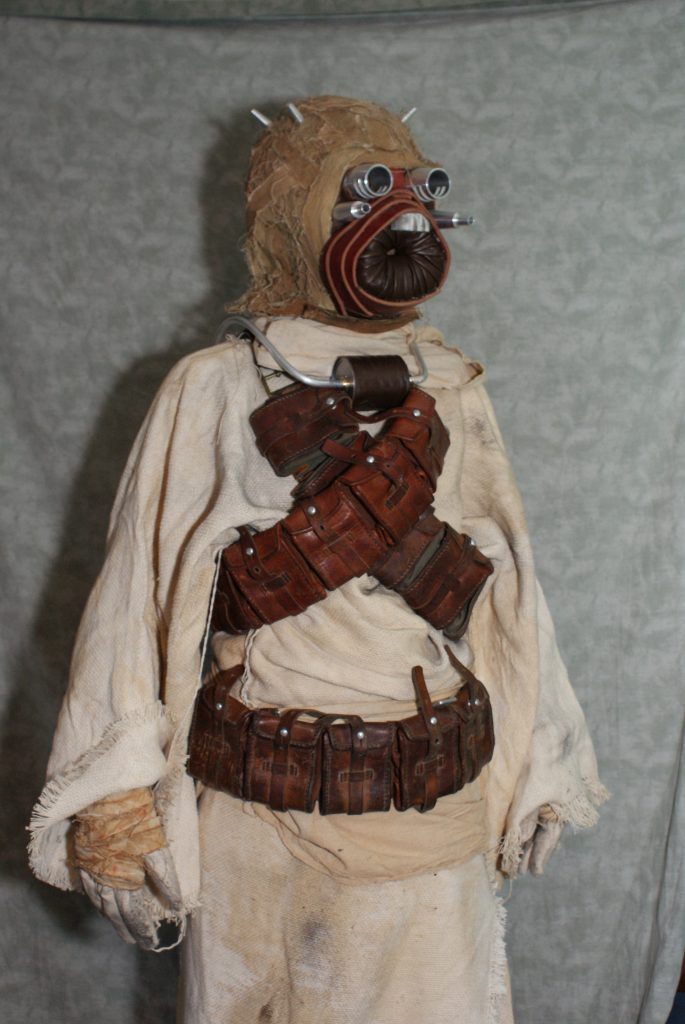
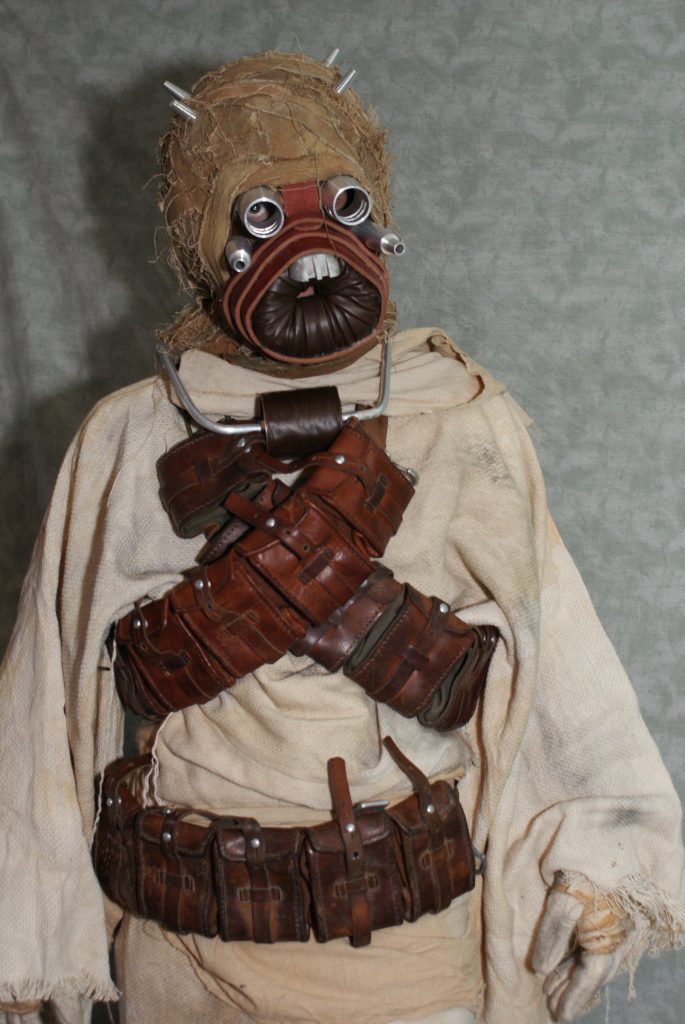
A Majority of the facial details are leather scraps. I went to Tandy Leather and bought some of the scrap soft leather for the mouth piece. I used GOOP to glue it down as it allowed for flexibility and holds well at different temperatures. As I glued it into the moth piece I folded it over, shaped, and stretched over the mouth space. The center of the mouth piece I did gut a hole to allow for airflow and covered with some scrap screen to hide the visibility.
The outside of the mouth piece as a heavier piece of leather wrapped and glued with goop as well around the outside. Each piece was left to dry for 24 hours, as it takes a good amount of time to dry.
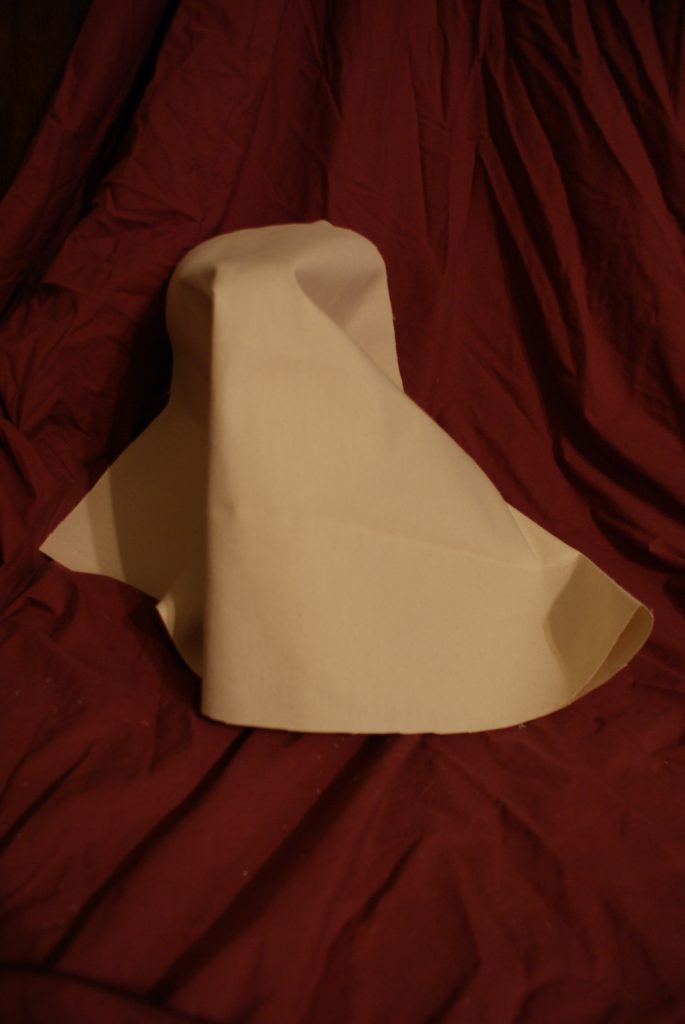
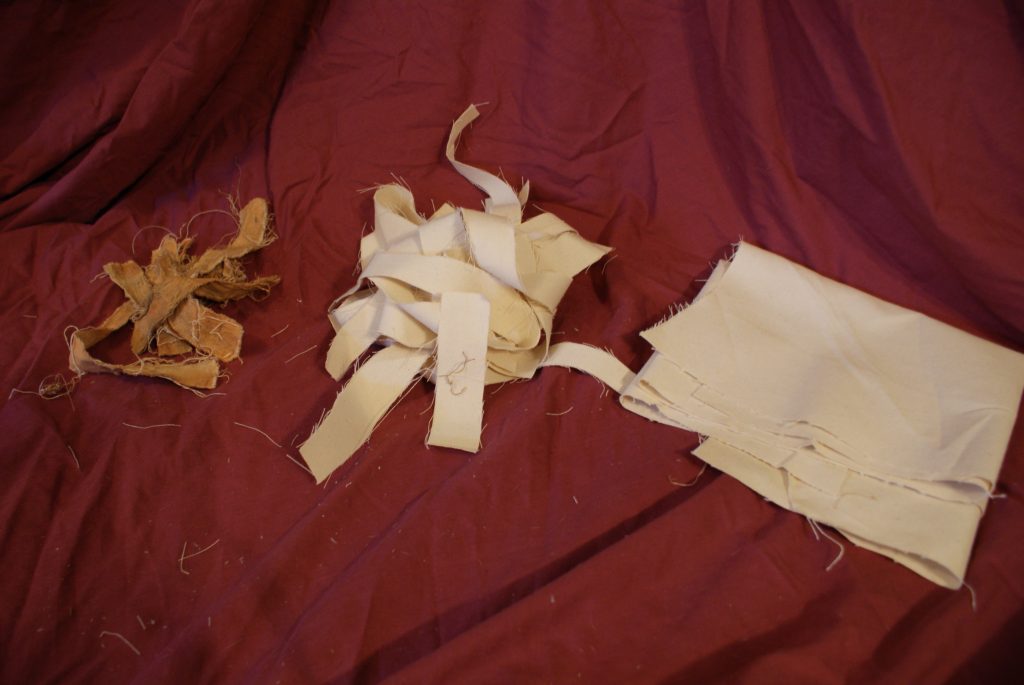
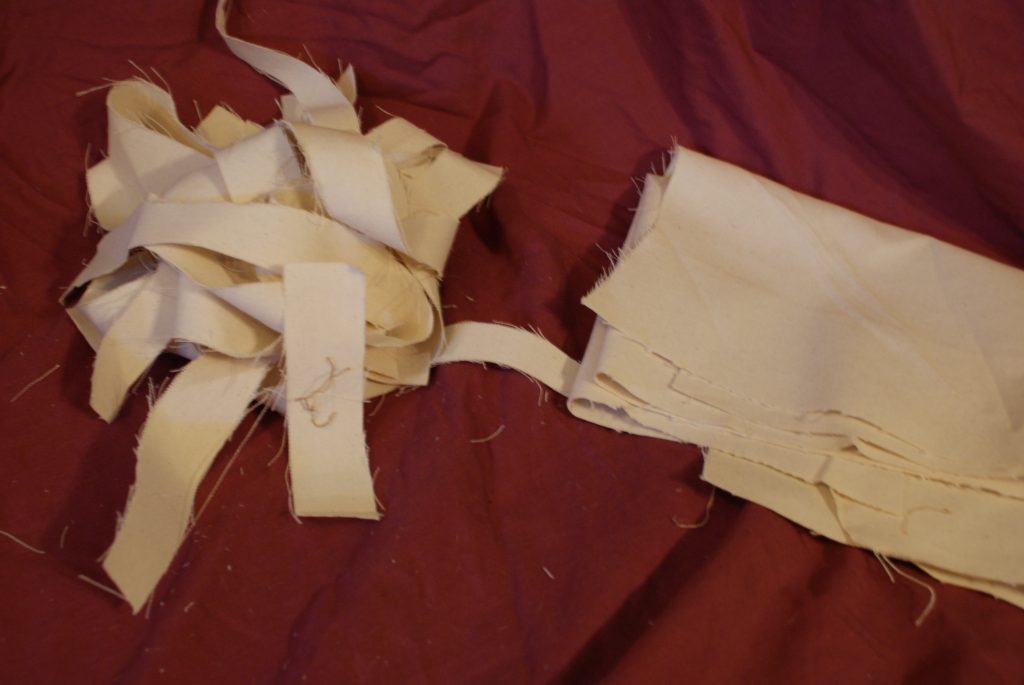
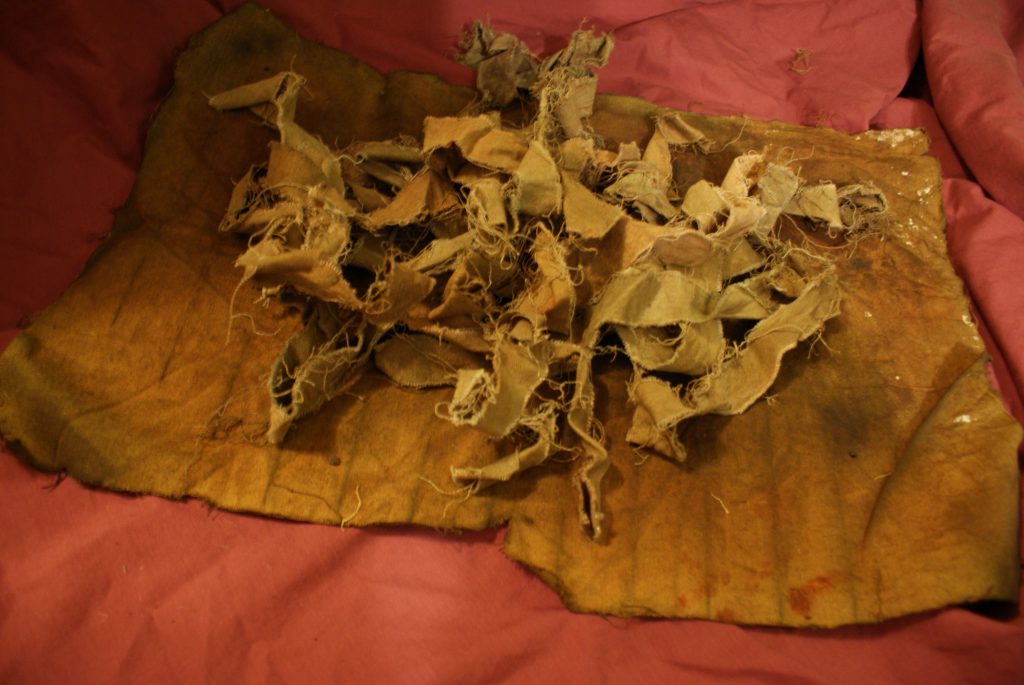
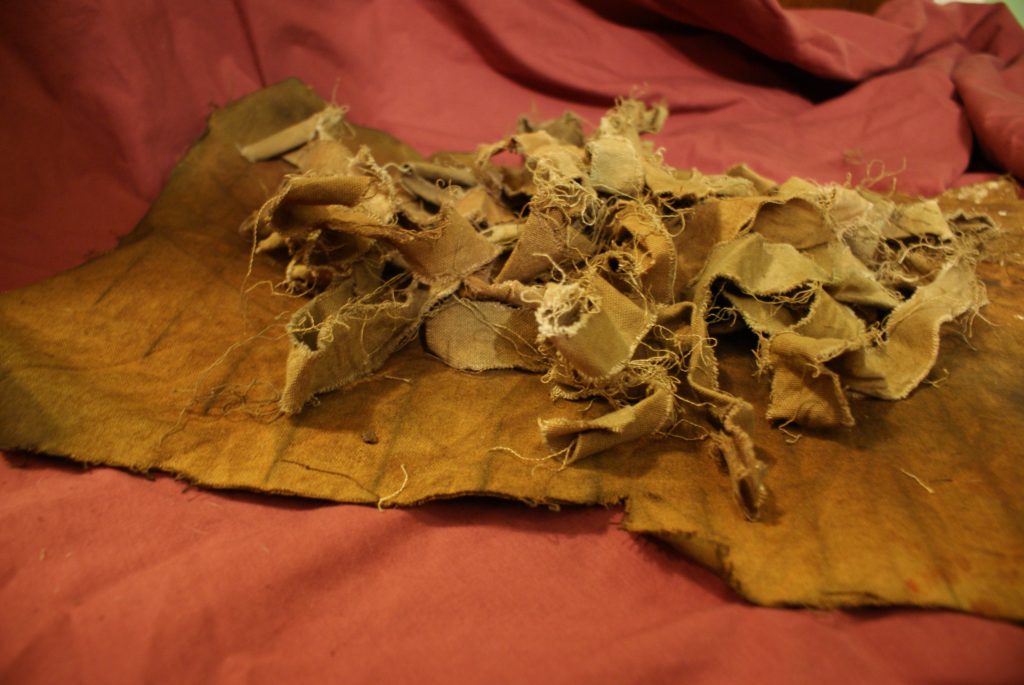
Fabric and Bandages
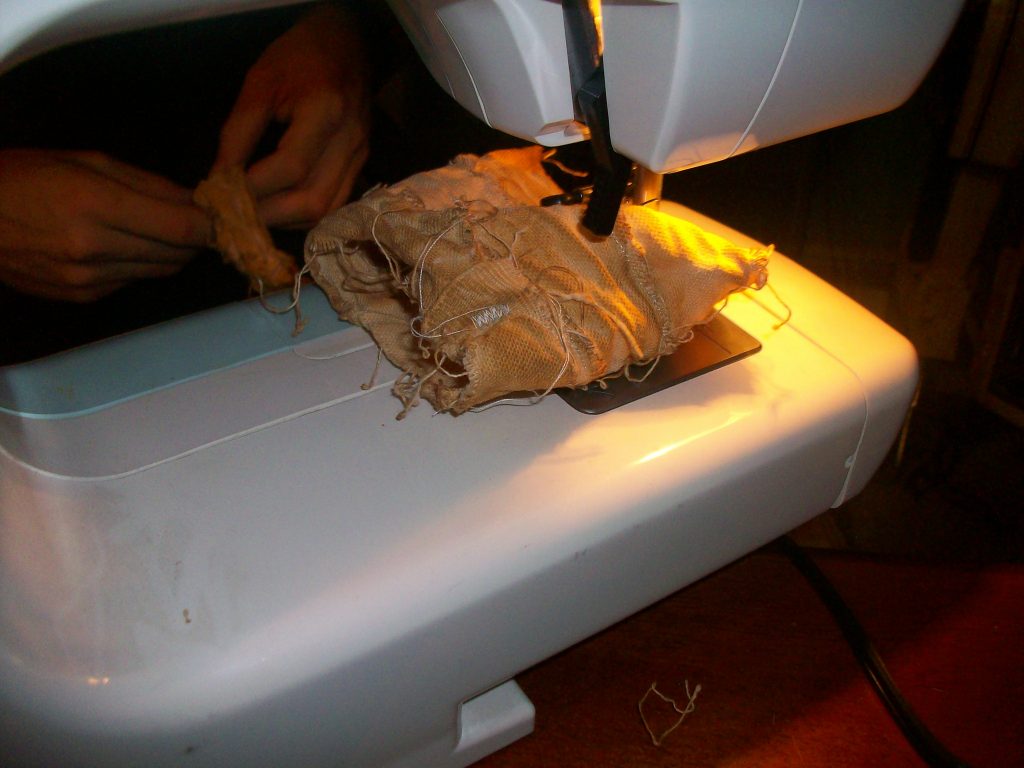
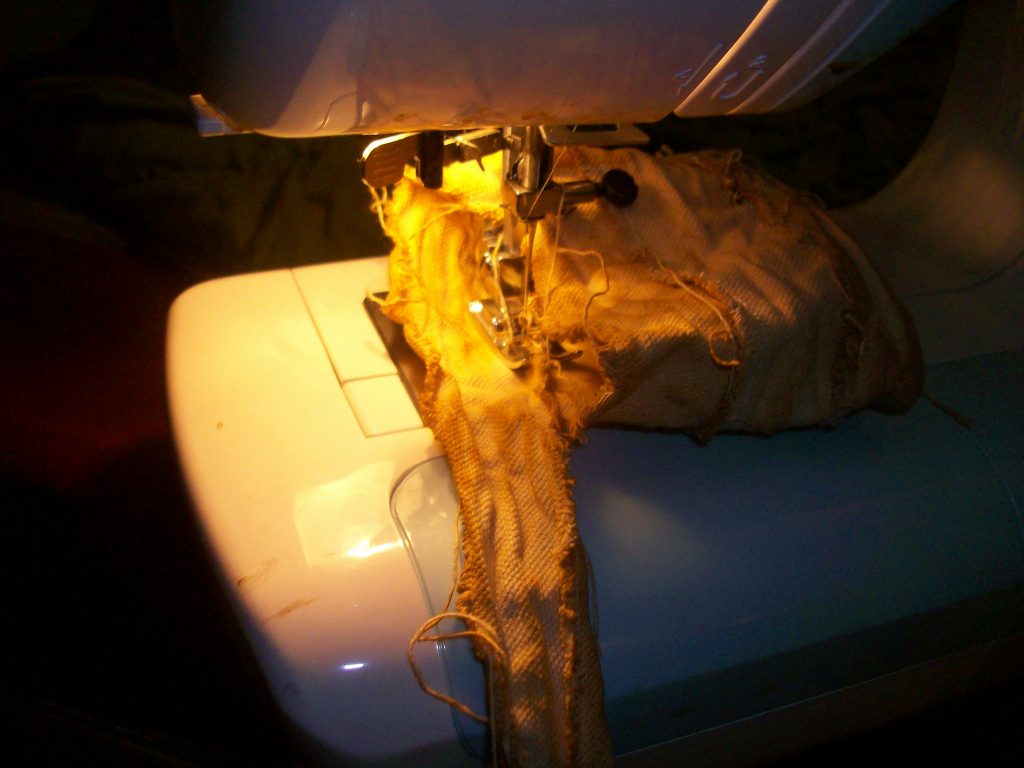
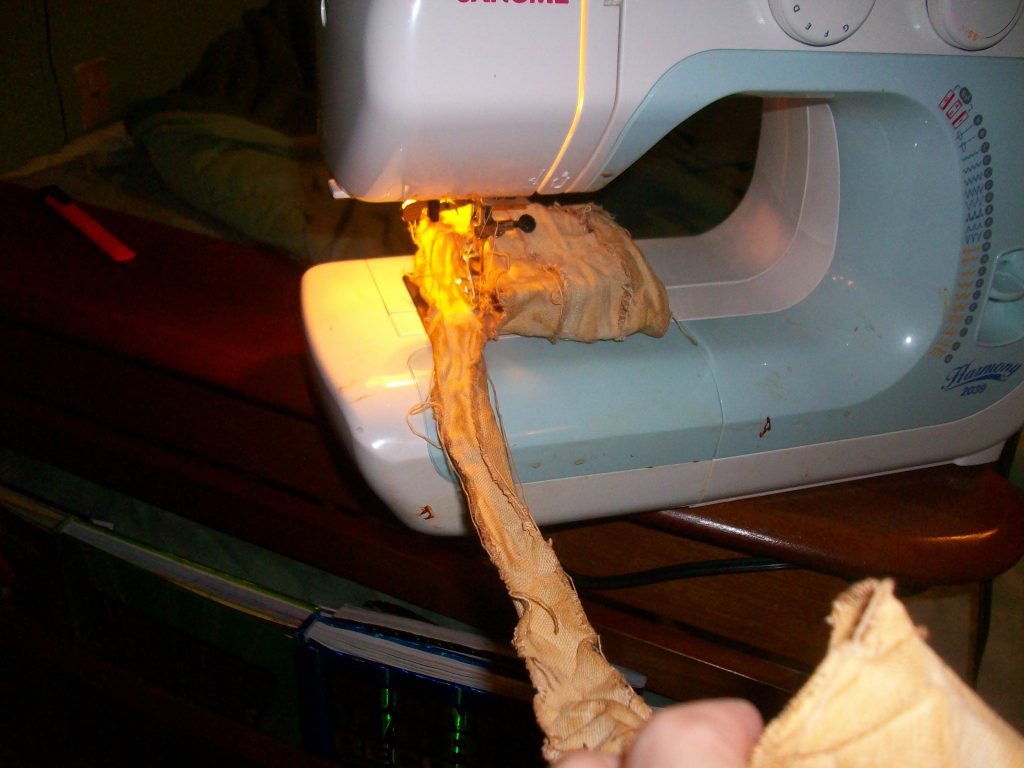
The Fabric and Bandages are made from duck cloth that was torn, burnt and painted to make for the look. I did the same to varying degrees for all of the fabric parts on the costume. Many of the bandages were cut using an exacto knife to start the cut and then torn the rest of the way by hand to give a good tethered look. Many of the edges were also ruffed up to make look worse and worn.
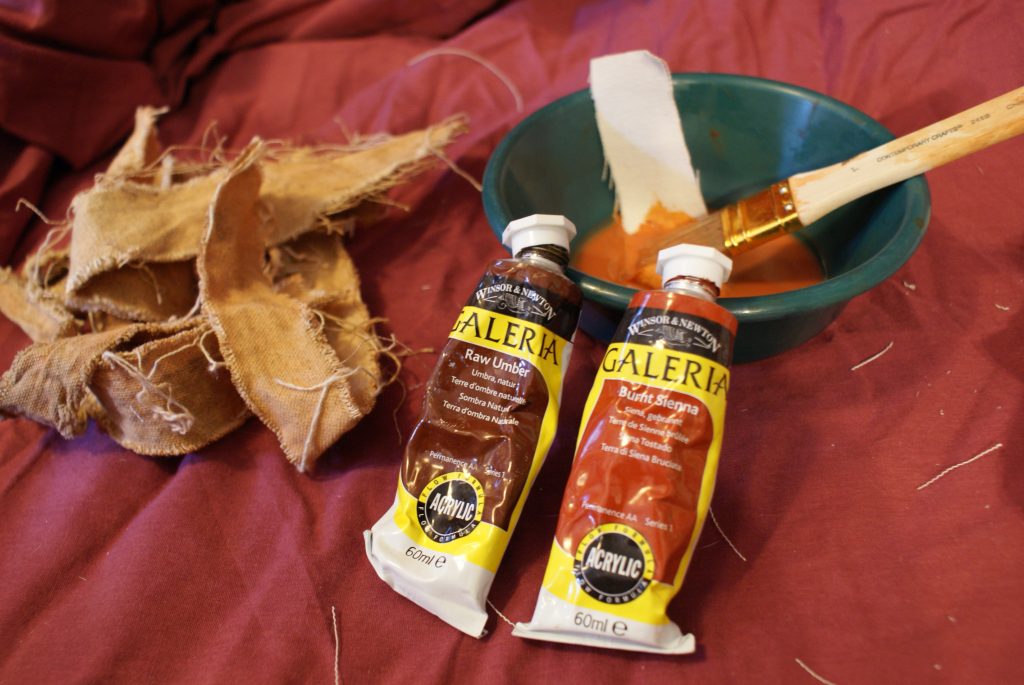
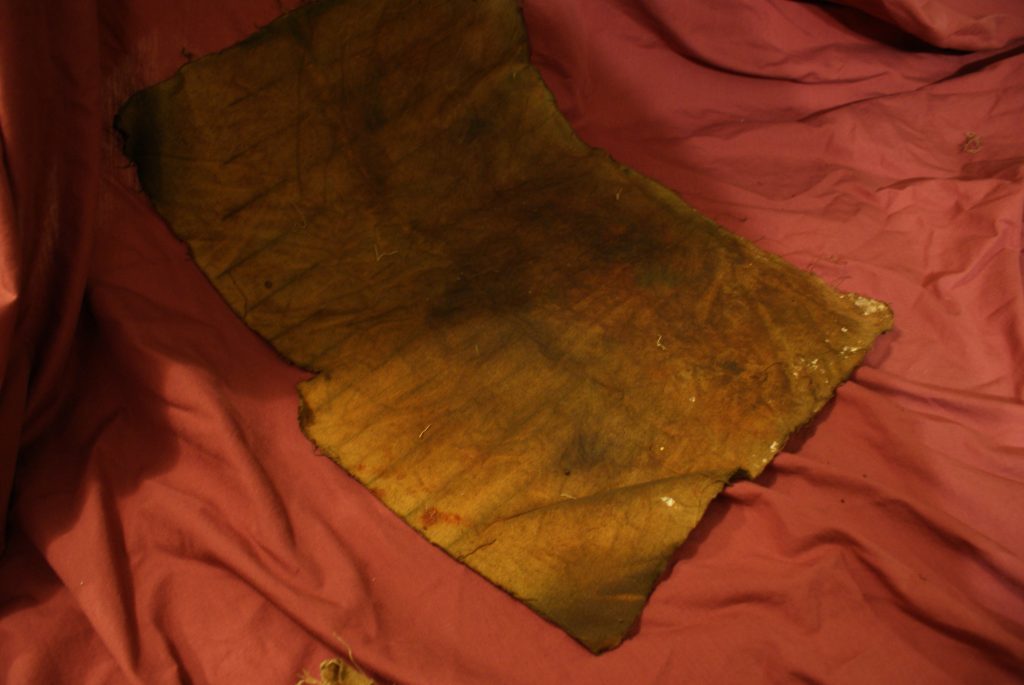
The base fabric was a base white but to get a desert look it was painted with watered down acrylic paint. I made several washes taking old bowls and mixing varying levels of dark green, Raw Umber, Burnt Sienna, and a dash of black. I would use a couple cups of water to only a few dabs of the colors.
The big key was to make a few different colors so that i could get a varied and aged look. Also never use black by itself!
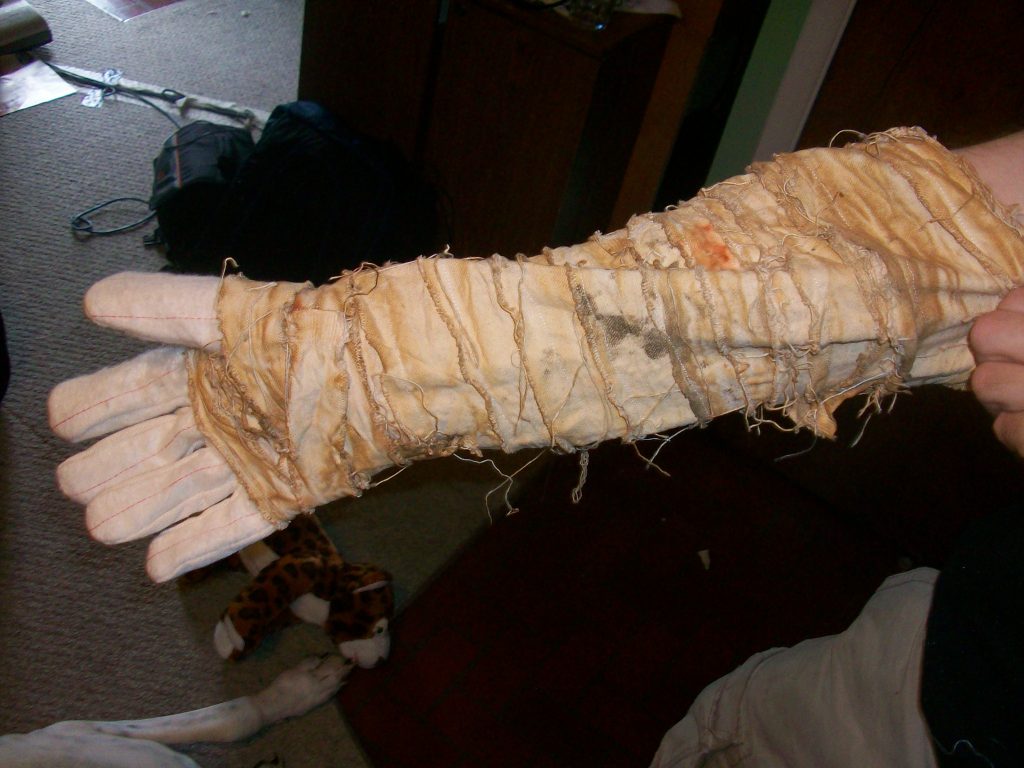
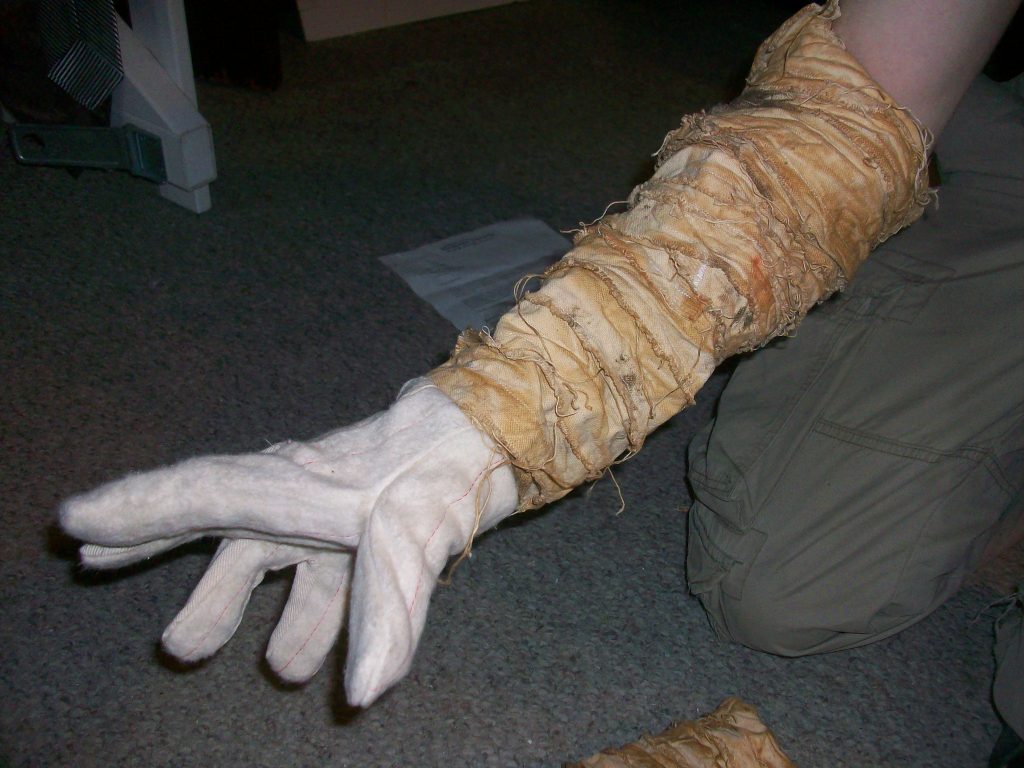
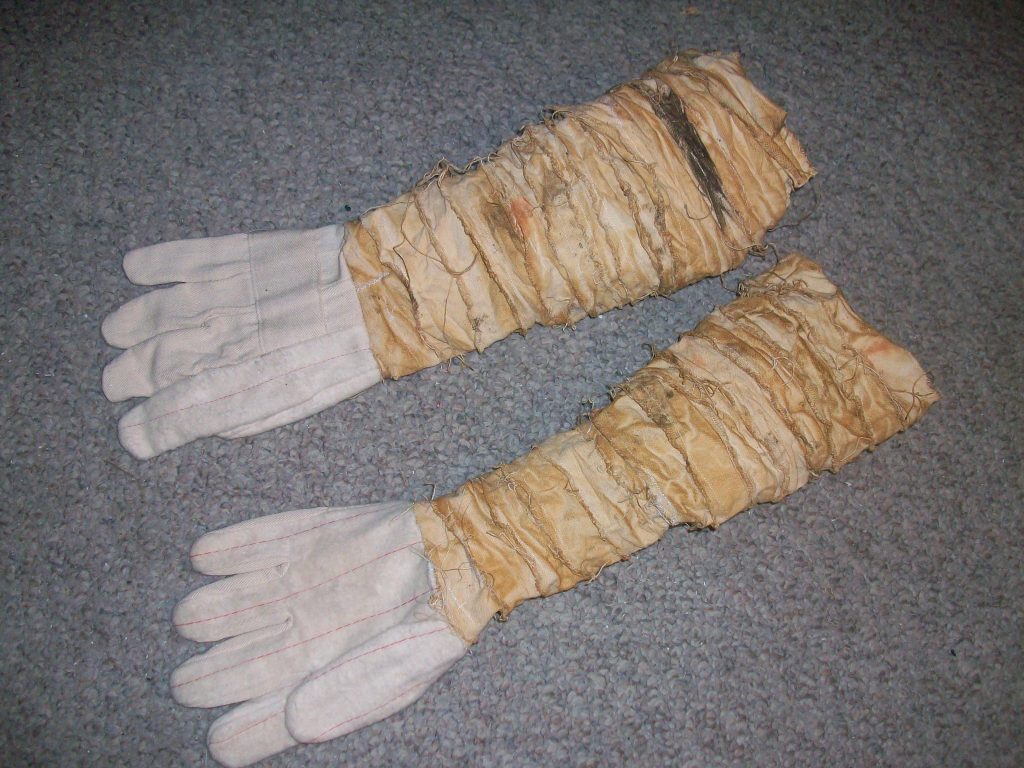
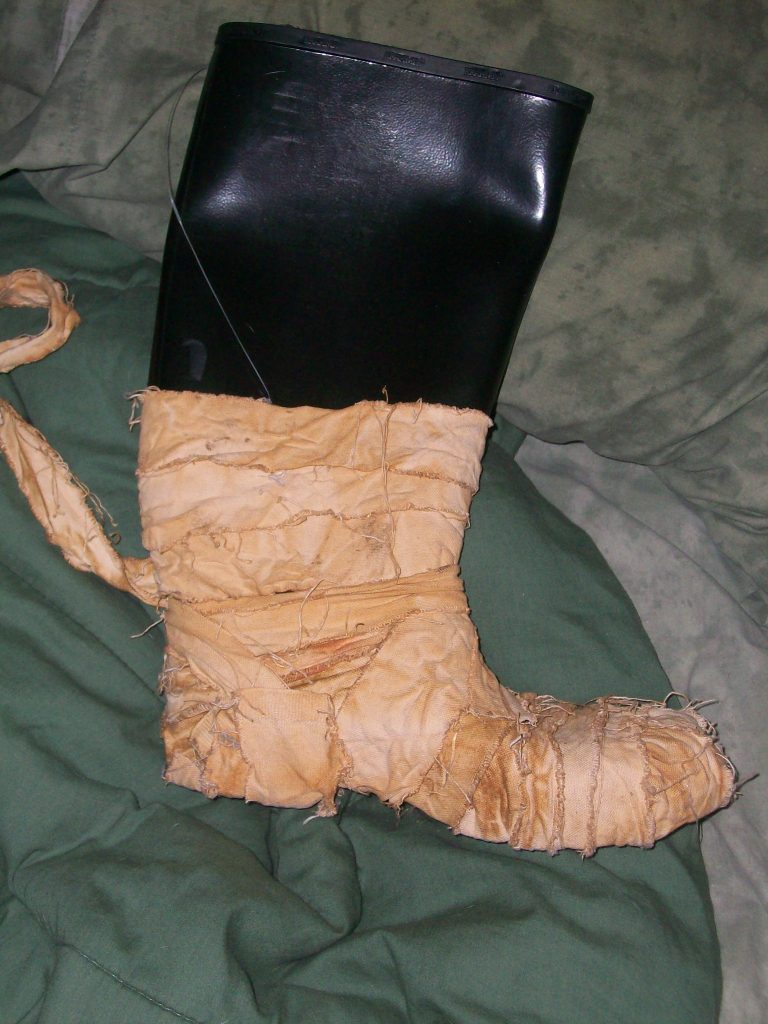
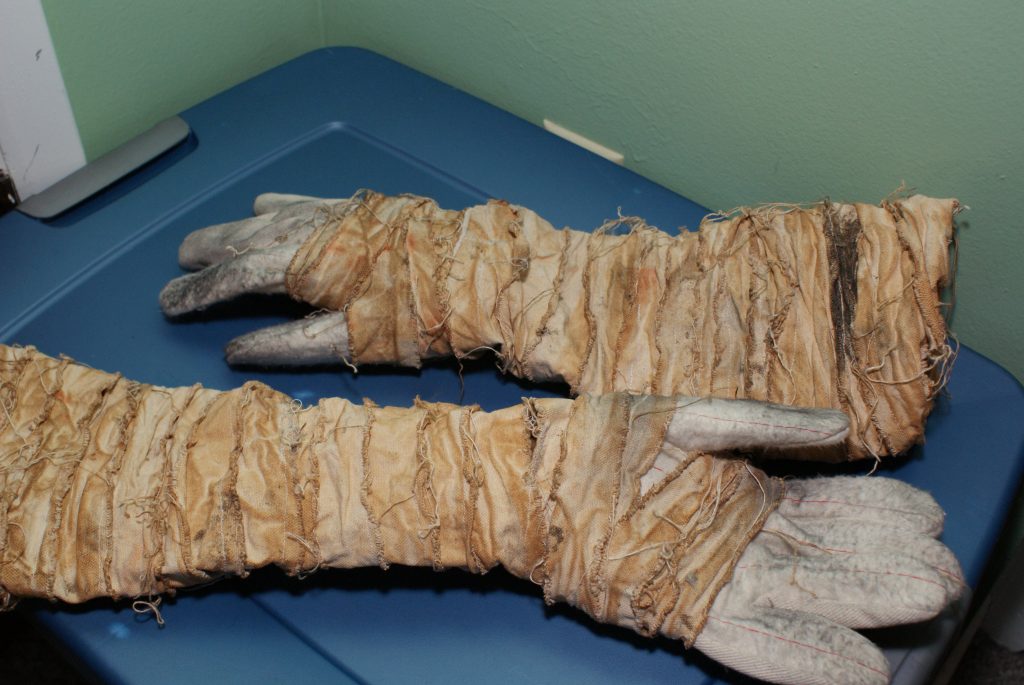
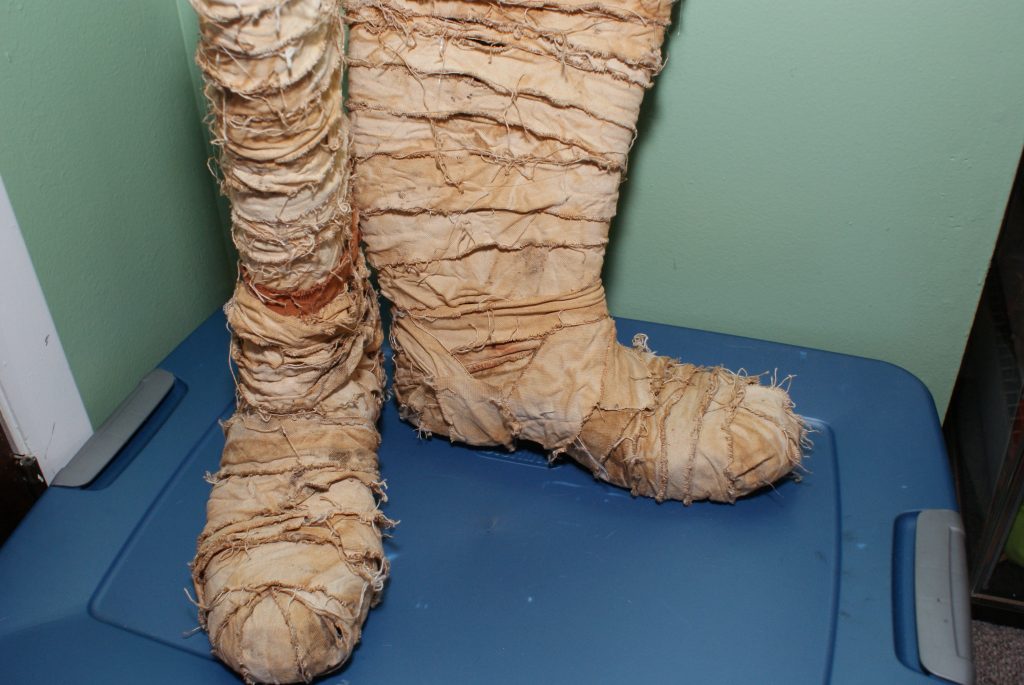
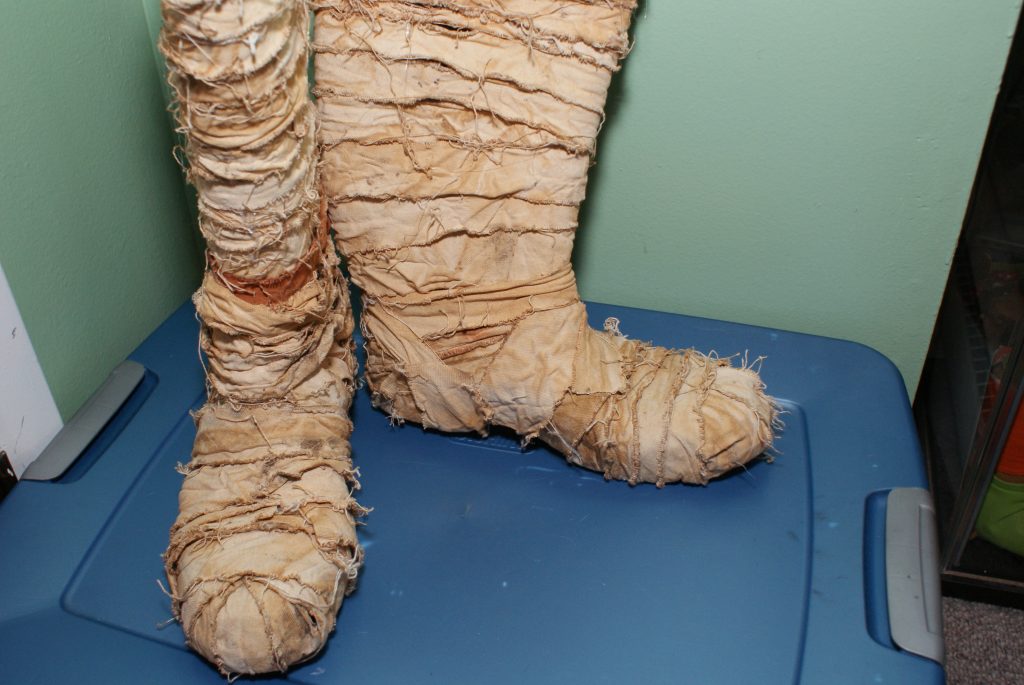
Gloves and Boots
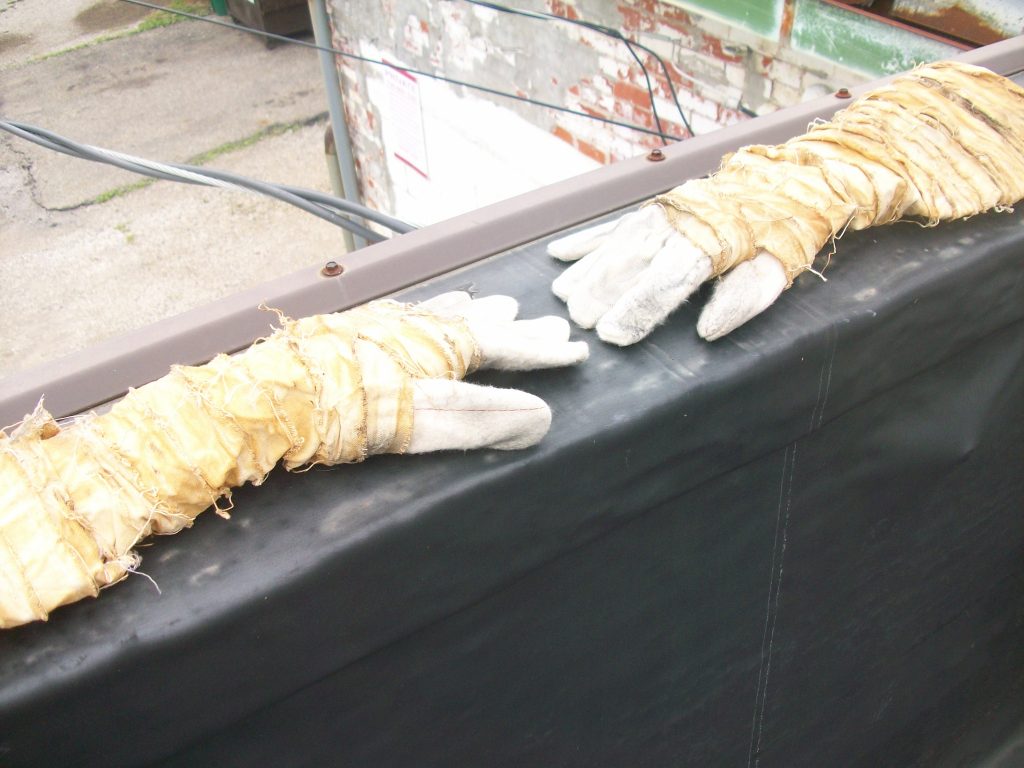
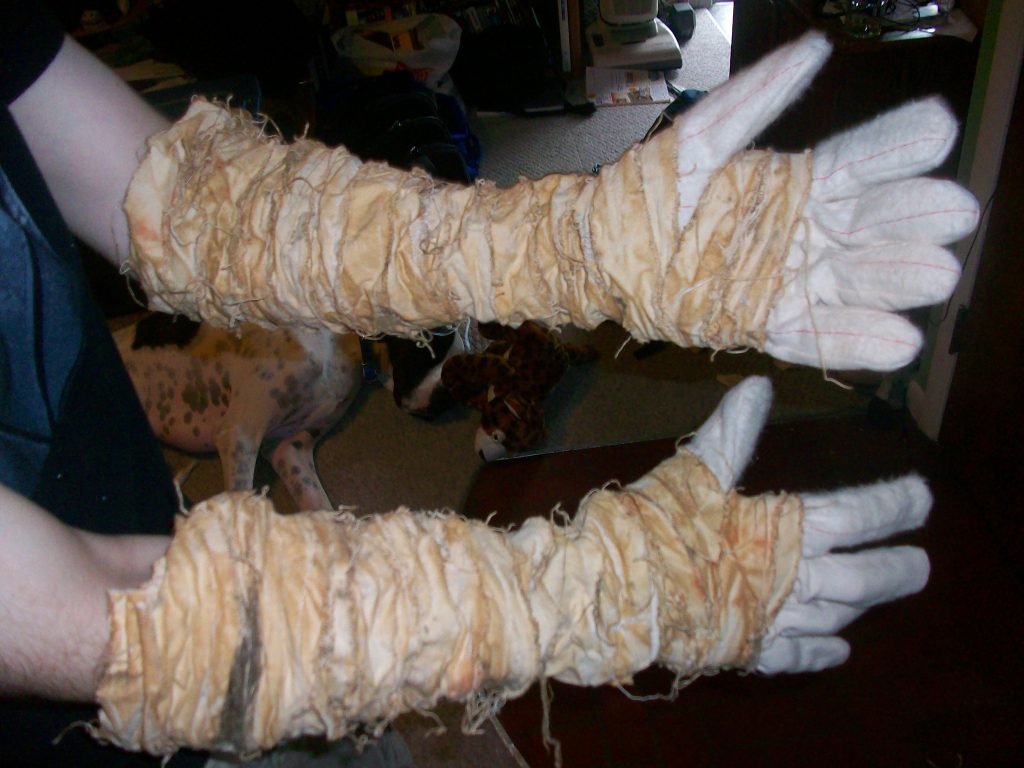
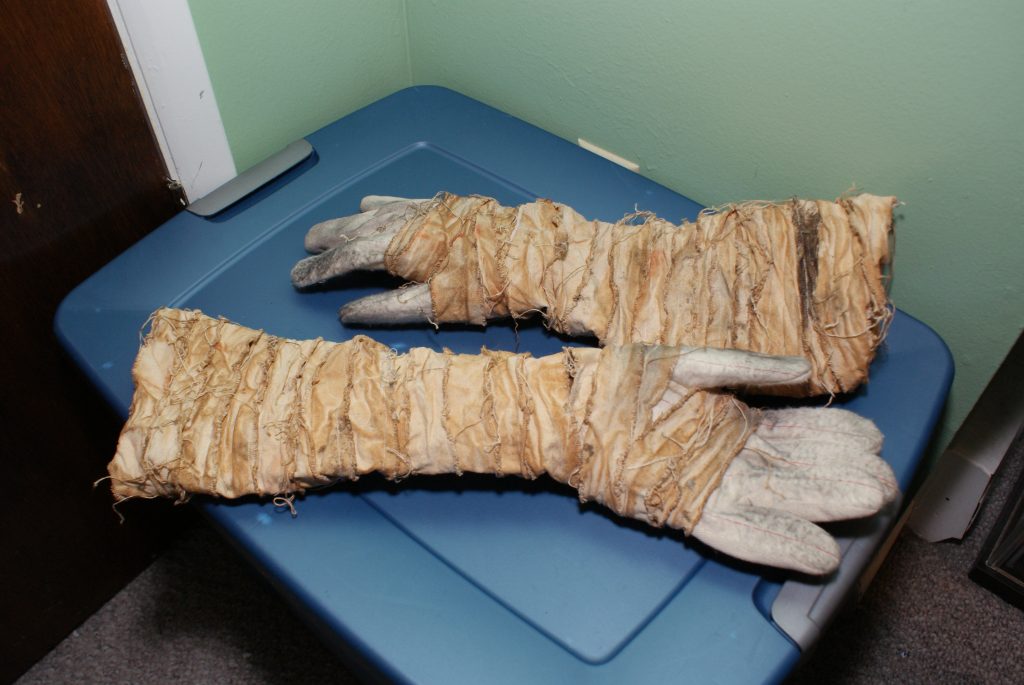
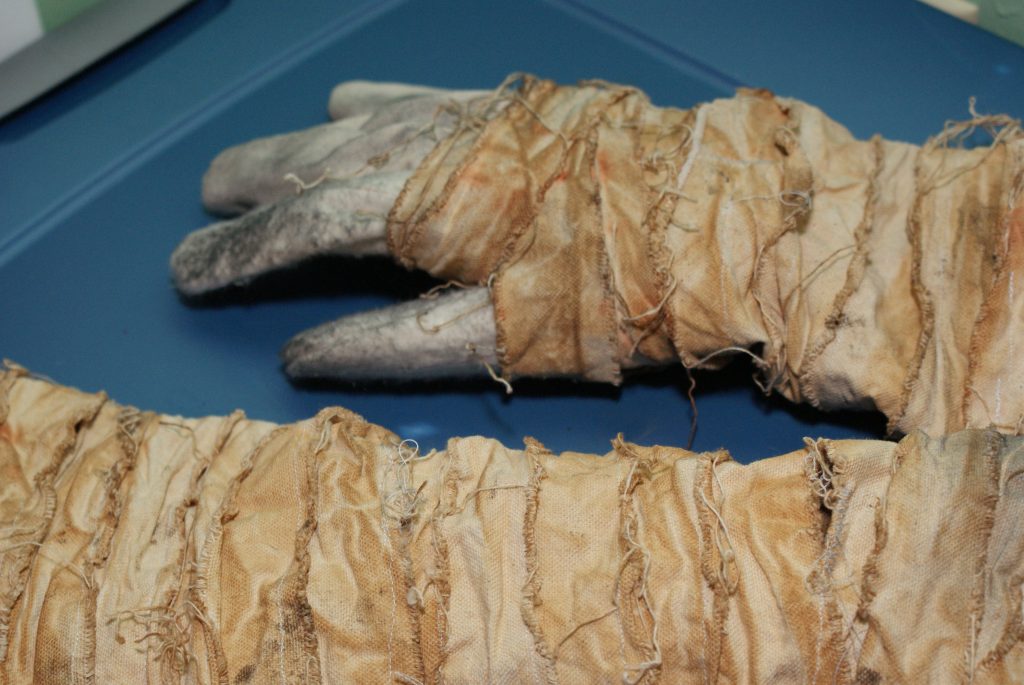
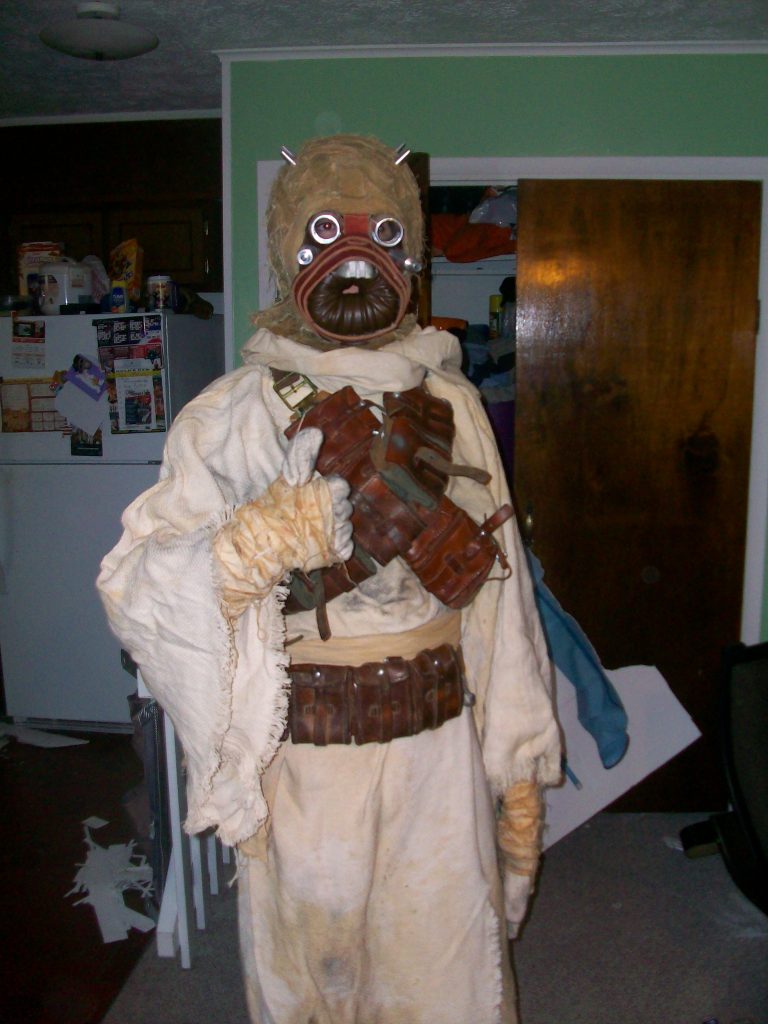
I used the same bandages for the gloves and the boots as I did for the mask, but I weathered them a little less than the mask to add some contrast.
The gloves themselves are just men’s cloth work gloves. I then took bandages and stitched them in a circle around the outside and used some glue to hold it all together. I had sewn them in this fashion so that they would not loosen and slide down my arms over time. My experience bandages actually wrapped on your arms or legs tend to fall over time and having them stitched / glued in place holds nicely.
For the boots I just took those same bandages and wrapped them around a pair of cheap rubber boots. They look great, are easy to put on, but the downside is the bandages, especially when new, can be a little slick on hard surfaces. As you cannot see my legs I often just wear khaki pants under the whole costume.
Final Details
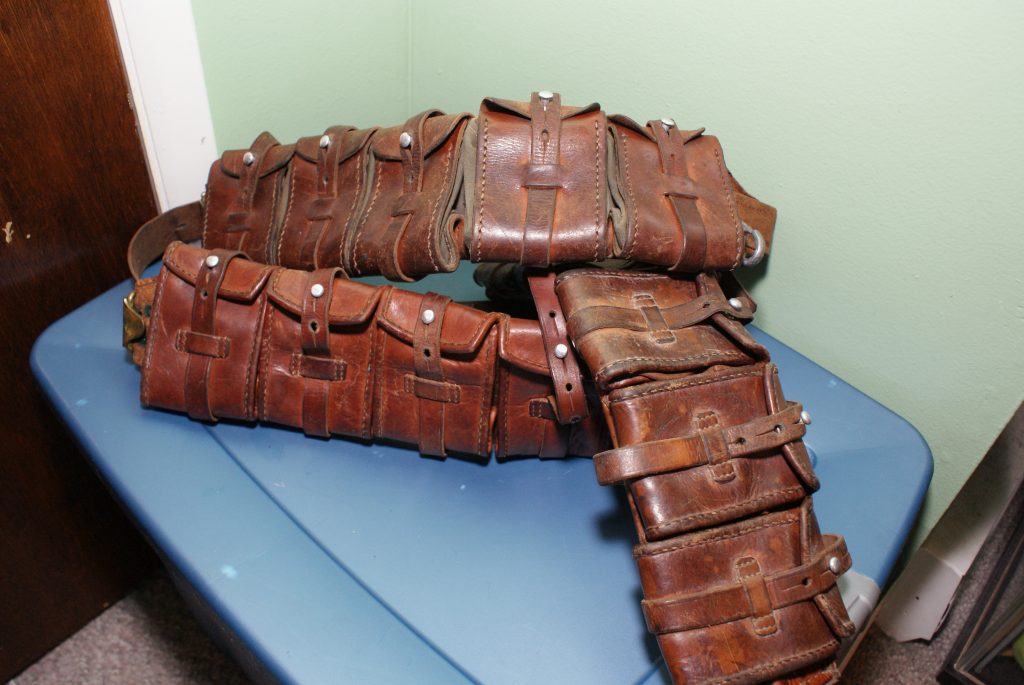
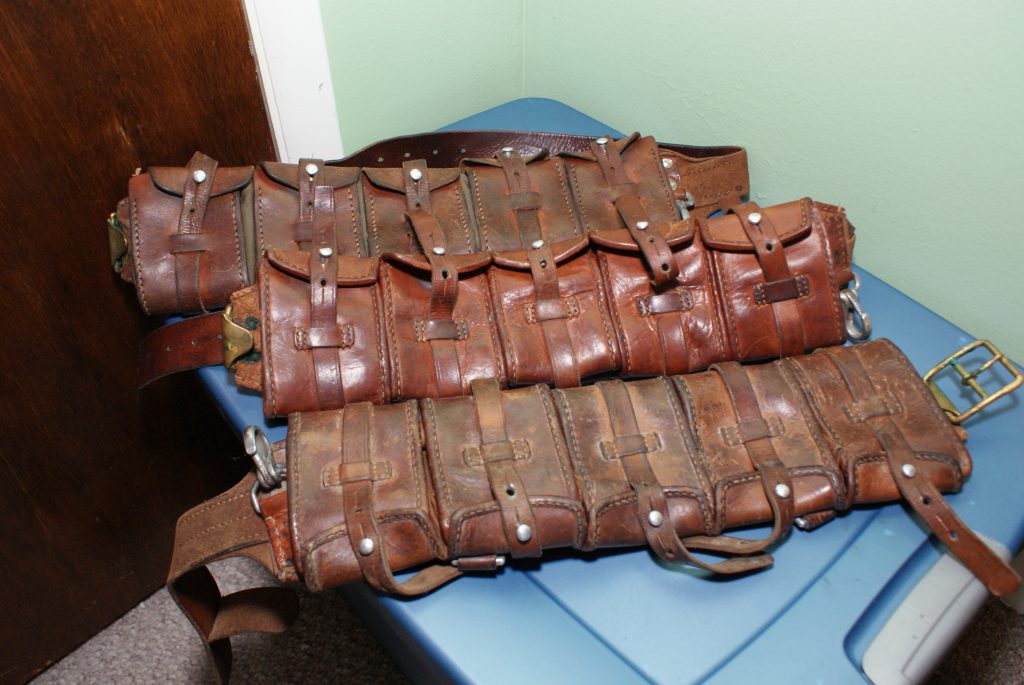
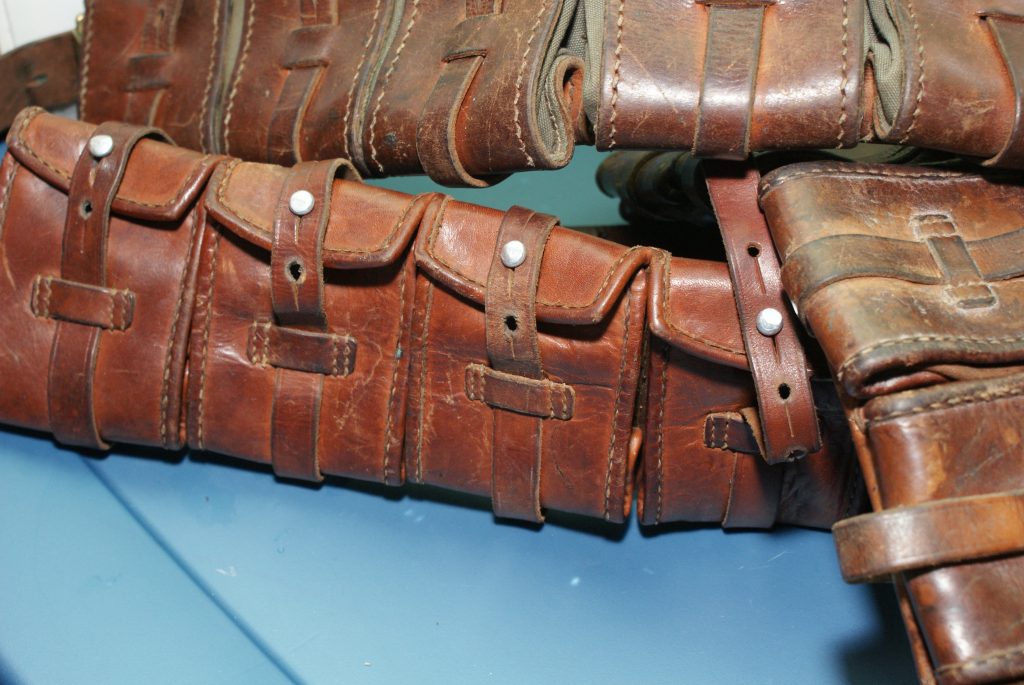
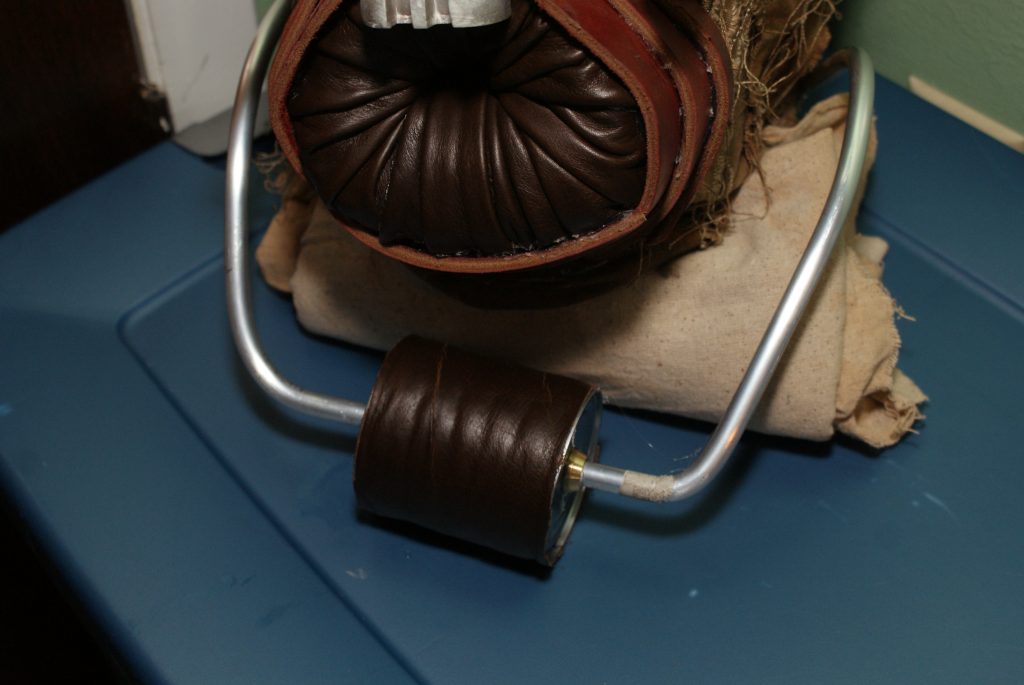
WWII Surplus Bandalier
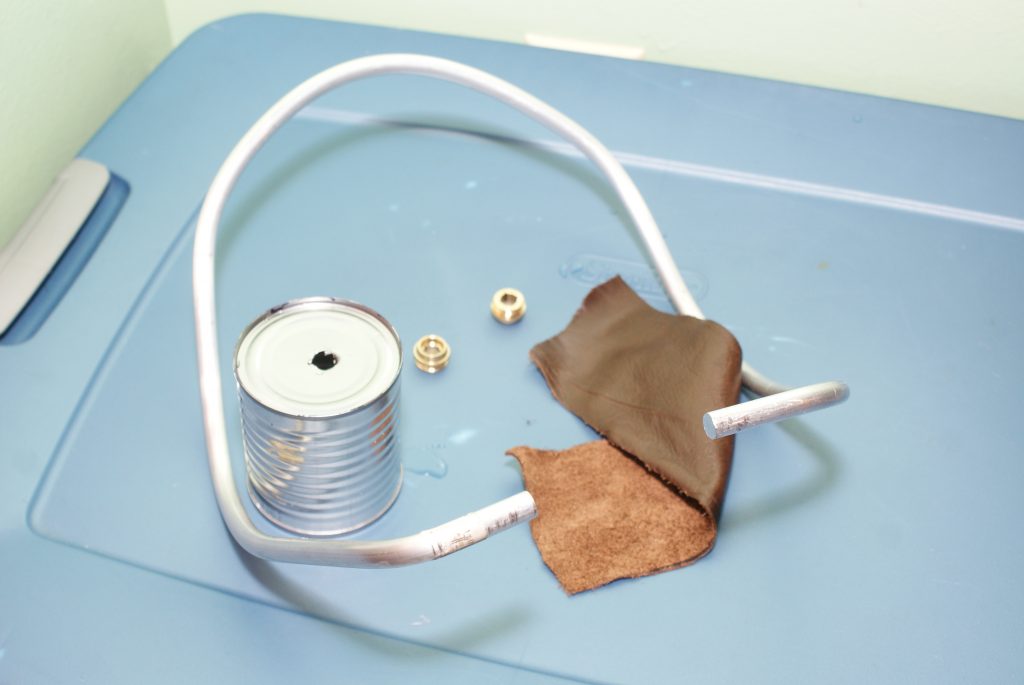
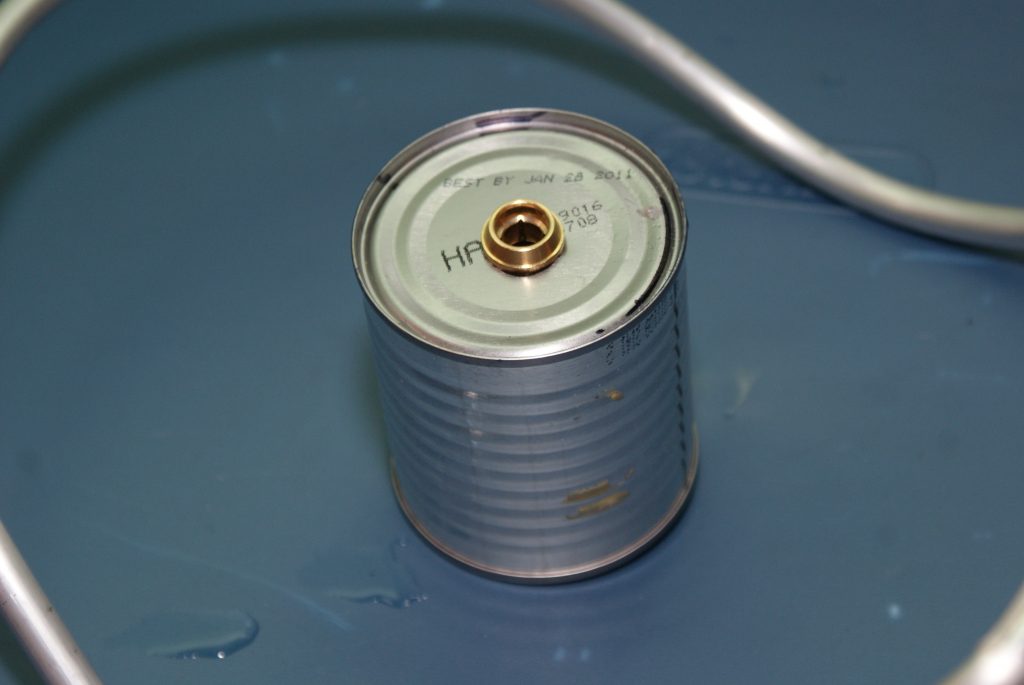
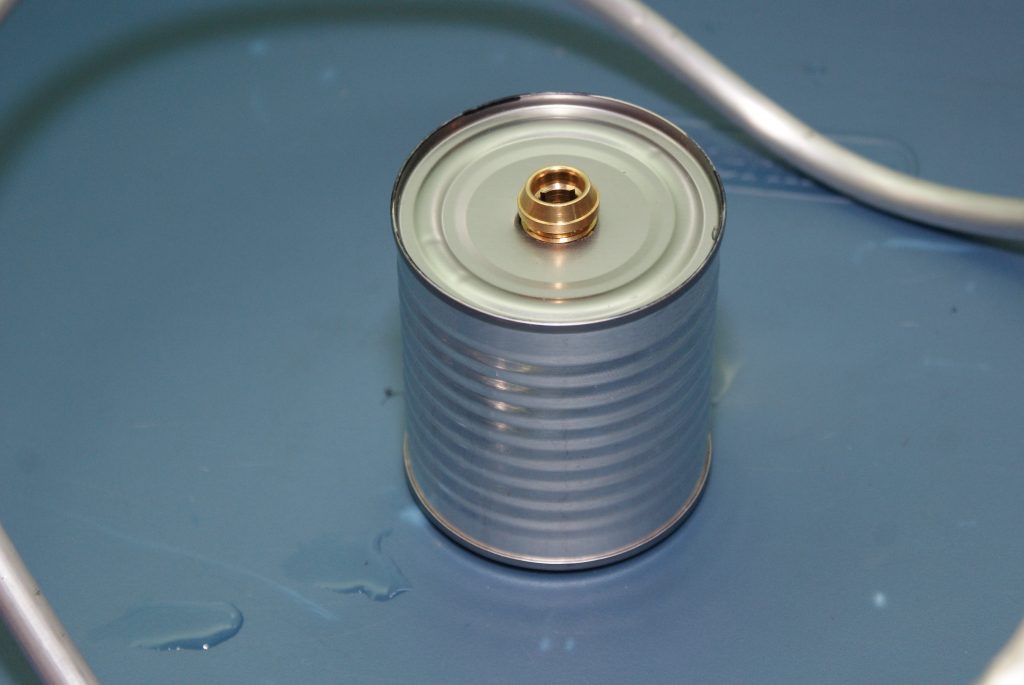
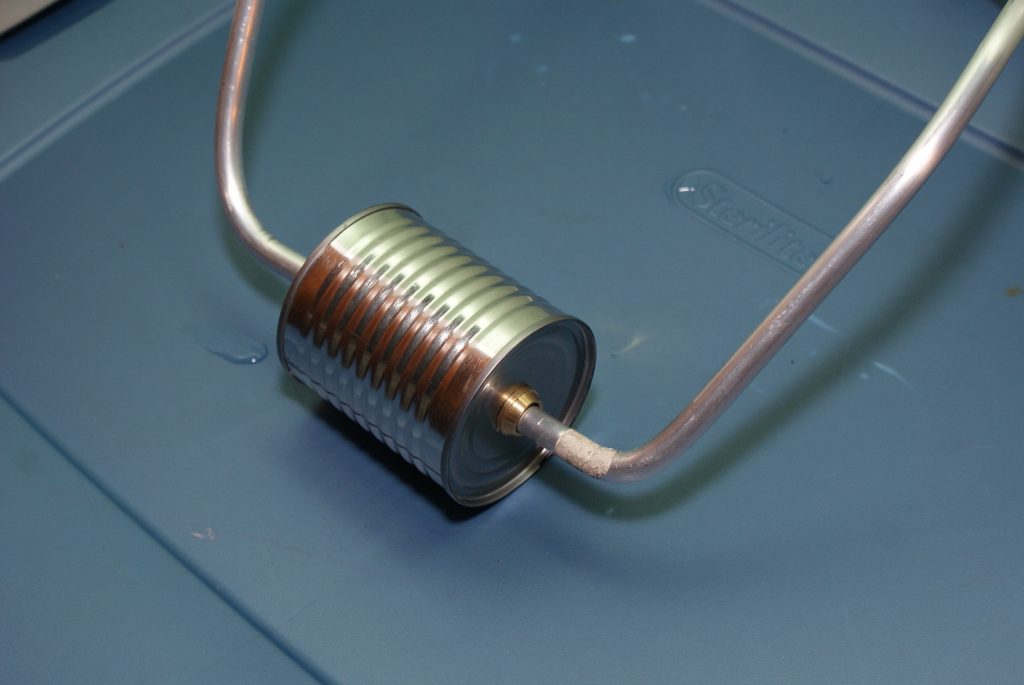
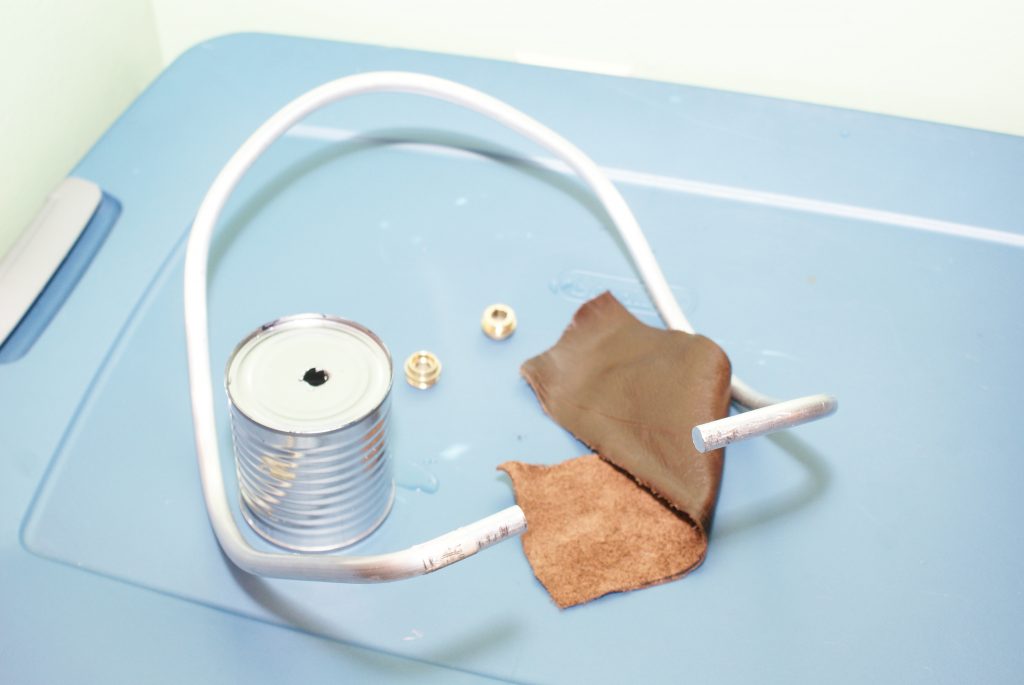
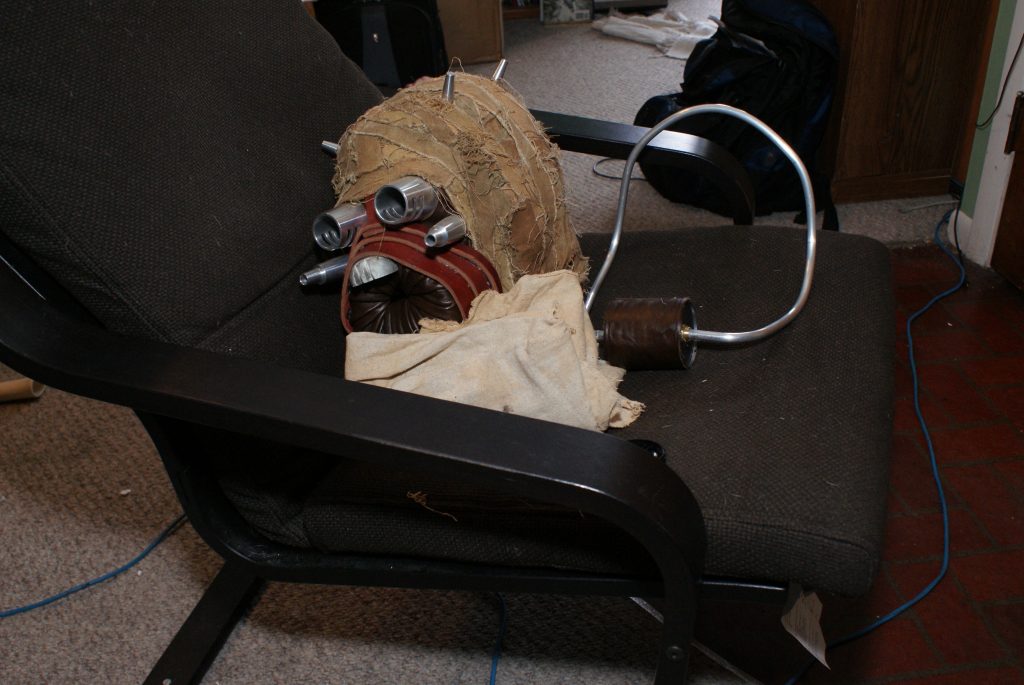
Respirator made from soup can, scrap metal and leather.
Putting it all together.
The robe itself was a very simple robe bade without a pattern the same way as studio creations. The robe itself is an off white monks cloth weathered with the same paints as the bandages.
The arms are one piece of cloth folded in half and stitched together at the arms, with a hole cut for the head. The bottom is just a wrap around the waste and stitched in place .
I made mine the same as this tutorial on Studio Creations
The sashes are more off white scrap fabric found in scrap pile at Joann’s large enough to wrap around neck and waist. Weathered the same was as bandages.

Related
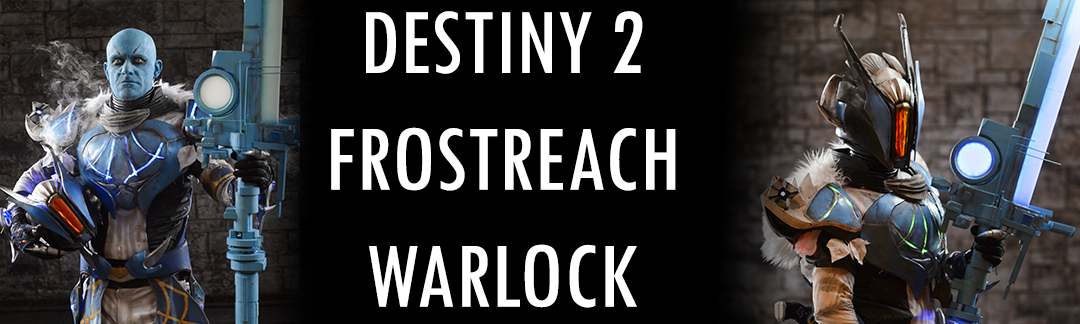
Costume History This costume is from a “looter shooter” game called Destiny 2 made by Bungie. Guardians are the playable characters and Warlocks are one of the in-game Character Classes. …
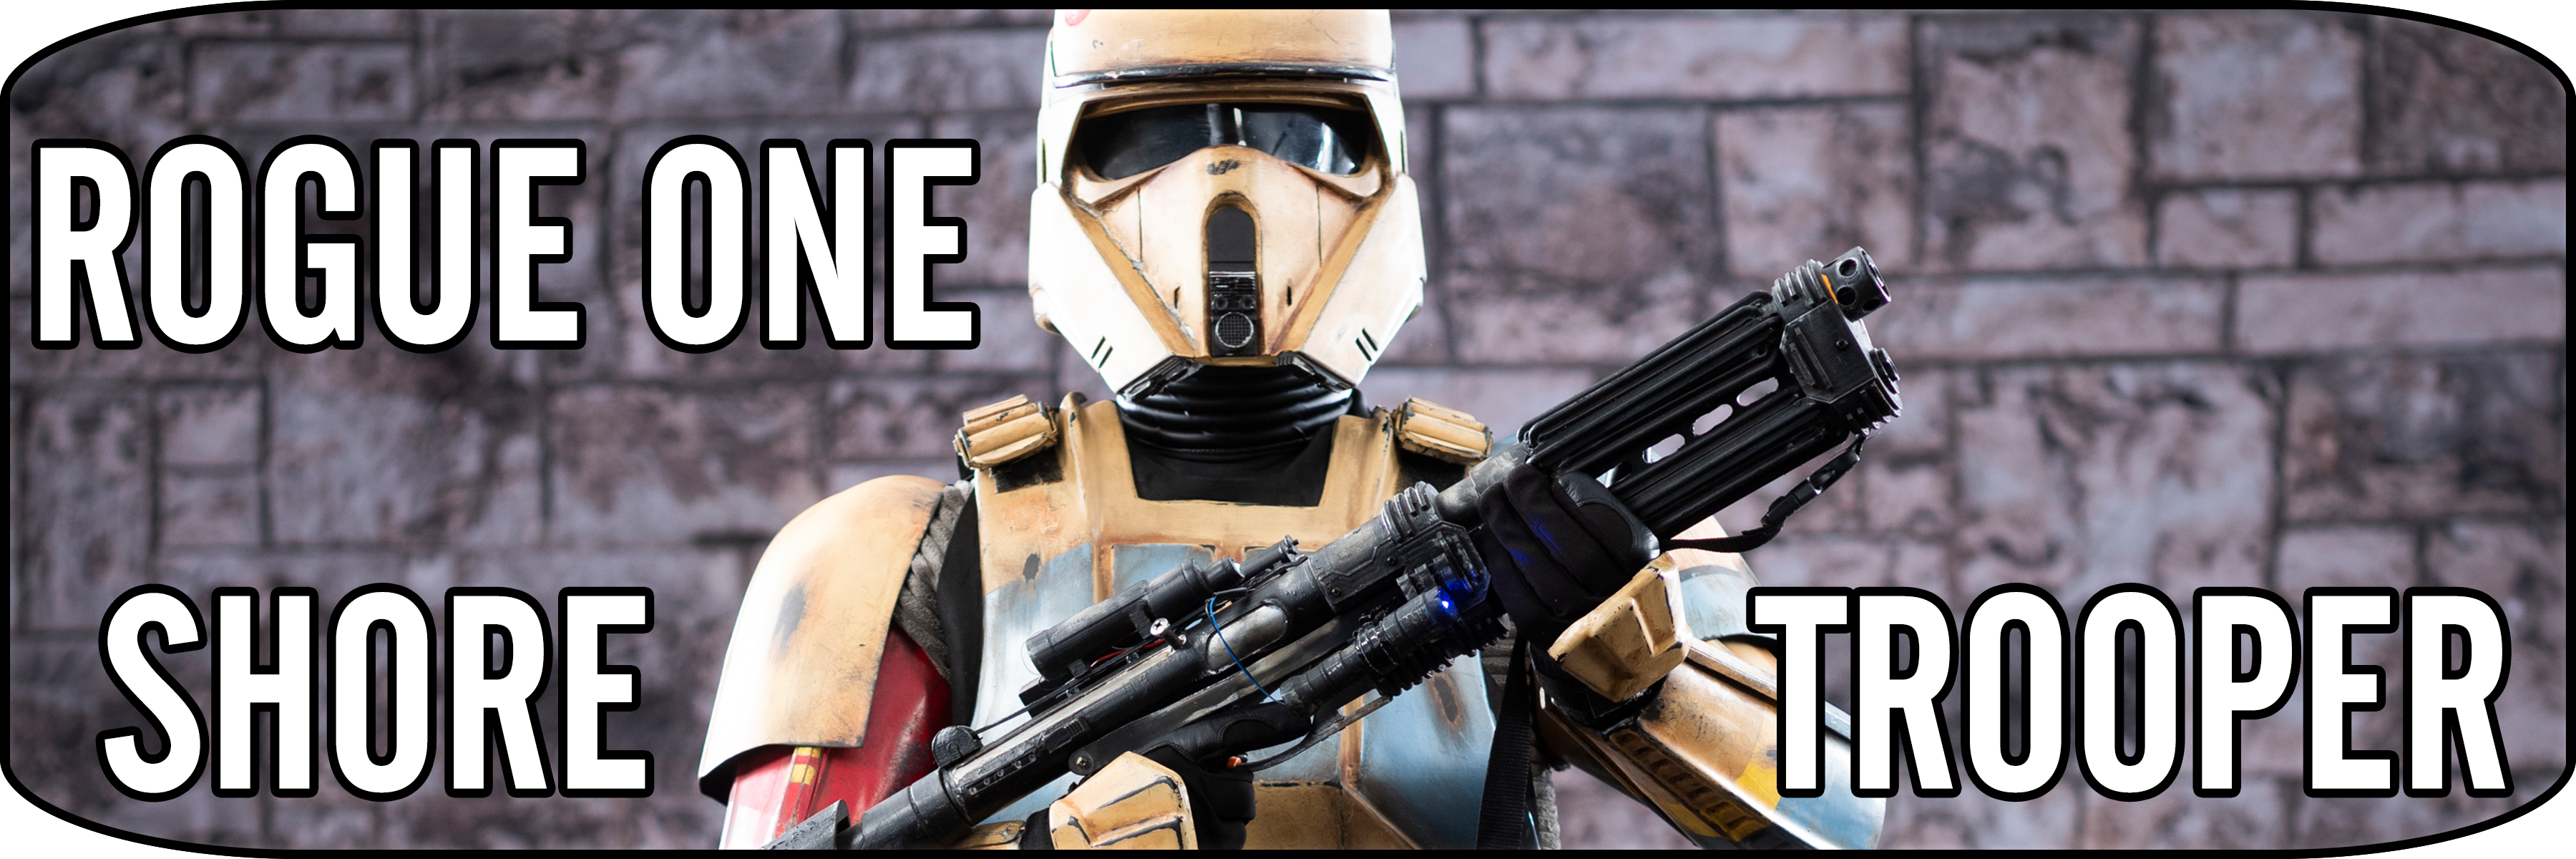
My Rogue One Shoretrooper (Captain) was a costume I did not expect to make, but glad I did. I have fallen in love with it and the look. For many…
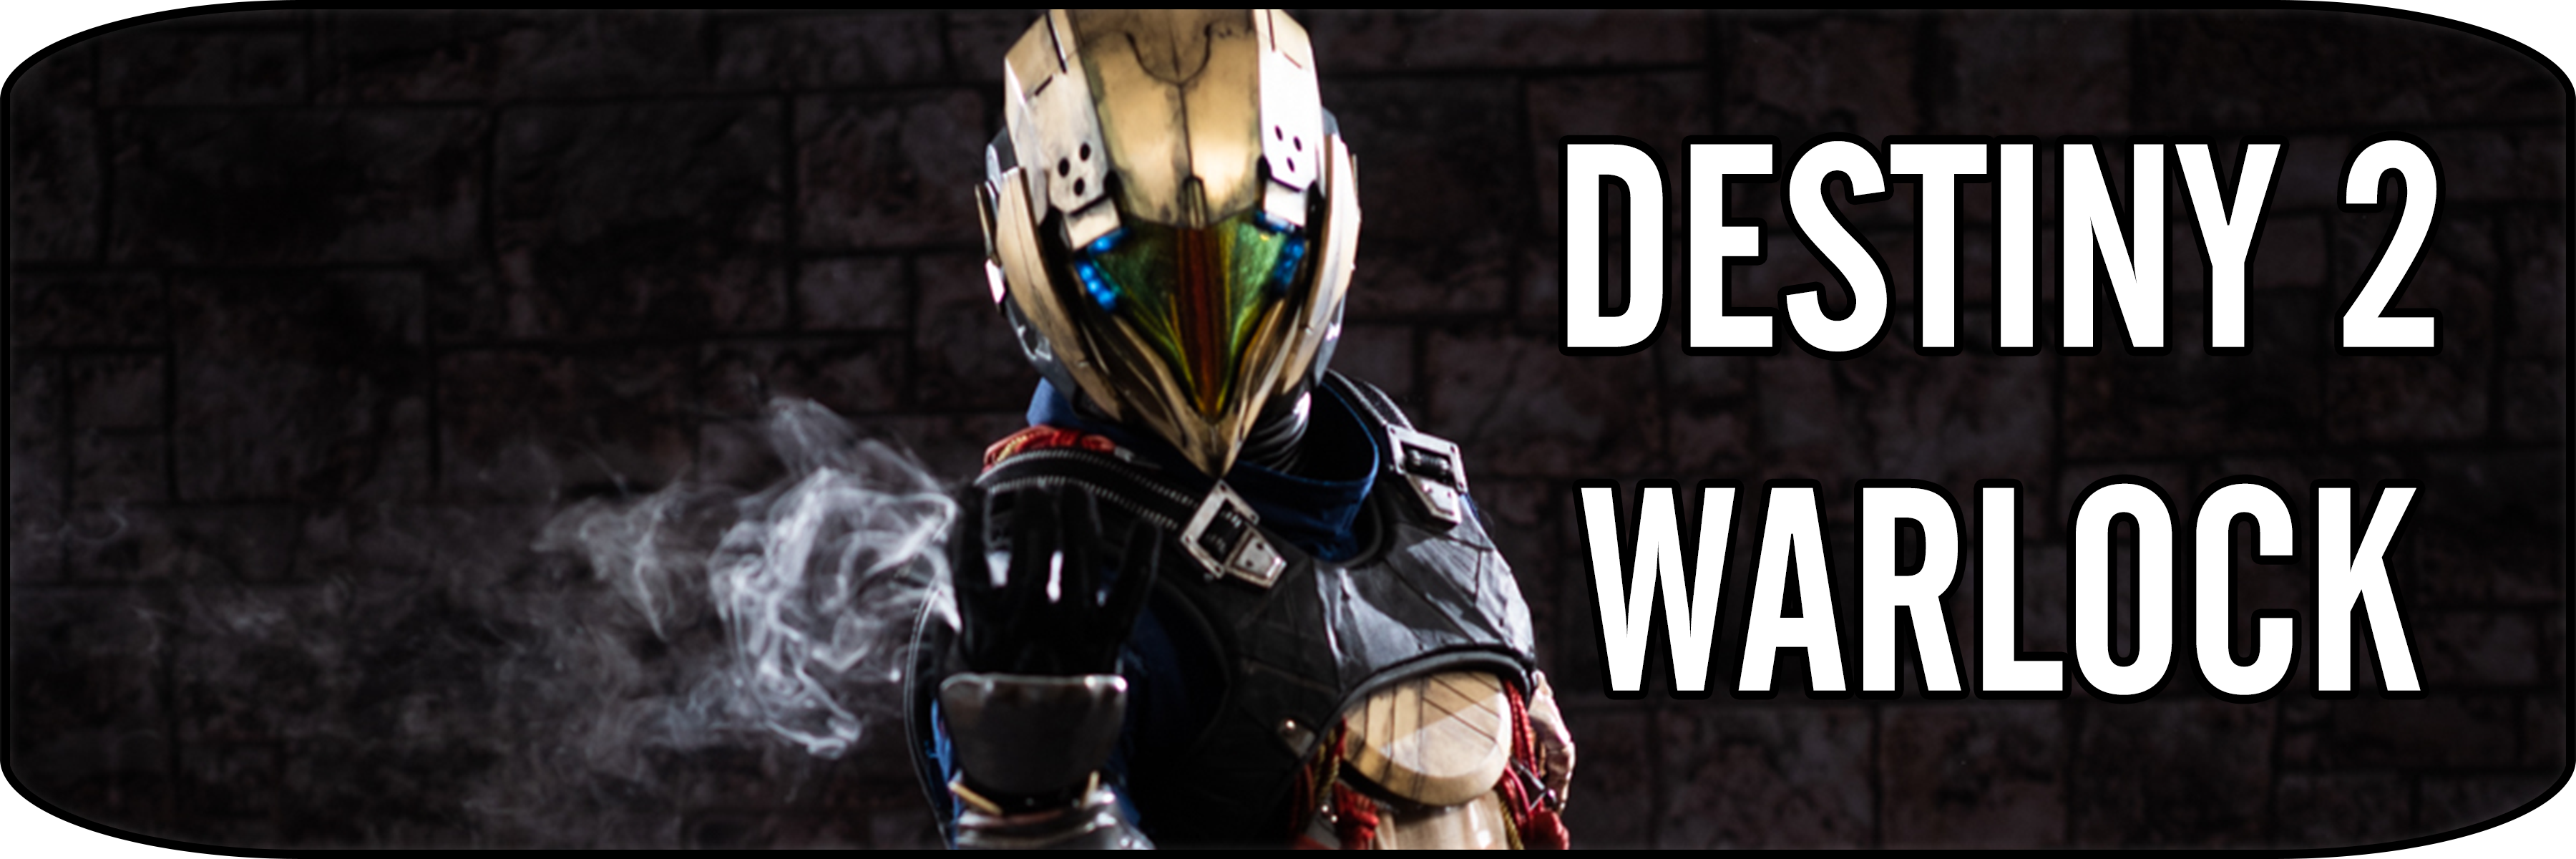
Costume History This costume is from a “looter shooter” game called Destiny 2 made by Bungie. Guardians are the playable characters of the world and Warlocks are one of the…
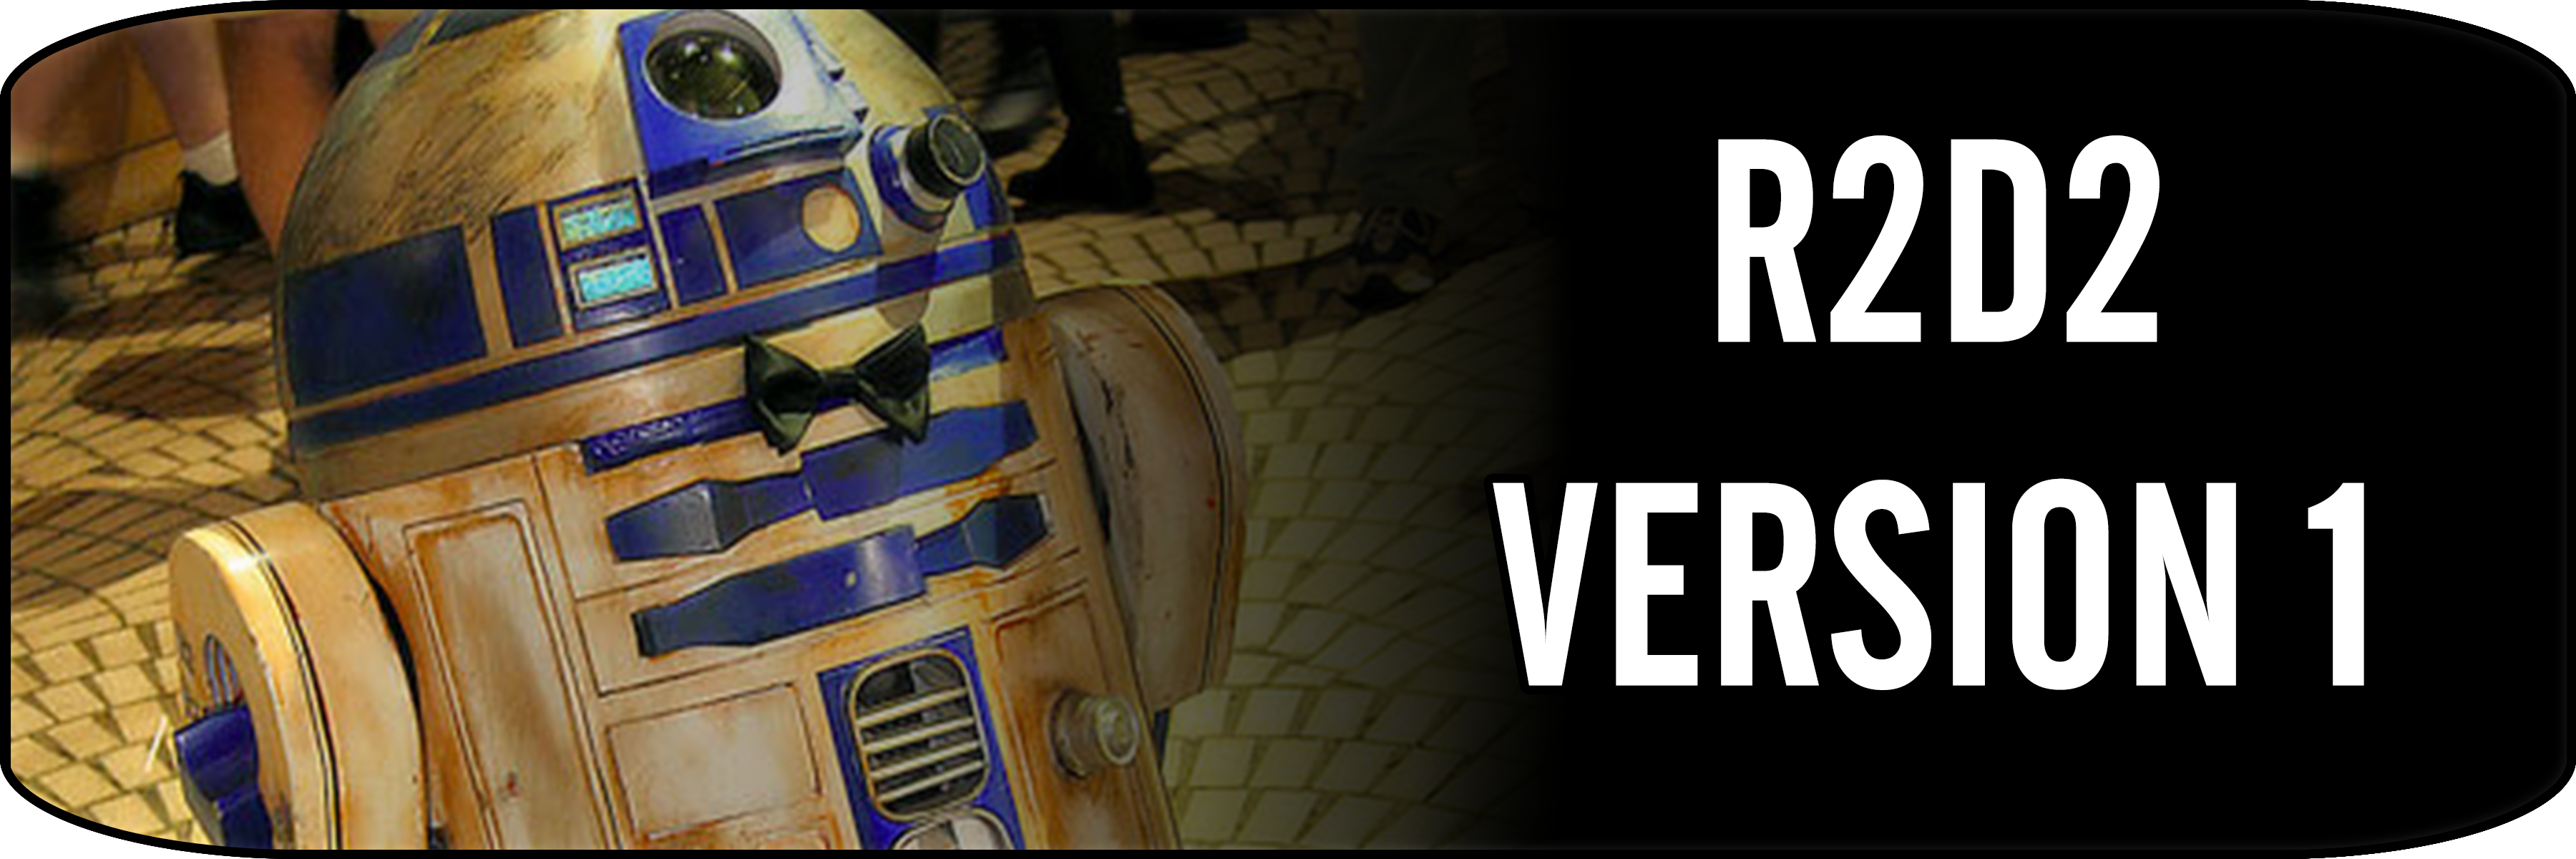
The following is a gallery for my First Ever R2 and the Build Process. At somepoint I will document the work that went into him and why I started the…
CONTENTS Tusken Raider Getting Started and the Shell Leather Pieces Fabric and Bandages Gloves and Boots Final Details Putting it all together
Tusken Raiders, less formally referred to as Sand People or simply as Tuskens, were a culture of nomadic sentients indigenous to the desert planet Tatooine, where they were often hostile to local settlers. Tusken children were called Uli-ah. The name of Tusken Raiders was acquired much later, due to a period of concerted attacks on the settlement called Fort Tusken around eight decades before 19 BBY.
One tribe captured the bounty hunter Boba Fett, but accepted him into their tribe after he had proved his worth to them.